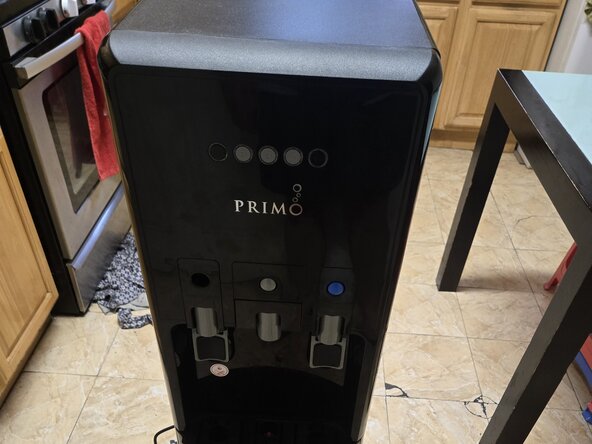
Free Shipping on Domestic Orders $75+

Primo 601258-C Temperature Sensor Replacement

What you need

  1. Primo 601258-C Temperature Sensor Replacement, Temperature Sensor: step 1, image 1 of 2 Primo 601258-C Temperature Sensor Replacement, Temperature Sensor: step 1, image 2 of 2
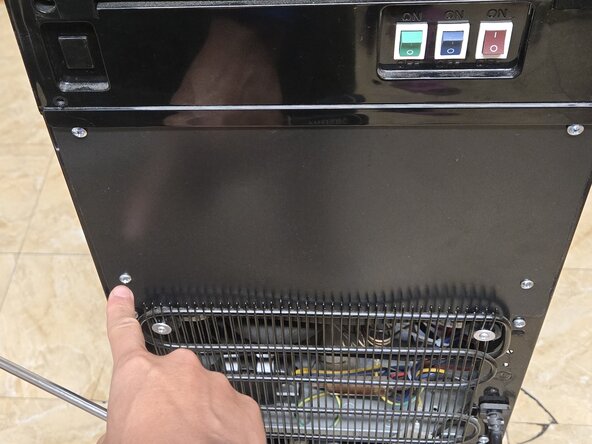
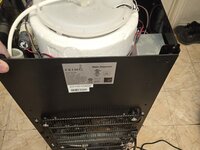
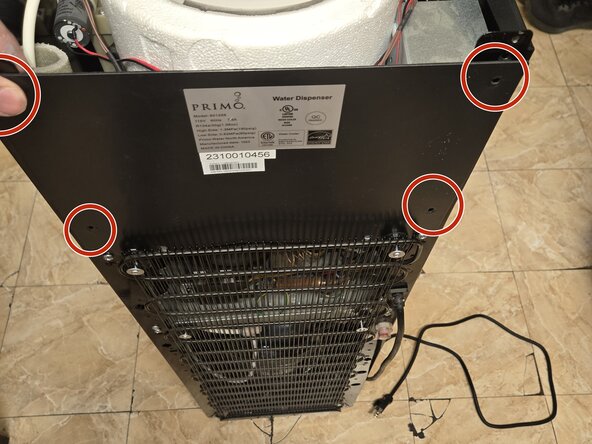
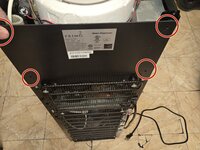
    • Remove six 9 mm Phillips screws from the back of the water cooler to detach the back panels.

  2. Primo 601258-C Temperature Sensor Replacement: step 2, image 1 of 2 Primo 601258-C Temperature Sensor Replacement: step 2, image 2 of 2
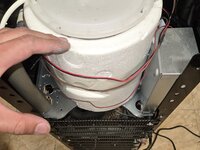
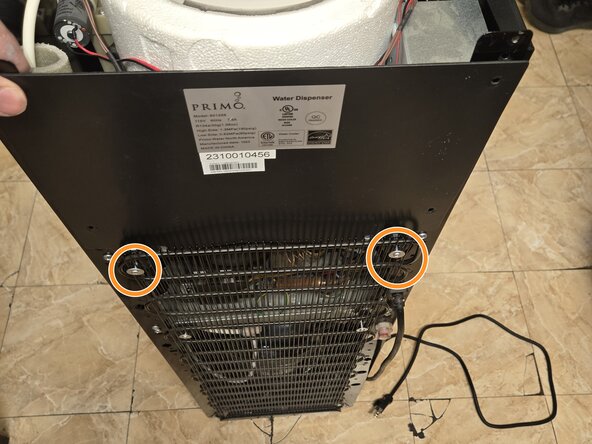
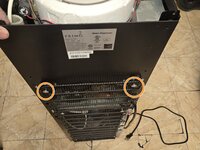
    • Loosen the two 25 mm Phillips screws securing the radiator, allowing you to remove the backing.

  3. Primo 601258-C Temperature Sensor Replacement: step 3, image 1 of 3 Primo 601258-C Temperature Sensor Replacement: step 3, image 2 of 3 Primo 601258-C Temperature Sensor Replacement: step 3, image 3 of 3
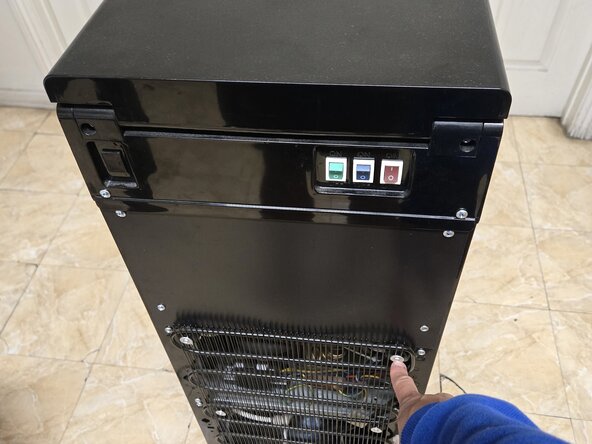
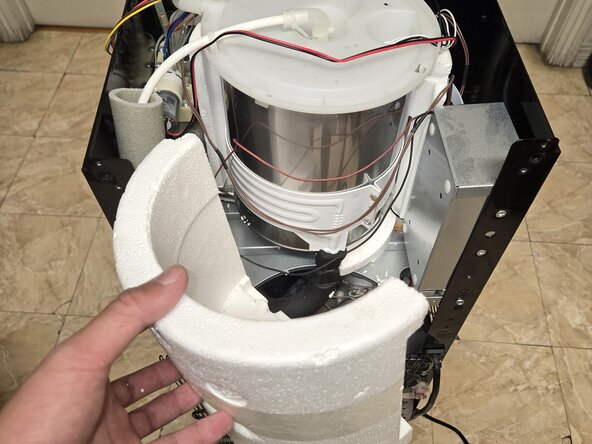
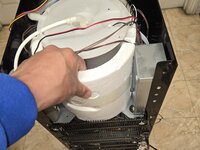
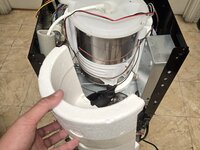
    • Remove the top of the cooler.

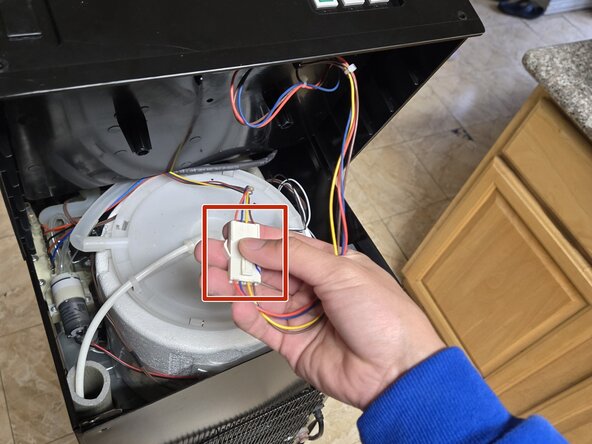
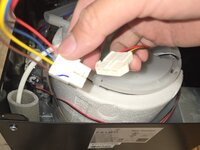
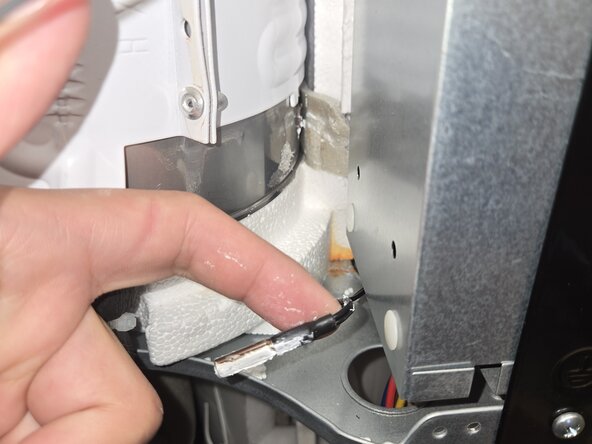
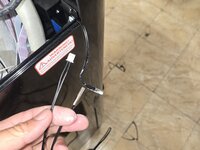
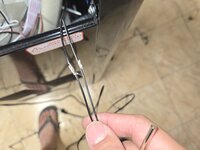
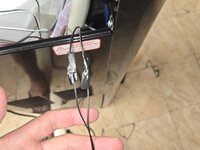
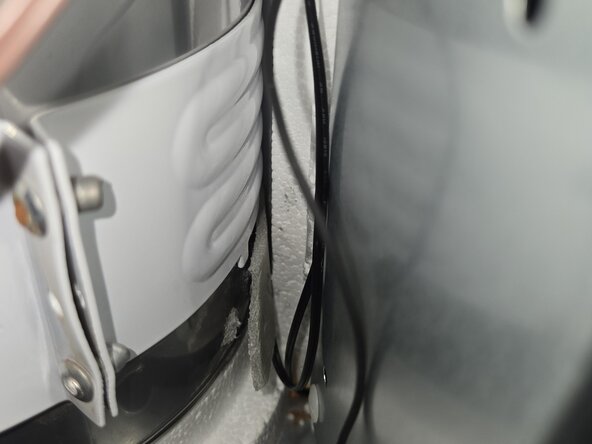
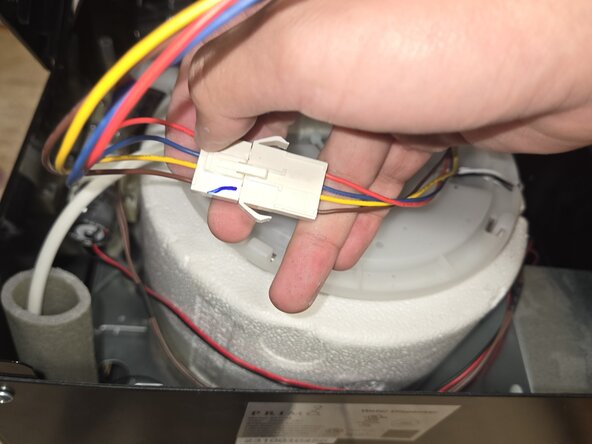
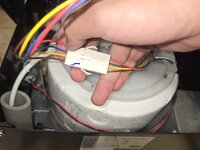
    • Press the tab and unplug the temperature switch from the lid.

  4. Primo 601258-C Temperature Sensor Replacement: step 4, image 1 of 2 Primo 601258-C Temperature Sensor Replacement: step 4, image 2 of 2
    • Remove the back panel.

  5. Primo 601258-C Temperature Sensor Replacement: step 5, image 1 of 2 Primo 601258-C Temperature Sensor Replacement: step 5, image 2 of 2
    • Carefully remove the insulating foam.

    • It can easily break apart.

  6. Primo 601258-C Temperature Sensor Replacement: step 6, image 1 of 2 Primo 601258-C Temperature Sensor Replacement: step 6, image 2 of 2
    • Remove faulty temperature sensor.

    • Removing the old sensor requires moving some of the existing insulation tape.

  7. Primo 601258-C Temperature Sensor Replacement: step 7, image 1 of 3 Primo 601258-C Temperature Sensor Replacement: step 7, image 2 of 3 Primo 601258-C Temperature Sensor Replacement: step 7, image 3 of 3
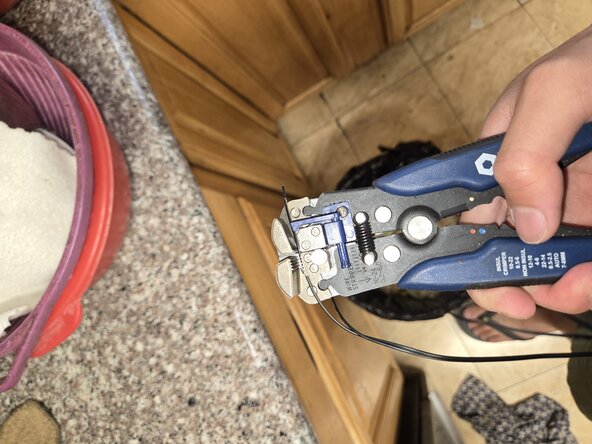
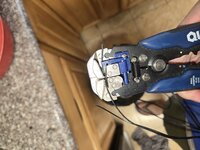
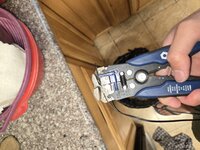
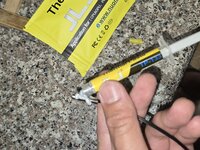
    • Use a wire stripper to strip the wire on both the old and new temperature sensors.

    • Here is a guide for Wire Stripping.

  8. Primo 601258-C Temperature Sensor Replacement: step 8, image 1 of 3 Primo 601258-C Temperature Sensor Replacement: step 8, image 2 of 3 Primo 601258-C Temperature Sensor Replacement: step 8, image 3 of 3
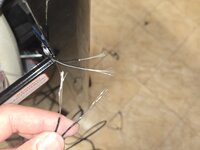
    • Twist the ends of the wires stripped wires together and wrap them with electrical tape.

    • Alternatively, you can solder the wires and secure them with heat-shrink tubing. For tips on soldering and using heat shrink tubing, refer to these guides: How to Solder Wires Together and How to Use Heat Shrink Tubing.

  9. Primo 601258-C Temperature Sensor Replacement: step 9, image 1 of 3 Primo 601258-C Temperature Sensor Replacement: step 9, image 2 of 3 Primo 601258-C Temperature Sensor Replacement: step 9, image 3 of 3
    • Apply thermal paste to the new temperature sensor.

  10. Primo 601258-C Temperature Sensor Replacement: step 10, image 1 of 3 Primo 601258-C Temperature Sensor Replacement: step 10, image 2 of 3 Primo 601258-C Temperature Sensor Replacement: step 10, image 3 of 3
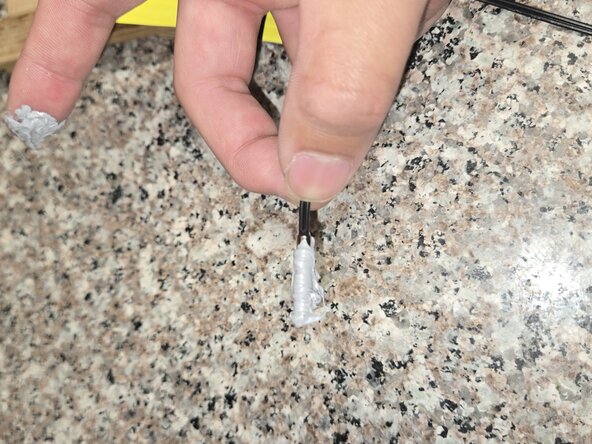
    • Insert the newly connected thermal paste-covered sensor into the slot where the old sensor was.

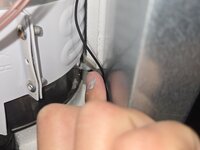
    • Place the old insulation back.

  11. Primo 601258-C Temperature Sensor Replacement: step 11, image 1 of 3 Primo 601258-C Temperature Sensor Replacement: step 11, image 2 of 3 Primo 601258-C Temperature Sensor Replacement: step 11, image 3 of 3
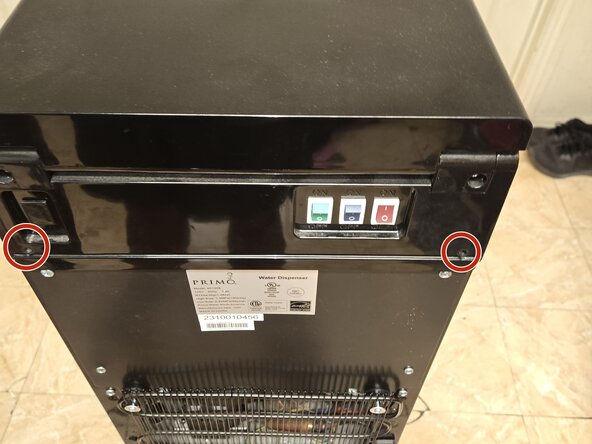
    • Reattach the backing and secure it with four 9 mm Phillips screws.

    • Tighten the two 25 mm Phillips screws.

  12. Primo 601258-C Temperature Sensor Replacement: step 12, image 1 of 3 Primo 601258-C Temperature Sensor Replacement: step 12, image 2 of 3 Primo 601258-C Temperature Sensor Replacement: step 12, image 3 of 3
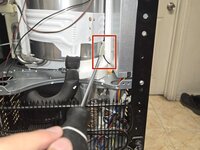
    • Reconnect the temperature control.

    • Secure the top panel with two 9 mm Phillips screws.

  13. Primo 601258-C Temperature Sensor Replacement: step 13, image 1 of 1
    • You have replaced the temperature sensor.

Conclusion

To reassemble your device, follow the instructions in the guide. Take your e-waste to an R2 or e-Stewards certified recycler.

3 other people completed this guide.

Alan Mai

Member since: 04/09/25

273 Reputation

1 Guide authored

Team

1 Guide Comment

Thank you for the great guide, the replacement thermostat and paste you recommended worked perfect.

Tucker Banta - Reply Share

Add Comment

View Statistics:

Past 24 Hours: 24

Past 7 Days: 124

Past 30 Days: 617

All Time: 5,729