Free Shipping on Domestic Orders $75+

NuVision TM800A510L Screen Replacement

What you need

  1. NuVision TM800A510L Screen Replacement, Screen: step 1, image 1 of 2 NuVision TM800A510L Screen Replacement, Screen: step 1, image 2 of 2
    • Use a Heat Gun to heat the sides of the device and loosen the adhesive.

    • Heat the adhesive/device to just barely too hot to touch.

    • Pry up the the back of the device.

    • This process works best if you go one side at a time.

    Ask FixBot

    Add Comment

  2. NuVision TM800A510L Screen Replacement: step 2, image 1 of 1
    Ask FixBot

    Add Comment

  3. NuVision TM800A510L Screen Replacement: step 3, image 1 of 1
    • Peel this connector off the device.

    • This is basically just a sticker, but go slow so you don't tear the connector.

    Ask FixBot

    Add Comment

  4. NuVision TM800A510L Screen Replacement: step 4, image 1 of 1
    • Slowly pull the speaker out of its bed.

    • The speaker piece is glued down.

    Ask FixBot

    Add Comment

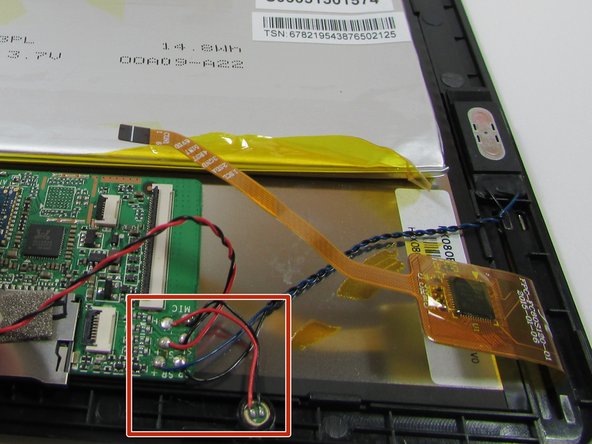
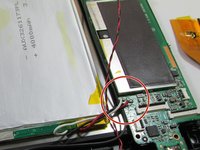
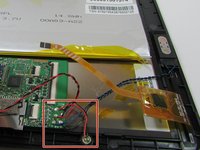
  5. NuVision TM800A510L Screen Replacement: step 5, image 1 of 2 NuVision TM800A510L Screen Replacement: step 5, image 2 of 2
    • If you have not done so already, de-solder the boards from the device.

    • De-soldering the wires right now makes sure none of the wires are damaged or broken when we move the components.

    Ask FixBot

    Add Comment

  6. NuVision TM800A510L Screen Replacement: step 6, image 1 of 1
    • The touch screen should lift right out of the device.

    Ask FixBot

    Add Comment

  7. NuVision TM800A510L Screen Replacement: step 7, image 1 of 1
    • Use the Heat Gun to heat the adhesive between the screen and edge protector.

    • Pry the two pieces apart.

    • Be careful of the circuit ribbon for the touch screen when prying the two pieces apart. The ribbon threads through both pieces.

    • Remember: Heating the device to 'almost to hot to touch' makes the process easier to work with.

    • Tip: Try the heating & prying process on one side of the device at a time.

    Ask FixBot

    Add Comment

Conclusion

To reassemble your device, follow these instructions in reverse order.

Cancel: I did not complete this guide.

One other person completed this guide.

0 Guide Comments

Add Comment

View Statistics:

Past 24 Hours: 1

Past 7 Days: 4

Past 30 Days: 35

All Time: 2,962