Introduction
Use this guide to replace a broken, cracked, or non‑responsive screen in your iPhone 16e.
You'll need replacement screen adhesive to complete this repair.
Note: Since you can't disconnect the battery during this repair, be especially careful not to use metal prying tools or touch exposed contacts in your iPhone.
After your repair, calibrate an authentic display using Apple's Repair Assistant.
Some photos in this guide are from a different model and may contain slight visual discrepancies, but they won't affect the procedure.
What you need
-
-
-
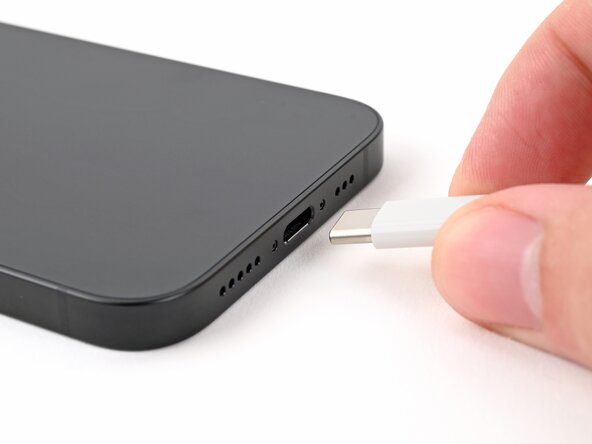
Unplug any cables from your phone.
-
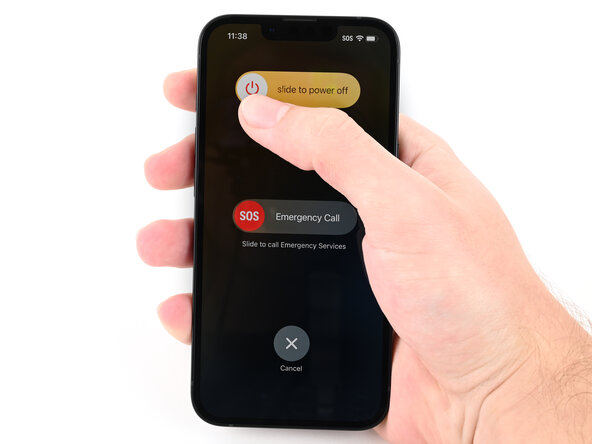
Hold the power button and either volume button, then slide to power off your phone.
 Ask FixBot
-
-
-
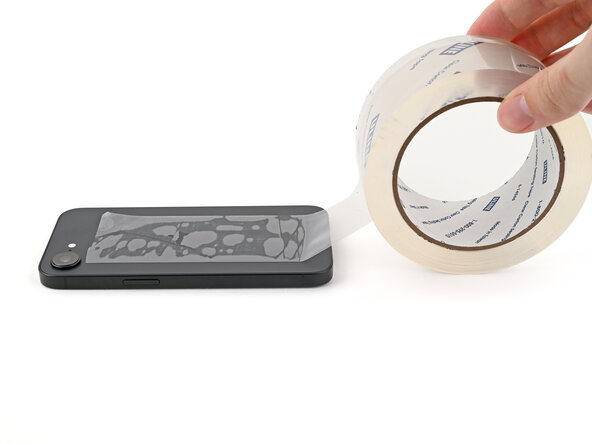
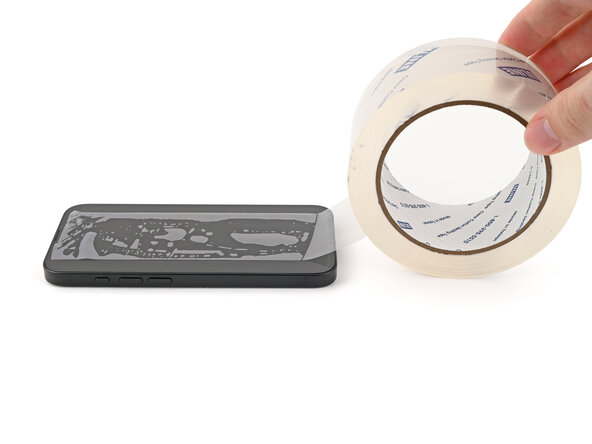
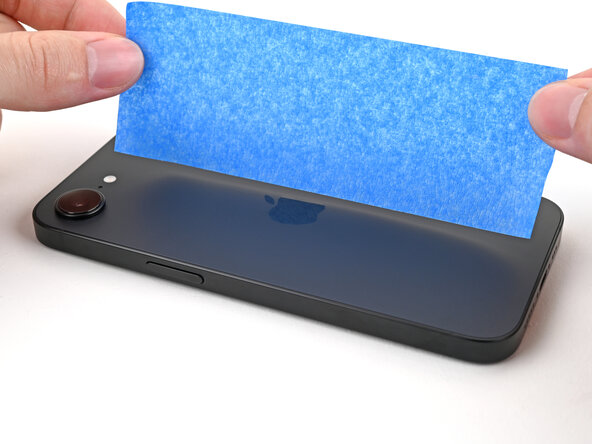
If your screen or back glass is badly cracked, lay overlapping strips of packing tape over the glass to protect yourself and make disassembly easier.
-
-
-
-
-
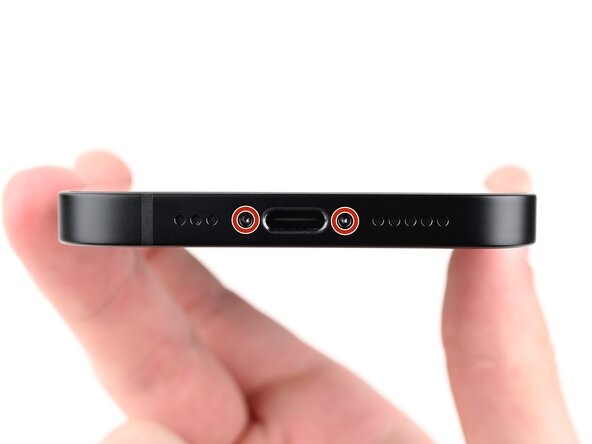
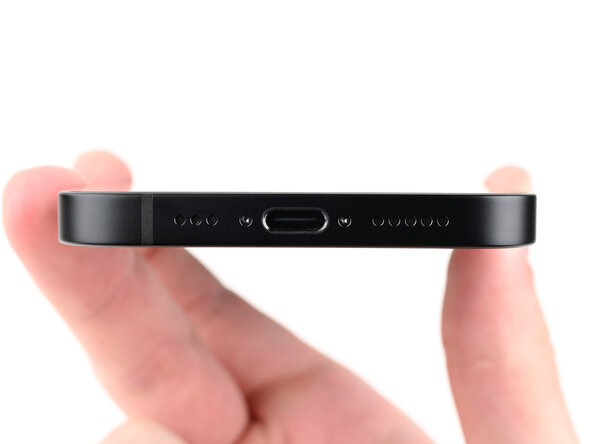
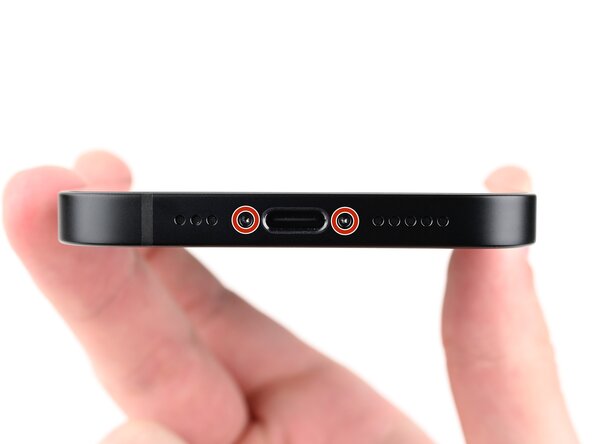
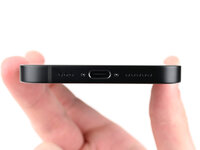
Use a pentalobe P2 screwdriver to remove the two 7.8 mm‑long screws on either side of the charging port.
-
-
-
-
-
Measure 3 mm from the tip and mark the opening pick with a permanent marker.
-
-
-
-
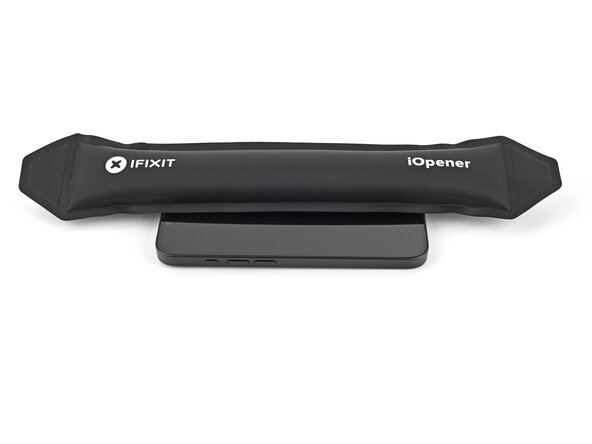
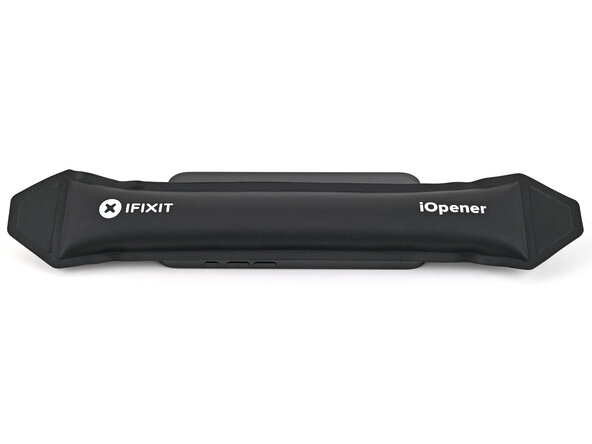
Tool used on this step:iOpener$14.95
-
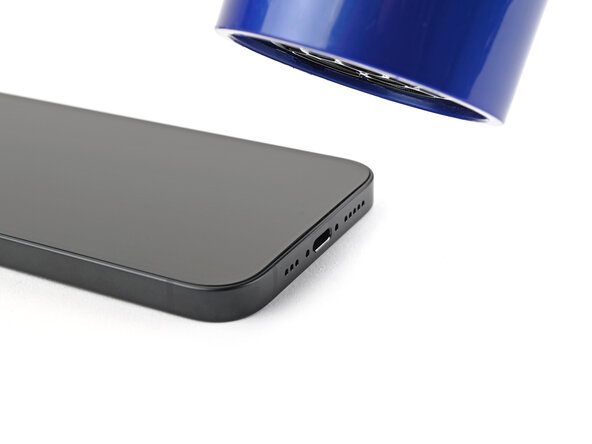
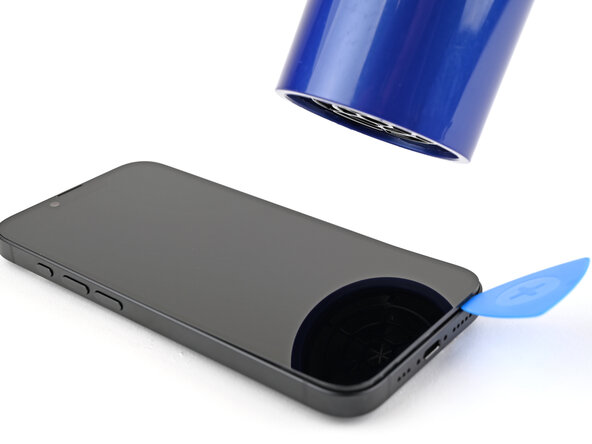
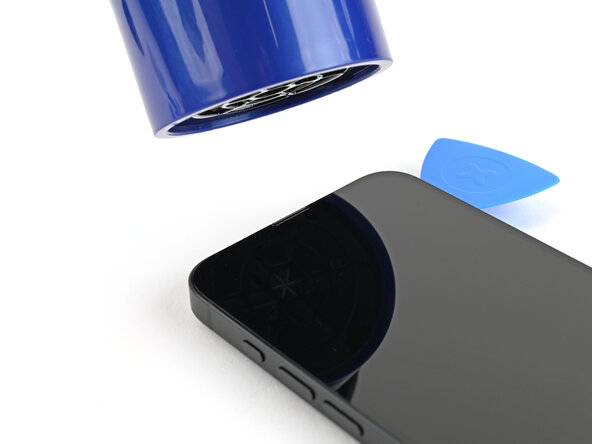
Use a hair dryer or heat gun to heat the bottom edge of the screen until it's hot to the touch.
-
-
-
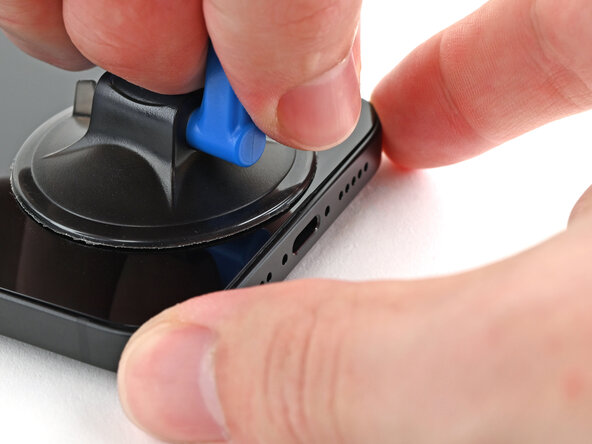
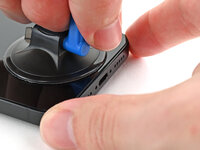
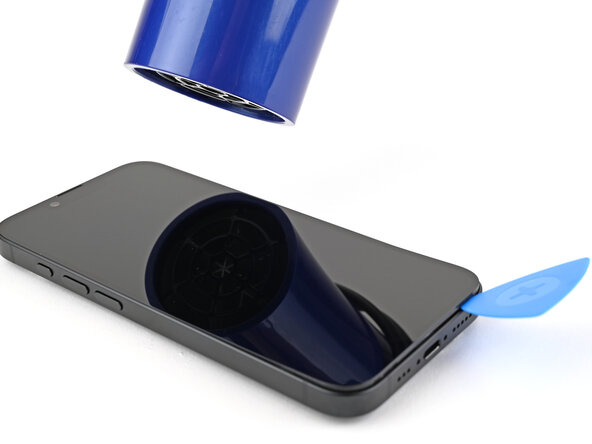
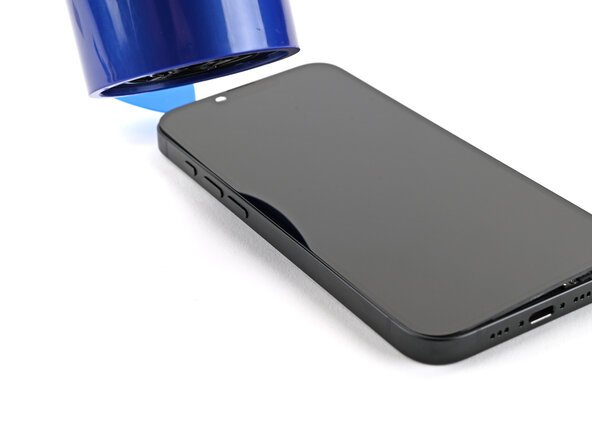
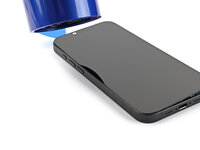
Apply a suction handle to the bottom edge of the screen.
-
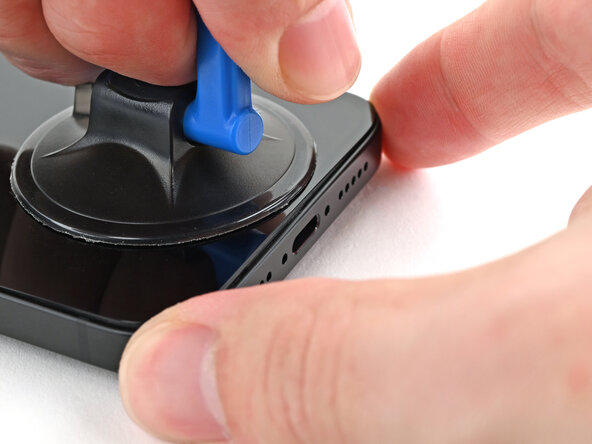
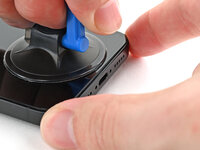
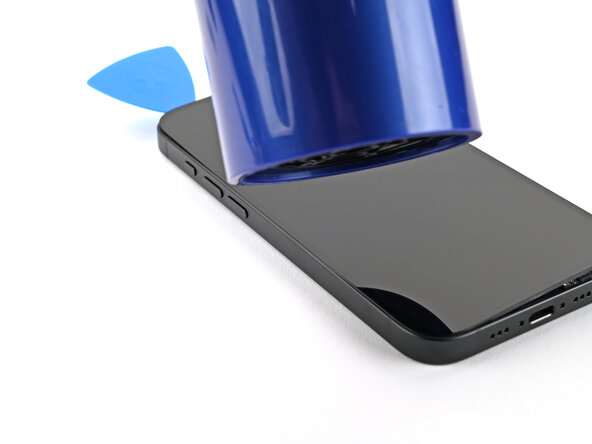
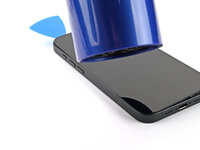
While holding the frame down with one hand, pull up on the handle with a strong, steady force to create a gap between the screen and the frame.
-
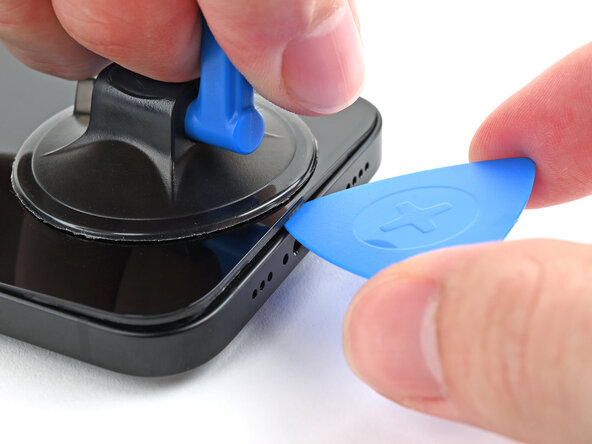
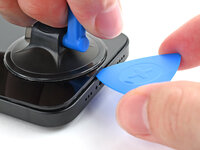
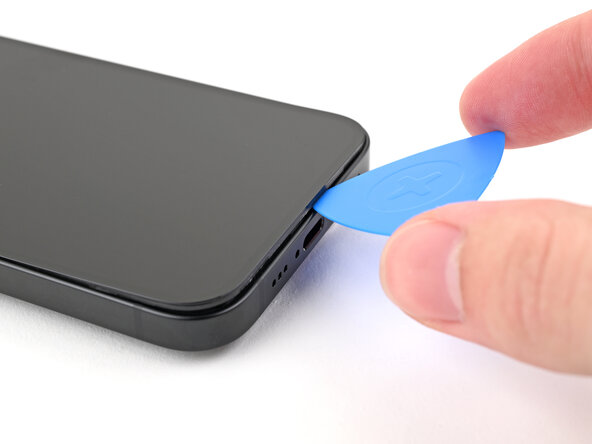
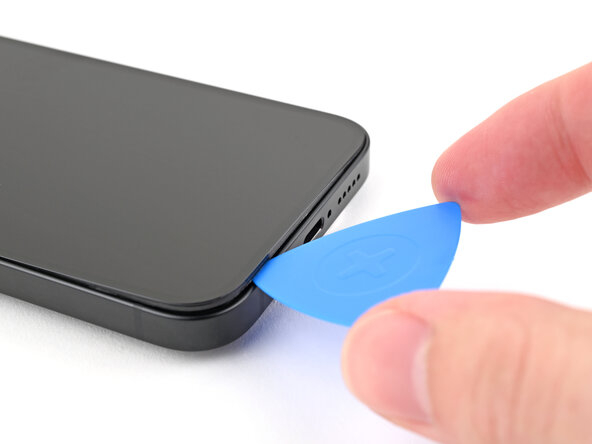
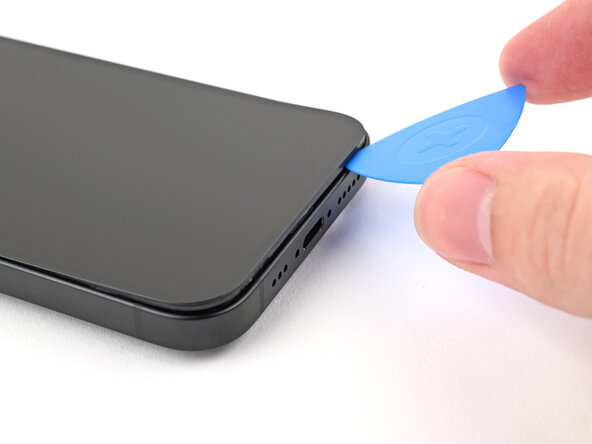
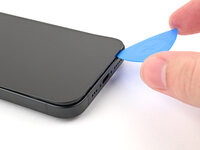
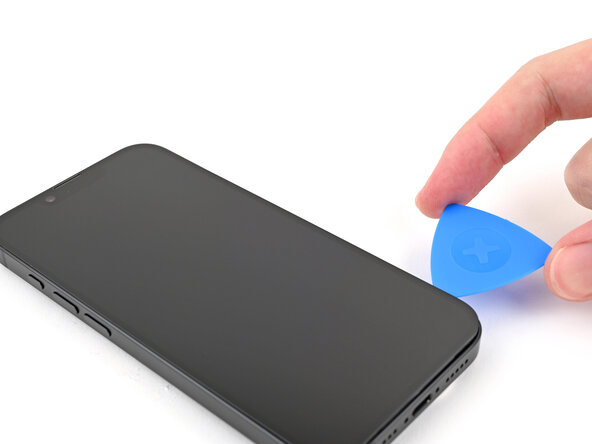
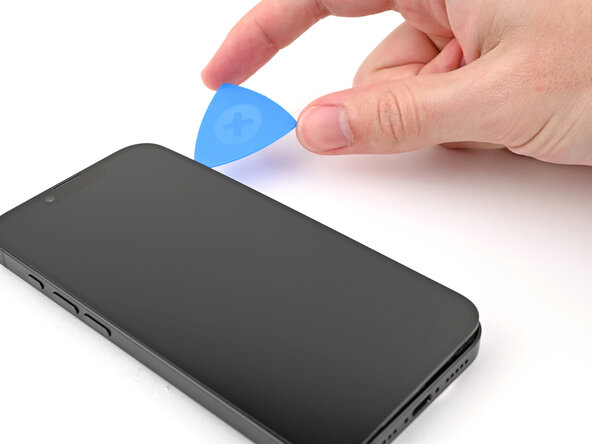
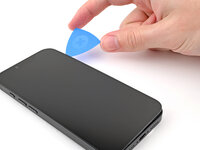
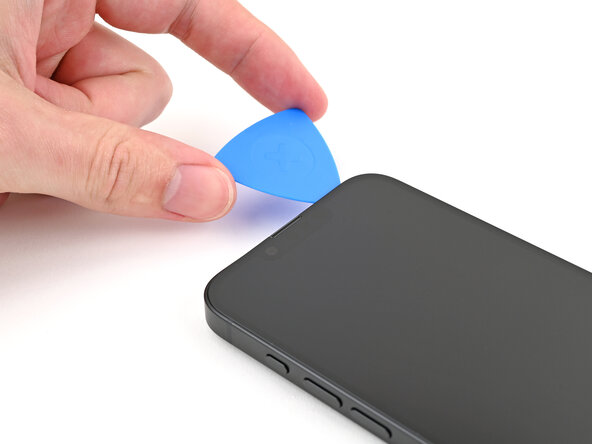
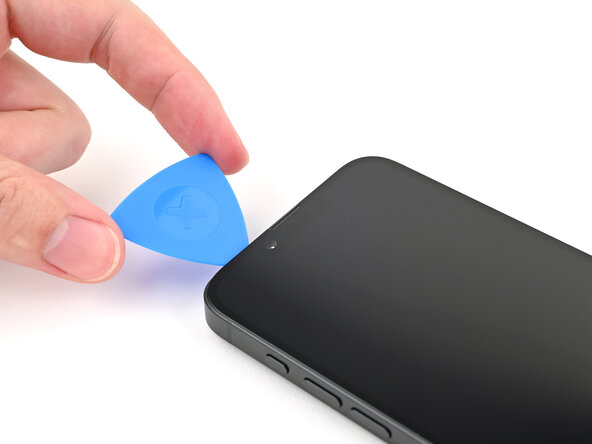
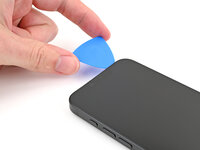
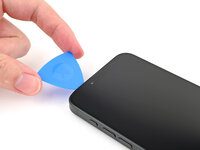
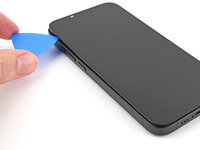
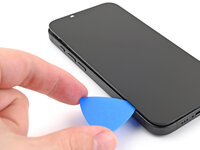
Insert the tip of an opening pick into the gap.
-
-
-
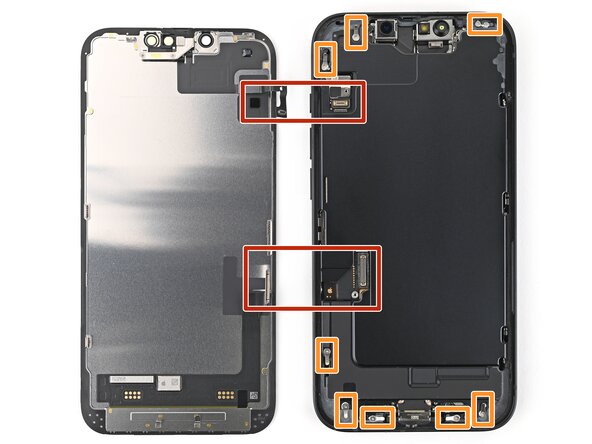
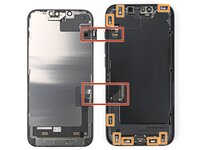
Two delicate cables connecting the screen to the phone—one next to the Action button and the other about halfway between the volume down button and the bottom of the phone.
-
Multiple spring contacts around the perimeter of the phone.
-
-
-
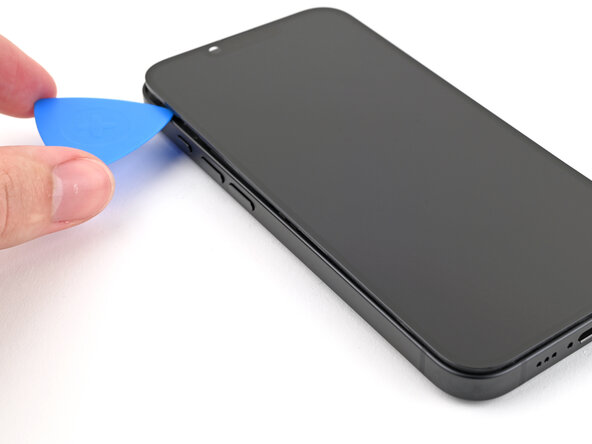
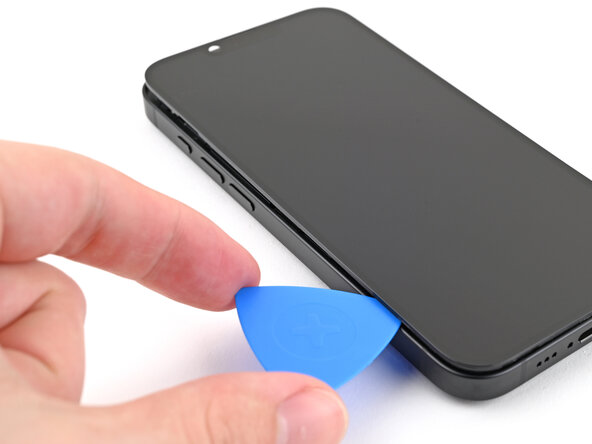
Slide the opening pick along the bottom edge to separate the adhesive.
-
Leave the opening pick in the bottom right corner.
-
-
-
Heat the right edge of the screen until it's hot to the touch.
-
-
-
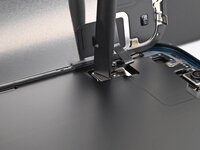
Slide your opening pick around the bottom right corner and up the right edge of the screen to separate the adhesive and release the metal clip.
-
-
-
Heat the top edge of the screen until it's hot to the touch.
-
-
-
Continue sliding your pick around the top right corner and across the top edge to separate the adhesive and release the two metal clips.
-
-
-
Heat the left edge of the screen until it's hot to the touch.
-
-
-
Slide the opening pick down the left edge of the screen to separate the remaining adhesive and release the last two metal clips.
-
-
-
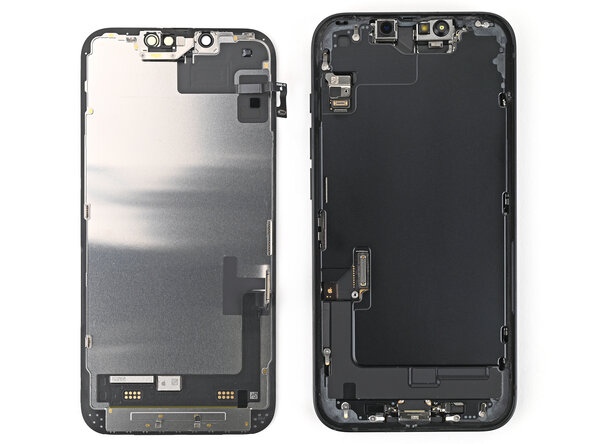
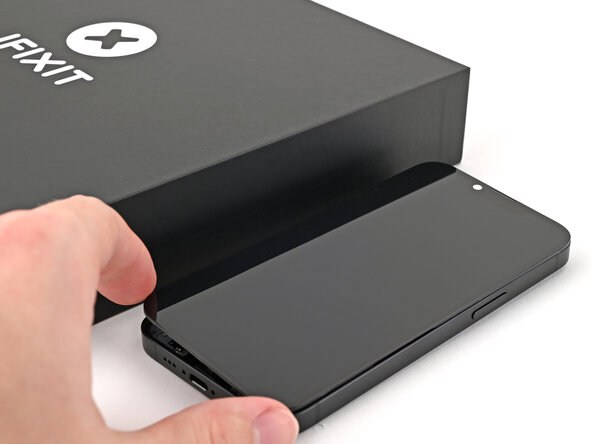
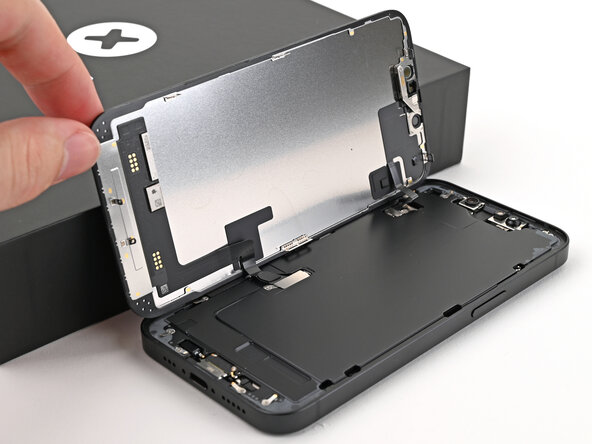
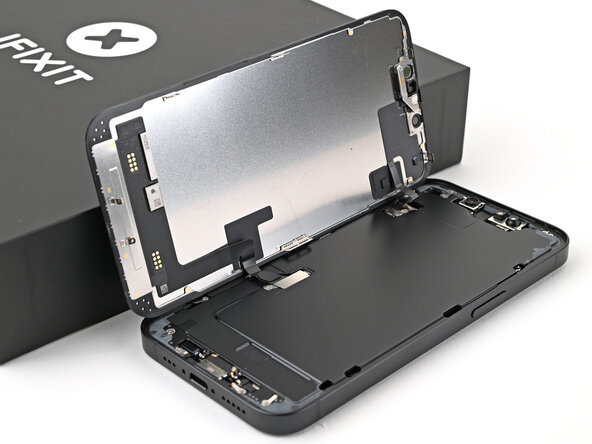
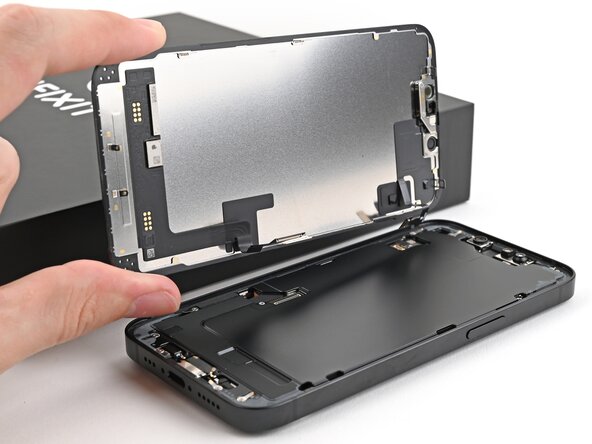
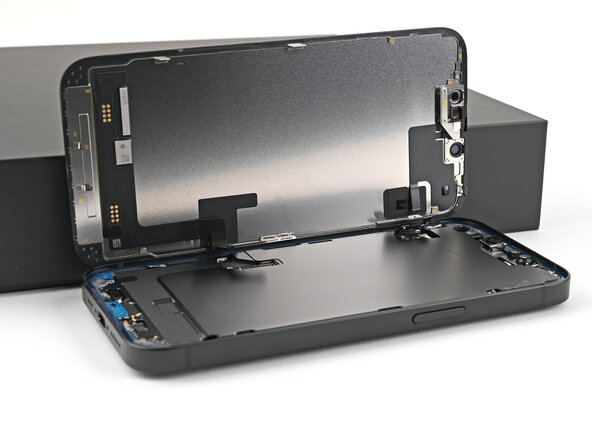
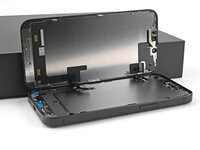
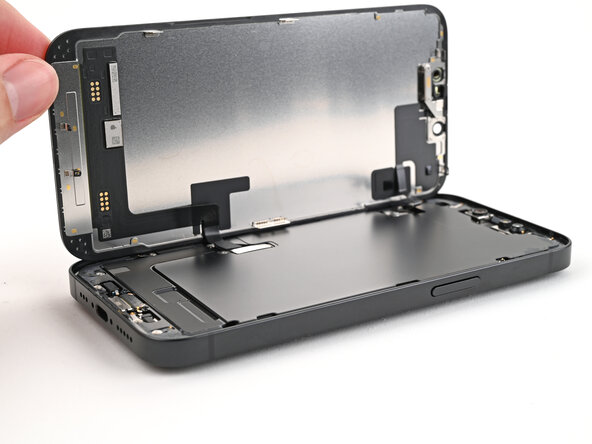
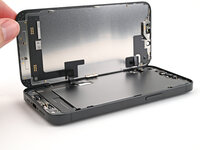
Swing open the screen over the left edge of the phone and support it with a clean, sturdy object.
-
-
-
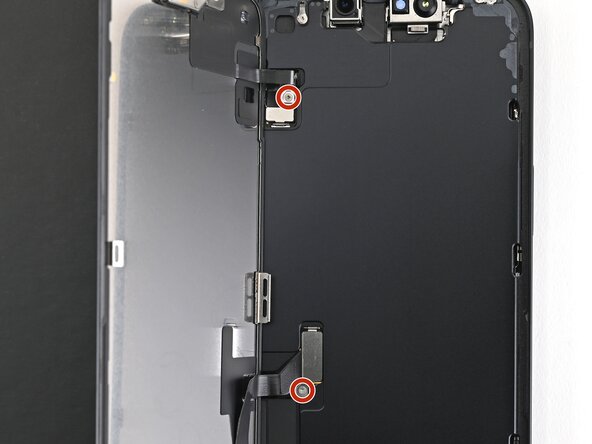
Use a tri-point Y000 screwdriver to remove the two 0.9 mm‑long screws securing the front sensor connector and screen connector covers.
-
-
-
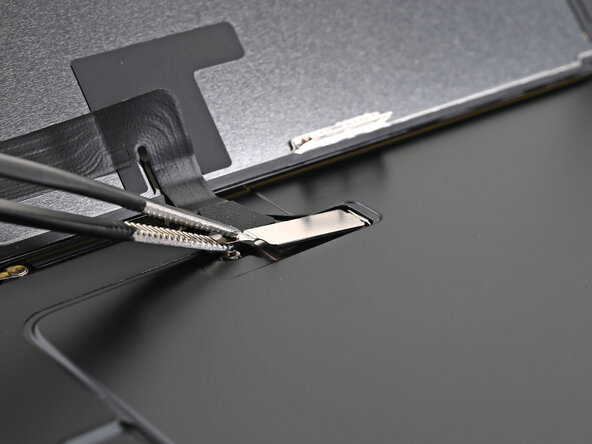
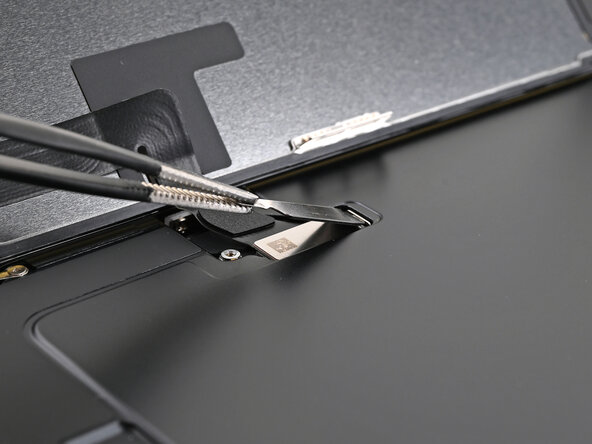
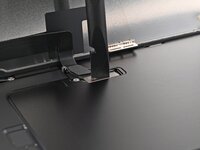
Use tweezers or your fingers to lift the front sensor cover to a 90-degree angle and unhook it from its slot in the logic board.
-
Lift the cover out of its slot and remove it.
-
-
-
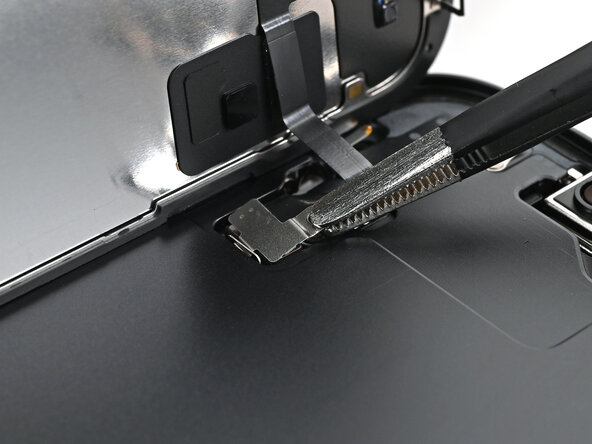
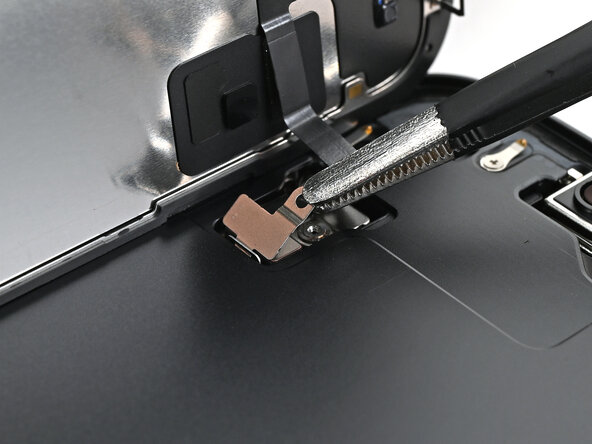
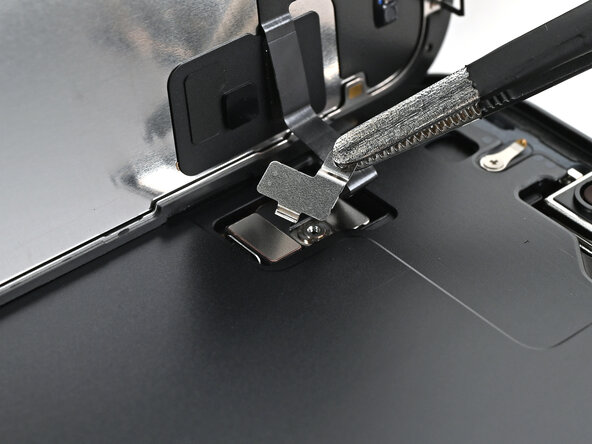
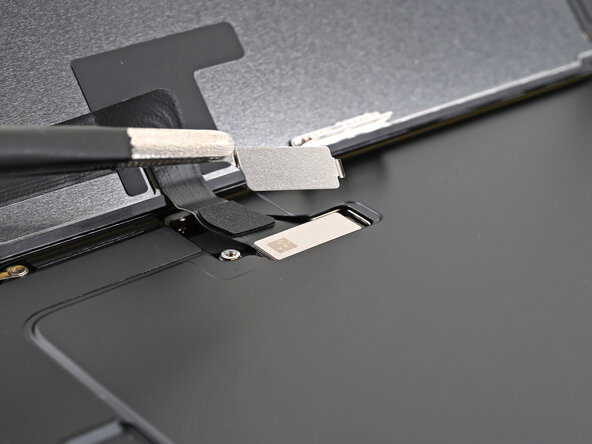
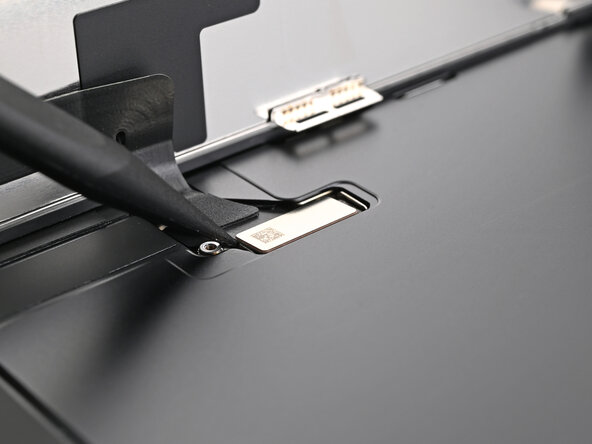
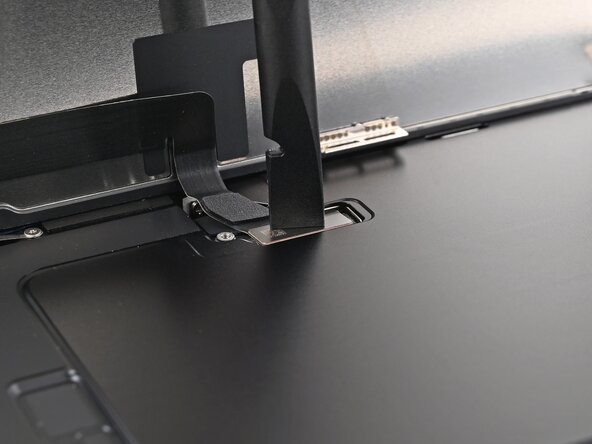
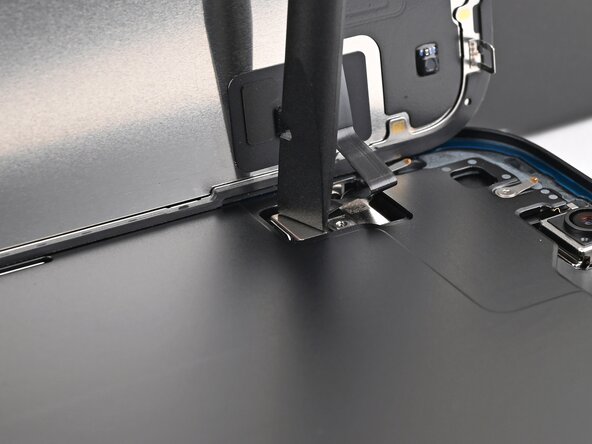
Use tweezers or your fingers to lift the screen connector cover at a slight angle to unhook it from its slot in the logic board.
-
Lift the cover out of its slot and remove it.
-
-
-
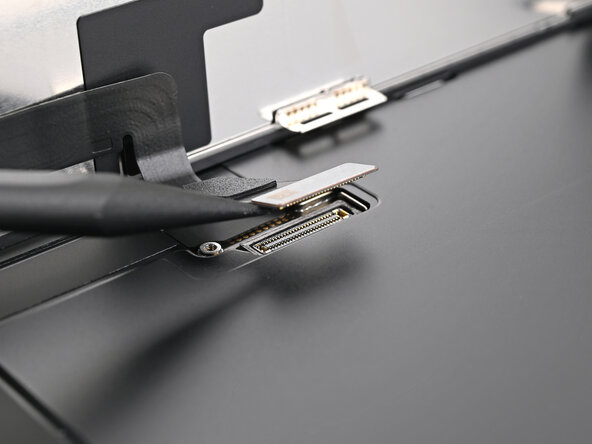
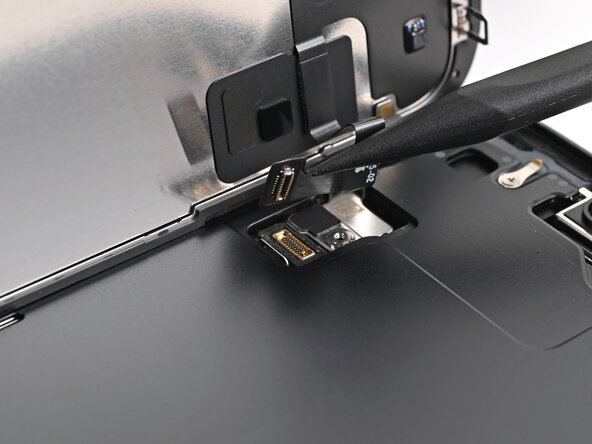
Use the tip of a spudger to pry up and disconnect the screen press connector.
-
Repeat for the front sensor press connector.
-
-
-
-
-
-
Congratulations on completing disassembly! The remaining steps will show you how to reassemble your device.
-
-
-
-
-
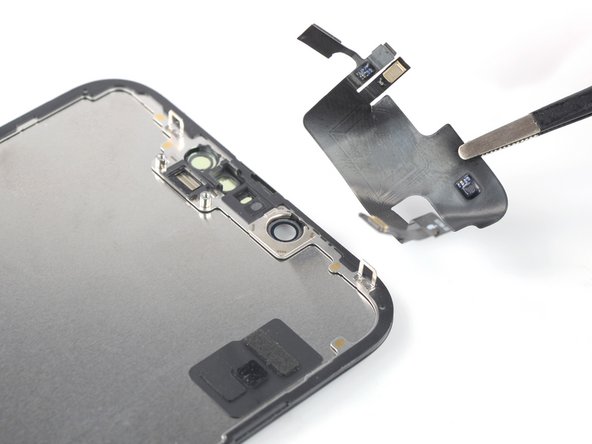
The front sensor assembly is located behind the screen, directly beneath the cut‑out for the Face ID sensors.
-
Check if the replacement screen comes with one installed. If it does, skip to this step.
-
-
-
-
-
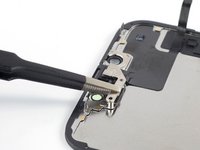
Use a Y000 screwdriver to remove the two 1.4 mm-long screws securing the sensor assembly bracket.
-
-
Tool used on this step:Tweezers$4.99
-
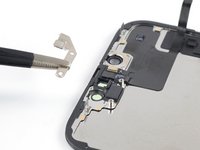
Use tweezers, or your fingers, to remove the front sensor assembly bracket.
-
-
-
Heat an iOpener and apply it to the top edge of the screen for two minutes.
-
-
-
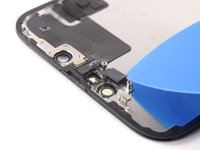
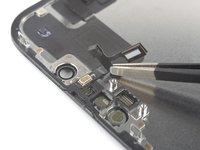
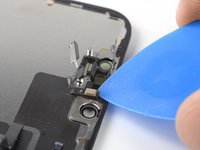
Insert an opening pick between the ambient light sensor and its recess in the screen.
-
Pry up with the pick to separate the ambient light sensor from the screen.
-
-
-
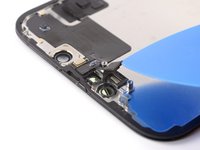
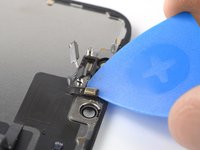
Insert an opening pick between the proximity sensor and its recess on the screen.
-
Pry up with the pick to separate the proximity sensor from the screen.
-
-
-
Use tweezers, or your fingers, to move the proximity sensor cable away from the screen.
-
-
-
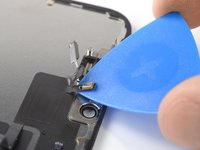
Insert an opening pick under the microphone cable, close to the microphone (the metal rectangle).
-
Slide the opening pick around the perimeter of the microphone to separate its adhesive.
-
-
-
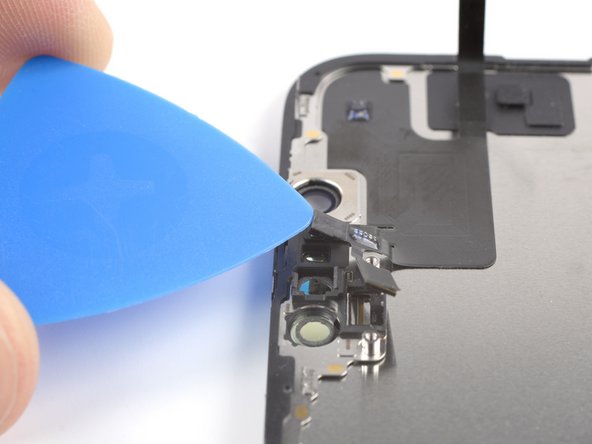
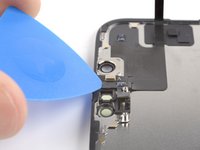
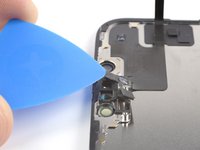
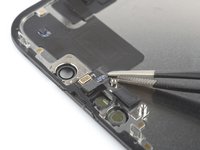
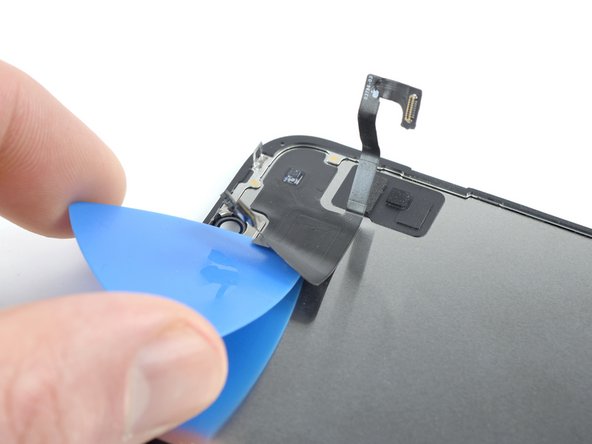
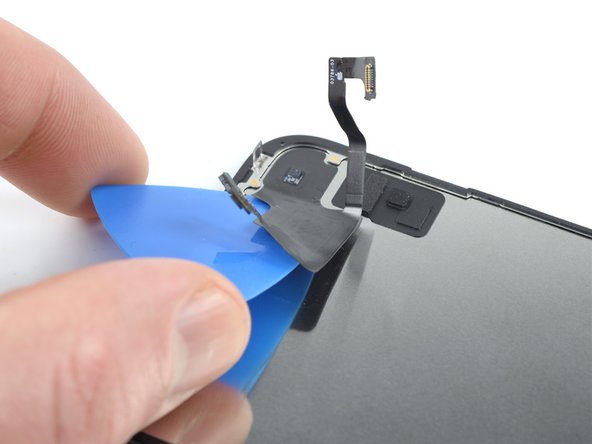
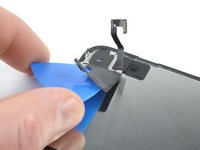
Insert an opening pick under the left side of the front sensor assembly.
-
Slide the pick under the assembly to separate it from the frame.
-
-
-
-
-
Align the ambient light sensor with its recess in the back of the screen.
-
Use a spudger or your finger to press the ambient light sensor into its recess.
-
-
-
Press the proximity sensor into its recess in the back of the screen.
-
Press the microphone into place next to the proximity sensor.
-
-
Tool used on this step:Tesa 61395 Tape$2.95
-
Use a hair dryer, heat gun, or heated iOpener to soften the adhesive under the front sensor assembly cable. It only needs to be warm—not hot.
-
Use your finger to press down the front sensor cable.
-
-
-
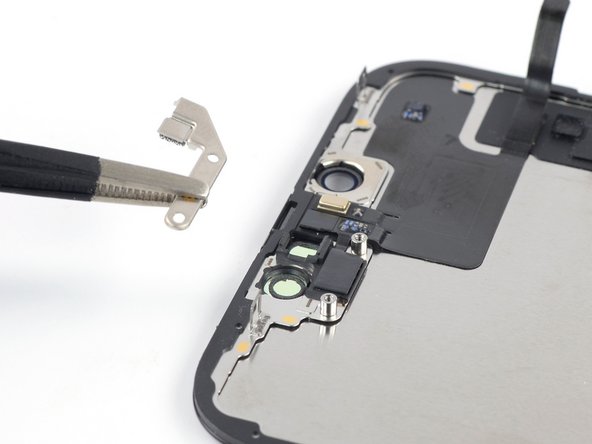
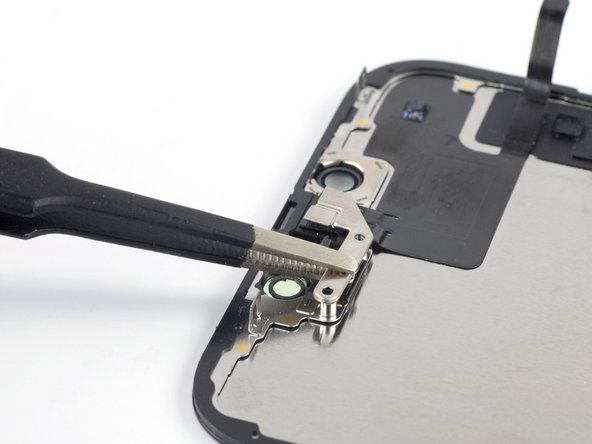
Use tweezers or your fingers to install the front sensor assembly bracket.
-
-
-
Use a Y000 screwdriver to install the two 1.4 mm-long screws securing the front sensor assembly bracket.
-
-
-
-
-
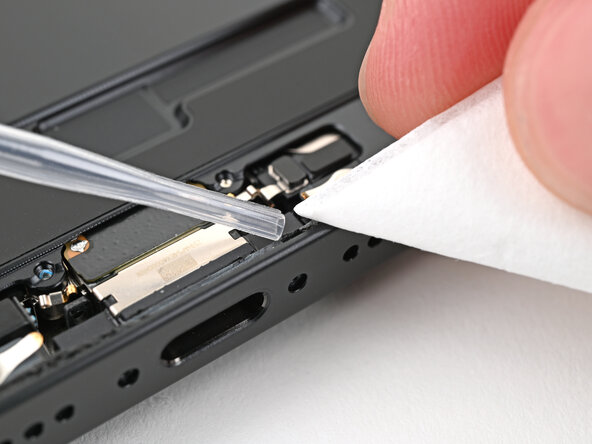
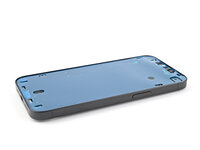
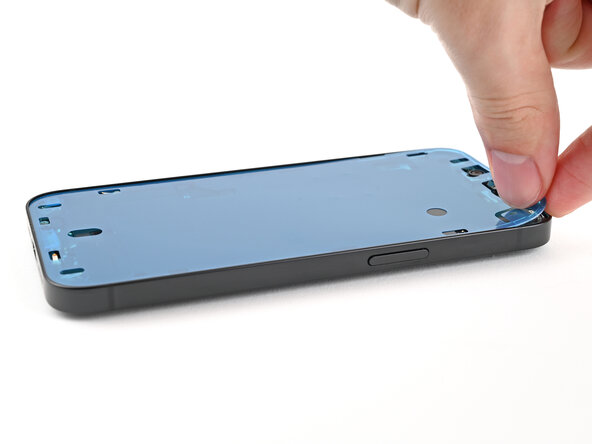
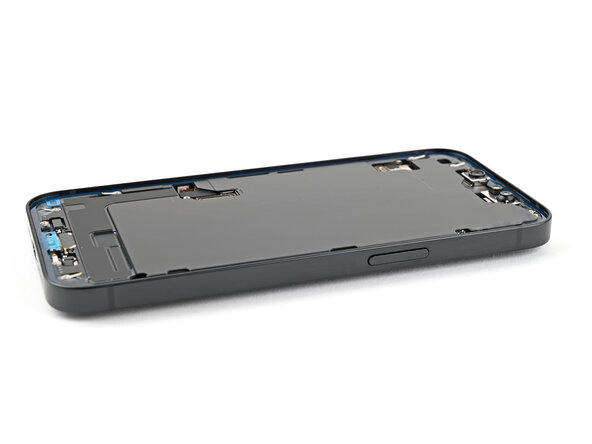
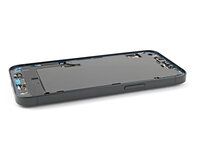
Use tweezers to remove the adhesive around the perimeter of the frame.
-
Use a coffee filter or a lint‑free cloth and high‑concentration isopropyl alcohol (>%90) to clean off any adhesive residue.
-
-
-
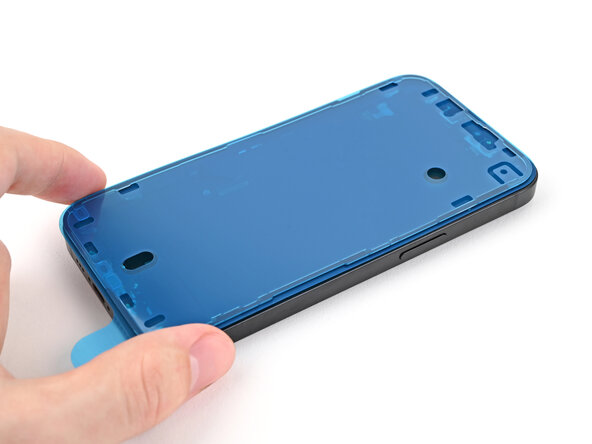
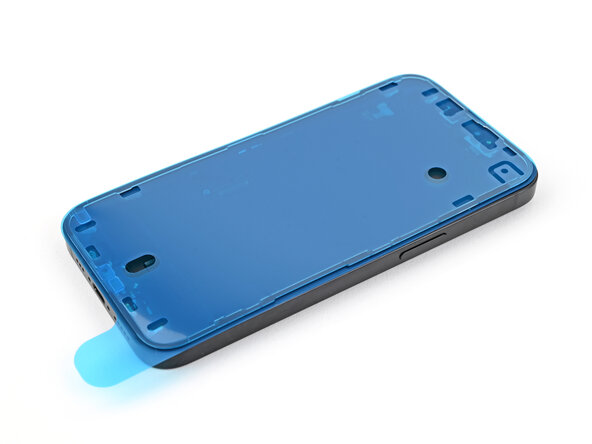
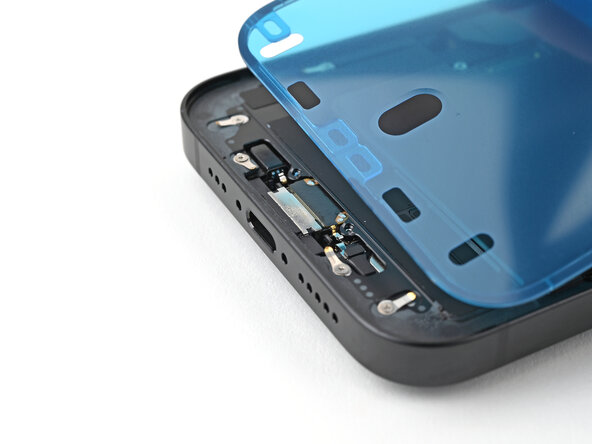
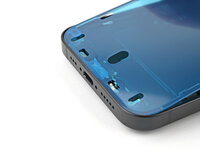
Lay the adhesive on top of the phone and use features like cutouts for spring contacts and the front‑facing camera to make sure the adhesive is oriented correctly.
-
-
-
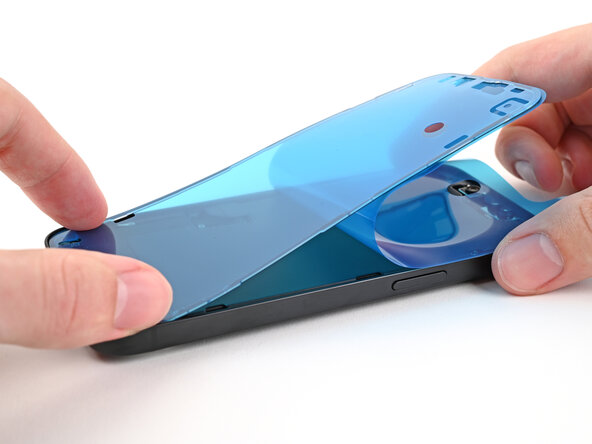
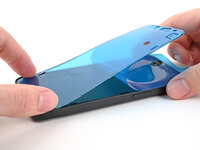
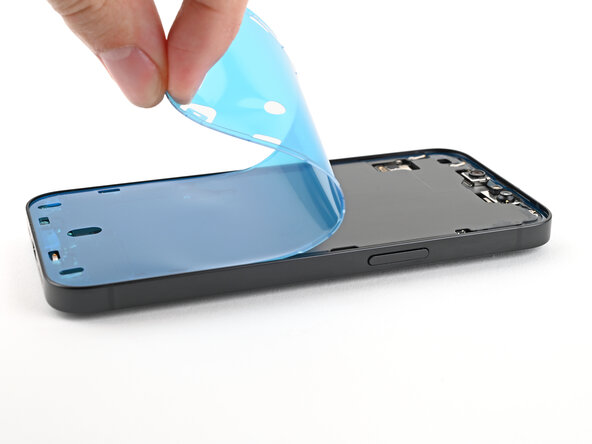
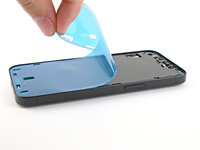
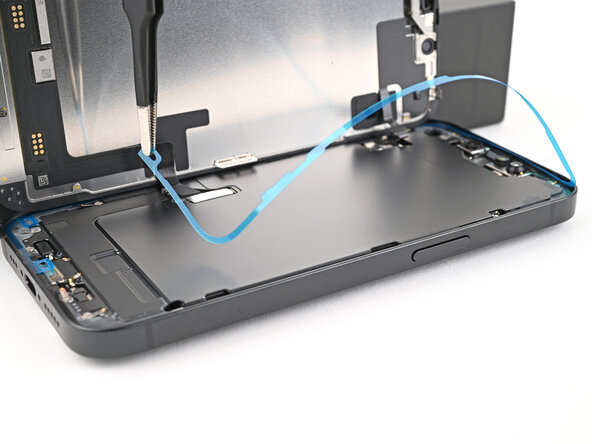
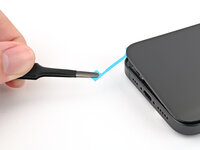
Use the pull tab to begin peeling the back liner off the adhesive starting from the bottom, but don't remove the liner all the way.
-
Hold the blue liner out of the way and align the adhesive with the bottom edge of the iPhone.
-
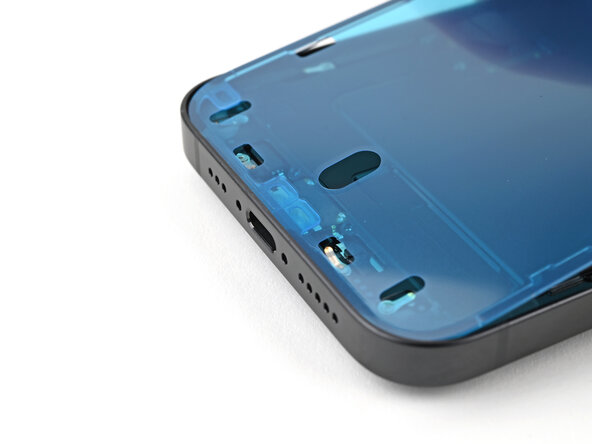
Lay the bottom edge of the adhesive into its recess in the frame, making sure the iPhone's spring contacts are aligned with their cutouts in the liner.
-
-
-
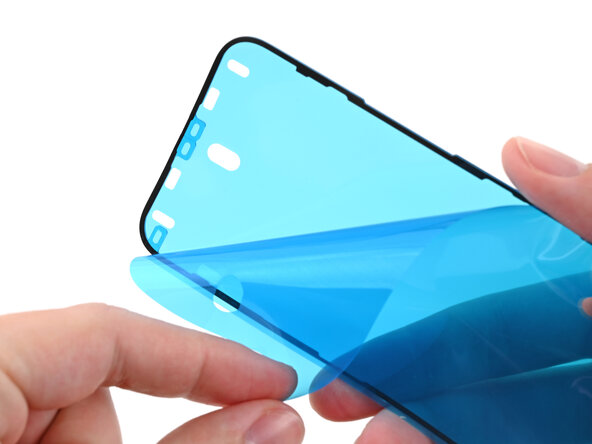
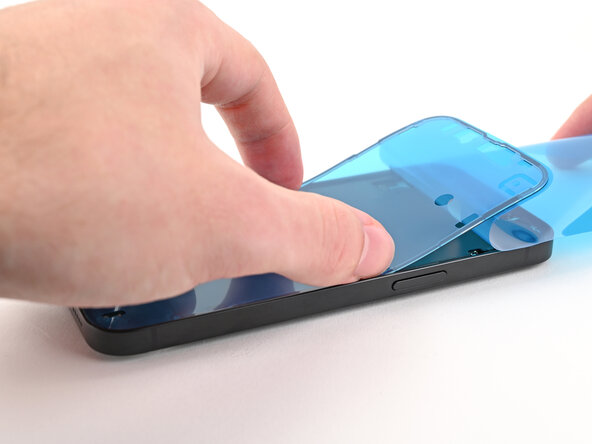
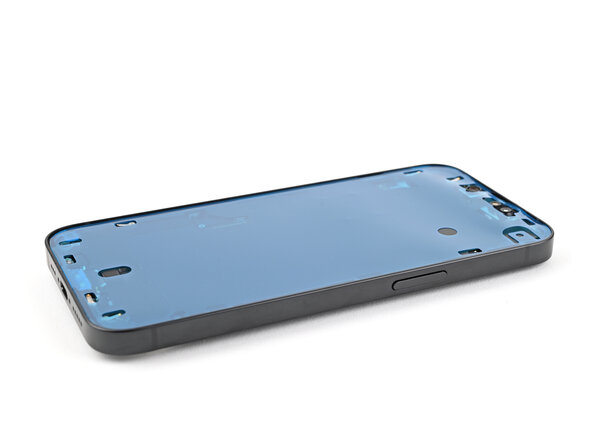
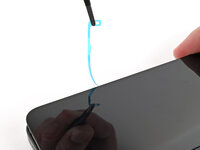
Continue peeling the back liner off the adhesive while pressing the adhesive into place along the edges of the iPhone's frame.
-
-
-
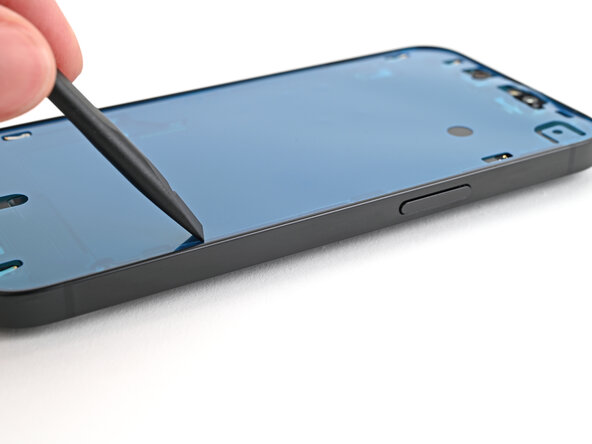
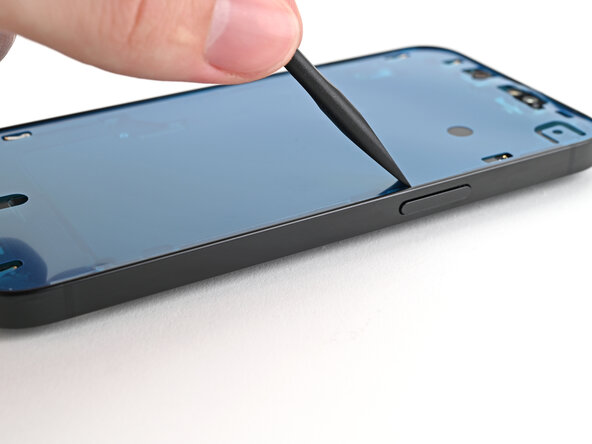
Use the flat end of a spudger to press the adhesive into place around the perimeter of the frame.
-
-
-
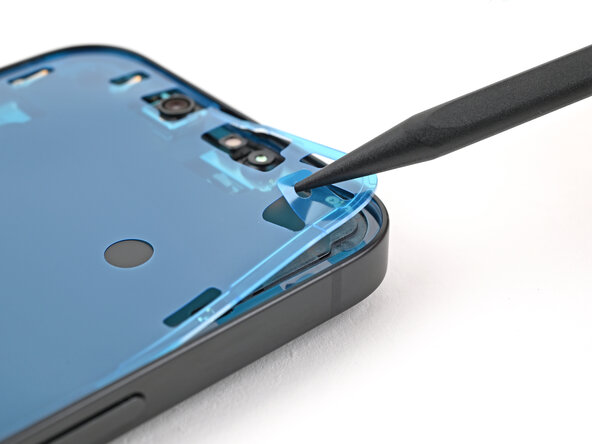
Use the tip of a spudger to lift up the pull tab on the top right corner of the blue adhesive liner until you can grip it with your fingers.
-
-
-
Prop up the screen along the left edge of the iPhone, using a box or similar sturdy object to support the screen.
-
Use the flat end of a spudger or your finger to connect the screen press connector.
-
Repeat for the front sensor press connector.
-
-
-
Insert the top of the screen connector cover into its slot in the frame and lay it over the press connector.
-
-
-
Angle the front sensor connector cover at a 90-degree angle and insert it into its slot in the frame.
-
Lay the cover over the press connector.
-
-
-
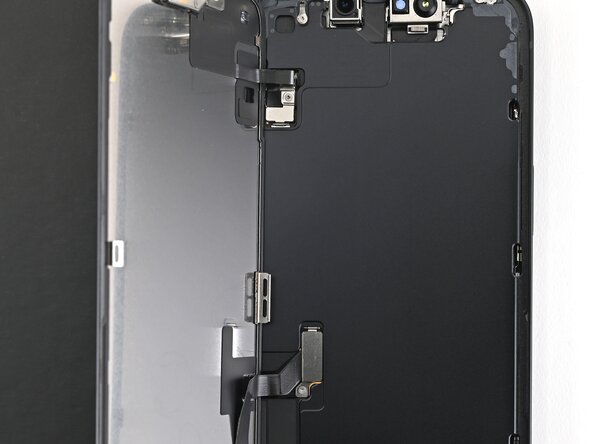
Use a tri-point Y000 screwdriver to install the two 0.9 mm‑long screws securing the front sensor connector and screen connector covers.
-
-
-
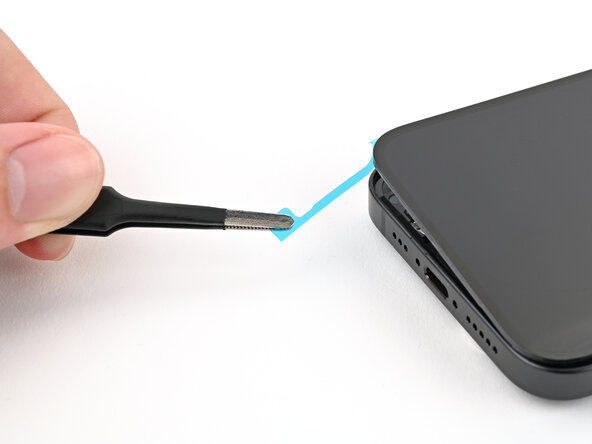
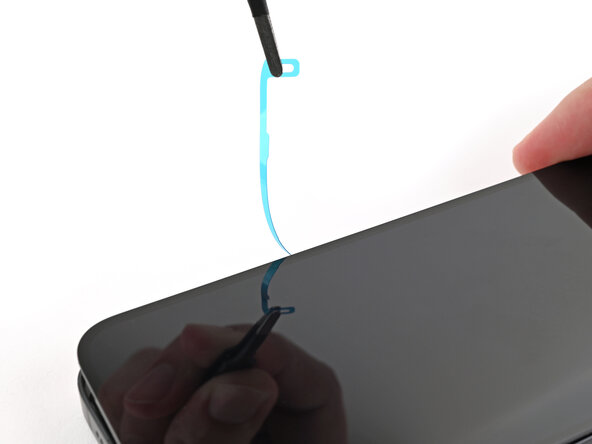
Use tweezers or your fingers to grip the blue pull tab and remove the liner along the right edge.
-
Without letting the screen touch the adhesive, hold the screen over the phone and remove the other two liners.
-
-
-
Hold the screen above the phone and align it with the frame.
-
-
-
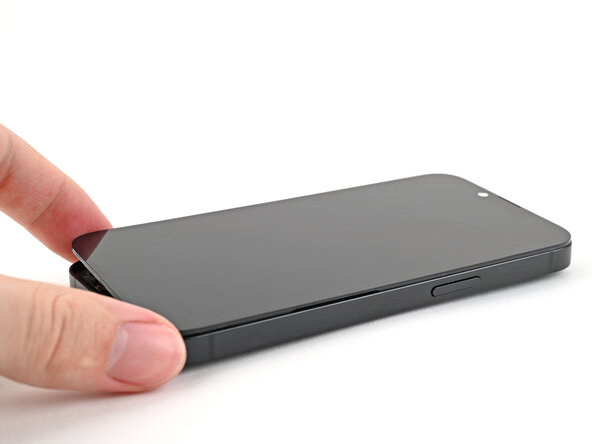
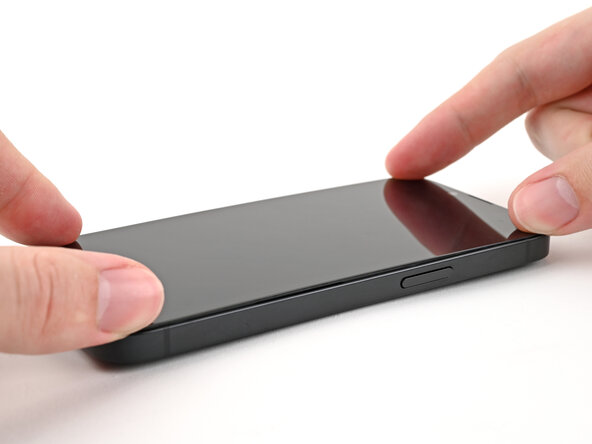
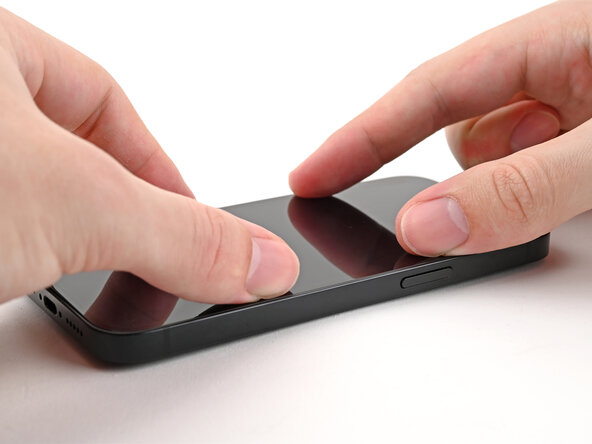
Lay the screen straight down onto the frame and press until the clips engage.
-
Press around the perimeter of the screen to engage all clips.
-
-
-
To help the adhesive bond, apply heat to the edges of the screen using an iOpener, hair dryer, or heat gun until it's hot to the touch.
-
If you have screen vise clamps, use them to strengthen the bond of your new adhesive. If not, keep reading for more ways to secure the screen.
-
-
-
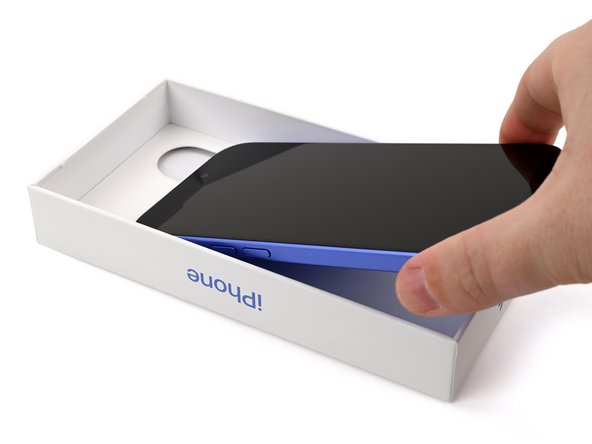
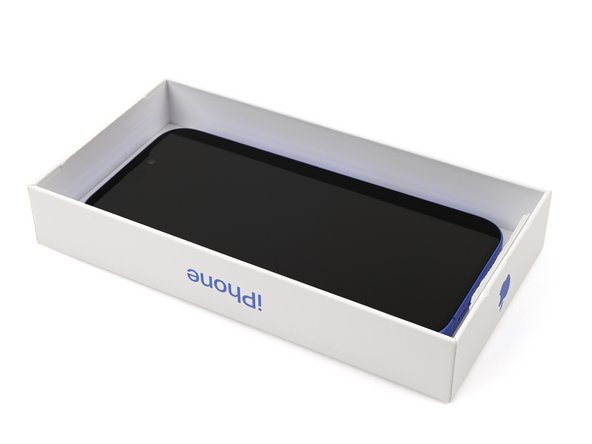
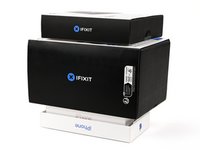
If you have the box your iPhone came in, take the lid and place it on a flat surface.
-
Place your iPhone screen-side-up in the lid of your box with the camera bump in its recess.
-
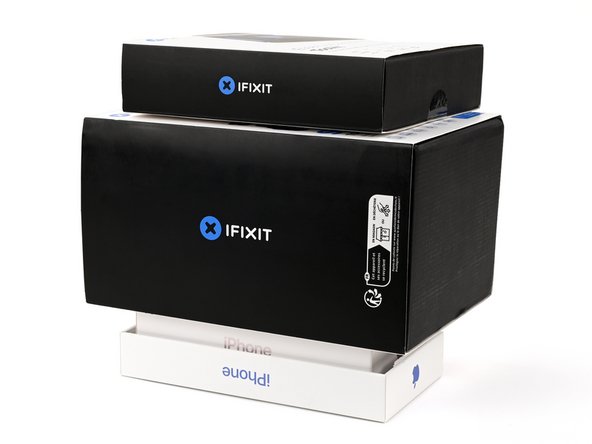
Find something close to the size of your iPhone, but taller than the sides of the box. Stack it on top of the iPhone, followed by a few heavy objects.
-
Leave the objects in place for at least thirty minutes. The lighter the objects, the longer they should be left. Ideally, leave them stacked overnight.
-
-
-
Place the iPhone screen-side-down on a soft, flat surface.
-
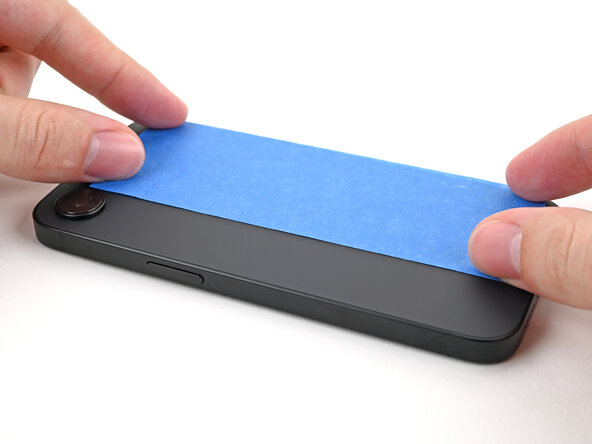
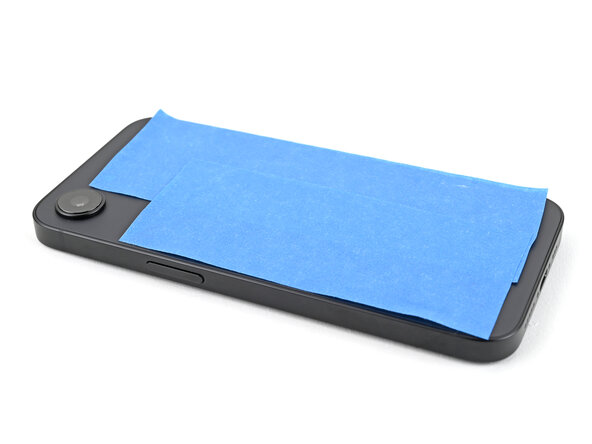
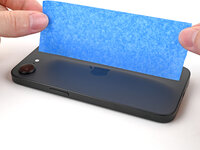
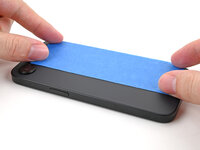
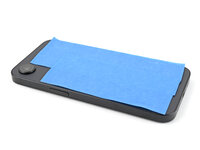
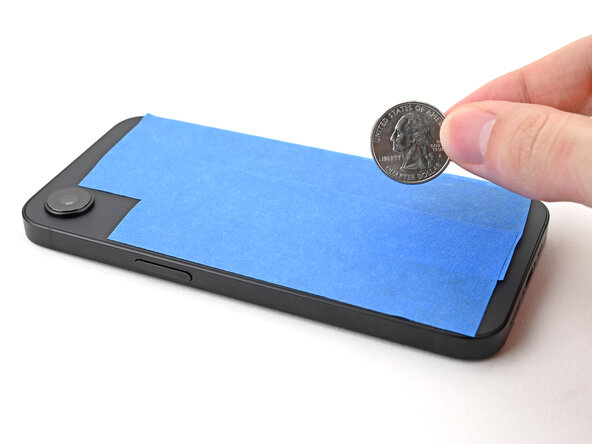
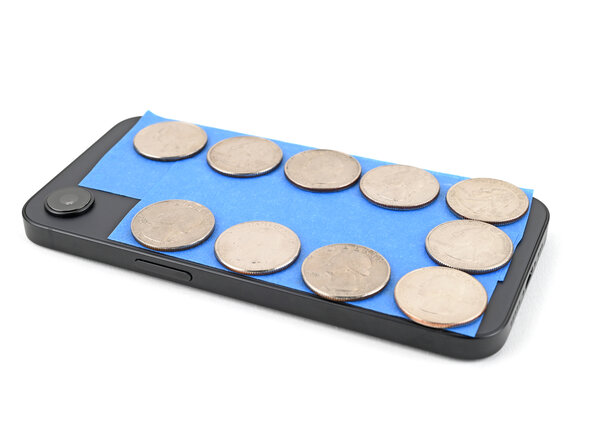
Apply tape to the back glass to protect its finish.
-
-
-
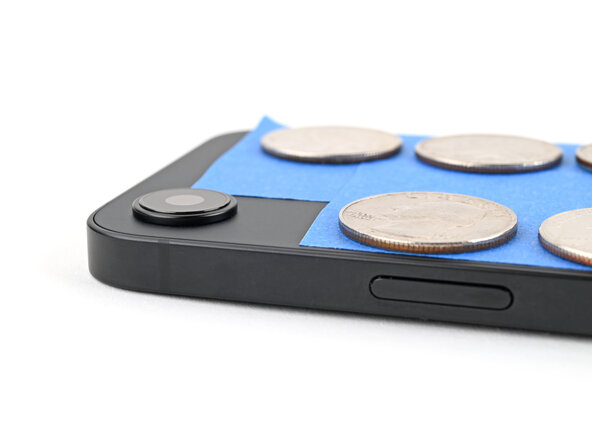
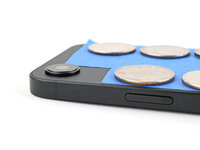
Place one layer of coins or similarly thick objects on the tape along the edges of the back glass.
-
Evenly distribute the coins and make sure they are at least as thick as the camera bump.
-
-
-
Stack multiple books or other heavy objects on the iPhone.
-
Leave the objects in place for at least thirty minutes. The lighter the objects, the longer they should be left. Ideally, leave them stacked overnight.
-
-
-
-
-
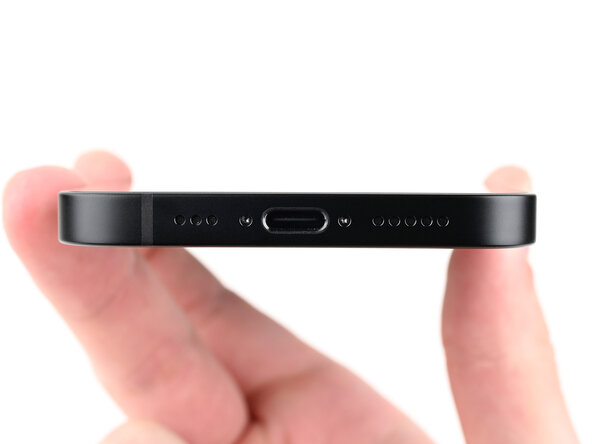
Use a P2 pentalobe screwdriver to install the two 7.8 mm‑long screws on either side of the charging port.
-
-



















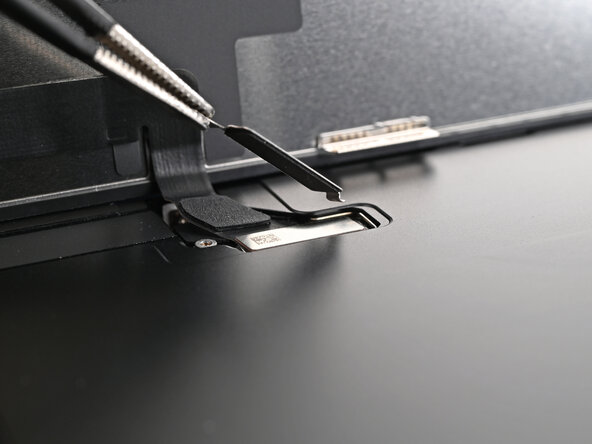
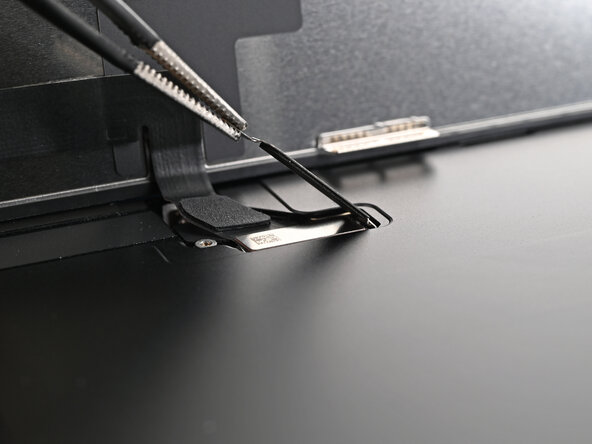
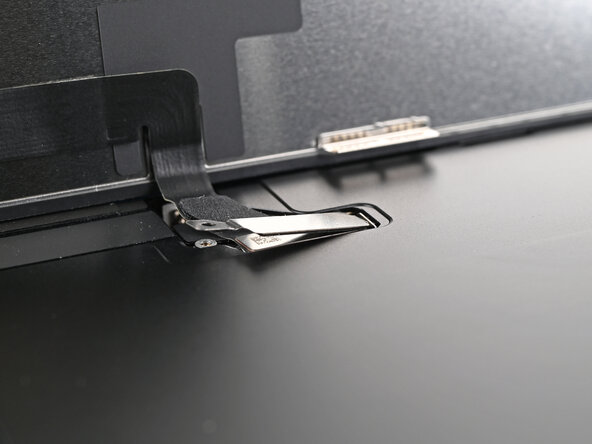
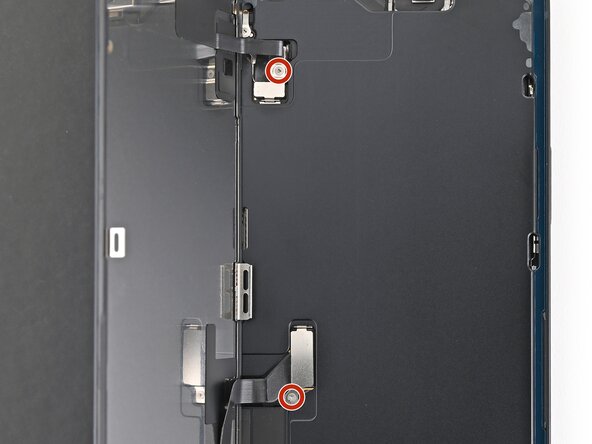
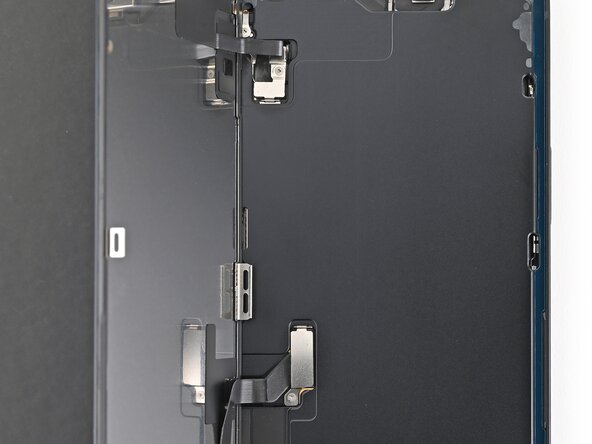
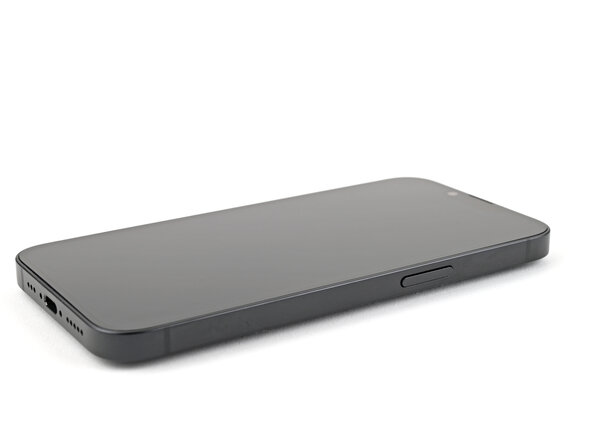


After your repair, calibrate a genuine replacement screen using Apple's Repair Assistant. Navigate to Settings → General → About → Parts & Service History, tap Restart & Finish Repair, and follow the onscreen prompts.
Take your e-waste to an R2 or e-Stewards certified recycler.
Repair didn’t go as planned? Try some basic troubleshooting, or ask our iPhone 16e Answers Community for help.
Cancel: I did not complete this guide.
4 other people completed this guide.


