
Samsung NP900X4B SSD Hard Drive Replacement

Bryton Lawrence and 3 other contributors
Last updated on Mar 28, 2020
Views: 3.2K
View statistics:
- Past 24 Hours:
- 3
- Past 7 Days:
- 21
- Past 30 Days:
- 72
- All Time:
- 3,154
Comments: 1
1 guide comment.
Go to guide commentsCompleted: 1 2
1 person has marked this guide "completed." Will you be next?
2 people have marked this guide "completed." Including you — great job!
Favorites: 0 1
No one has favorited (and subscribed to) this guide. Will you be the first?
1 person has favorited (and subscribed to) this guide — and that's you!
Missing Prerequisites
This guide is missing information on how to start the process. Make a prerequisite guide!
Introduction
Go to step 1 ↓This guide will give a step by step walk through on how to replace the hard drive of a Samsung NP900X4B Laptop. Before replacing the hard drive make sure the device is unplugged and turned off as a safety step.
What you need
Tools


-
-
-
Before begining you must remove the back panel of the laptop. The Battery Removal guide demonstrates how to do this. The link to this guide is posed here. Samsung NP900X4B Battery Replacement
-
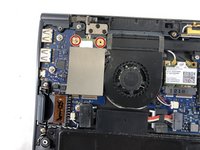
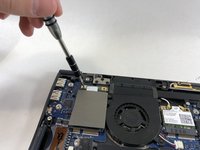
Once this is completed, use this image to locate the Hard Drive. It can be found in the upper left hand corner of the device.
 Ask FixBot
-
-
-
-
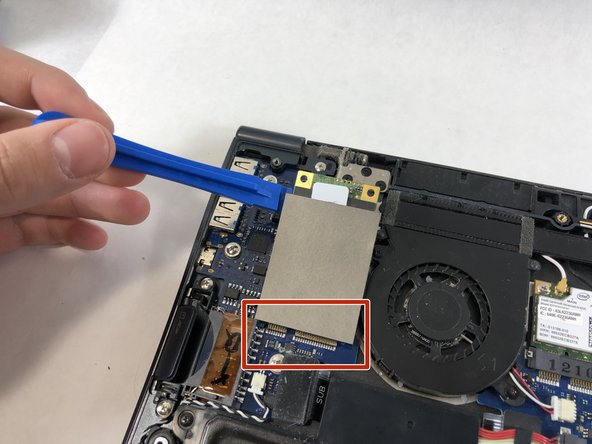
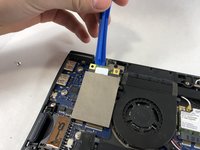
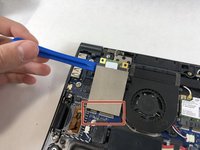
Gently lift up from the top of the SSD card using a plastic opening tool.
-
Pull gently away from the drive slot located at the base of the SSD.
-
-



To reassemble your device, follow these instructions in reverse order.
Cancel: I did not complete this guide.
One other person completed this guide.

Team

UMass Dartmouth, Team S4-G6, Valliere Fall 2018 Member of UMass Dartmouth, Team S4-G6, Valliere Fall 2018
UMASSD-VALLIERE-F18S4G6
5 Members
72 Guides authored
