Introduction
This guide will show you how to fix the missing stitching on your insulated jacket.
If you simply have a loose loop of thread, see our guide to repair a loop of loose stitching. In this guide, we’ll show you how to patch the baffle without deconstructing the garment. This means that the repair stitching will show through on the jacket lining.
New to sewing? Check out our sewing glossary.
What you need
-
-
-
Examine the damaged area of your jacket. In our case we have a few missing stitches along a single line of stitching.
-
Select thread that matches the fabric color on the outside of the jacket and load it into the sewing machine.
-
Select thread that matches the fabric color on the lining of your jacket and load it into the bobbin of your sewing machine.
 Ask FixBot
-
-
-
Set your sewing machine stitch length to about 3.
-
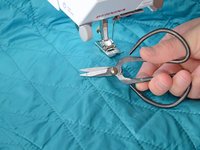
Clip the extra thread off of your jacket.
-
-
-
-
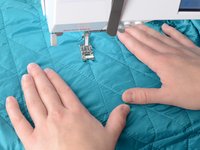
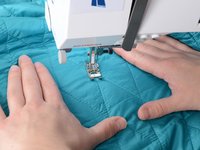
Align the jacket in the sewing machine at a distance of roughly five stitches before the missing stitching.
-
-
-
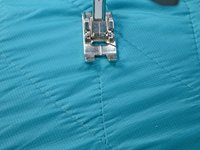
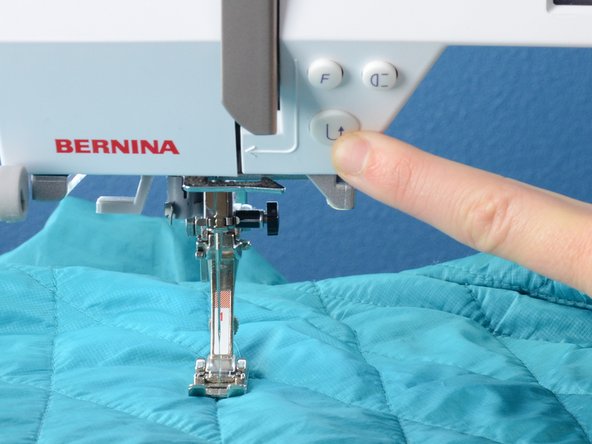
Sink the needle, being sure that it aligns with the stitching.
-
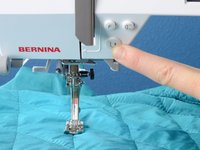
Sew forward a few stitches and then backstitch to hold your stitches in place.
-
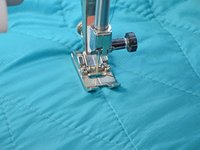
Sew along the holes where the stitching used to be.
-
-
-
Continue sewing until you overlap five of the remaining stitches.
-
Backstitch to hold your stitches in place.
-
Clip any threads to free the garment from the sewing machine.
-
-






Cancel: I did not complete this guide.
5 other people completed this guide.


2 Guide Comments
Do you think you could demonstrate adding an elastic cuff to the nano-puff? I have one but the sleeves are just a hair too short.
I got a new jacket recently and soon discovered loose stitching on the sleeve underarm.
On my precious jacket I didn’t want to use a sewing machine -sewing the two layers together- so I used a needle and the loose thread to secure the loose threads to the fabric.
This time I tried my grandmothers #12 crochet needle to crochet (knot) the threads to the secure stitches and pull the ends under.
