
Philips Satinelle Disassembly

Nathan Christian and 5 other contributors
Last updated on May 7, 2024
Views: 12K
View statistics:
- Past 24 Hours:
- 9
- Past 7 Days:
- 54
- Past 30 Days:
- 270
- All Time:
- 11,651
Comments: 7
1 comment on steps, 6 guide comments.
Go to guide commentsCompleted: 6 7
6 people have marked this guide "completed." Will you be next?
7 people have marked this guide "completed." Including you — great job!
Favorites: 1 2
1 person has favorited (and subscribed to) this guide. Will you be next?
2 people have favorited (and subscribed to) this guide — including you!
Introduction
Go to step 1 ↓This guide will teach how to disassemble Phillips Satinelle for parts replacement
What you need
Tools


-
-
-
Unplug the device and remove the purple guard.
-
Remove the head by pressing the right side of the head (with the device facing away from you).
-
You will hear a 'click' and the head will become dislodged from the body of the device.
 Ask FixBot
-
-
-
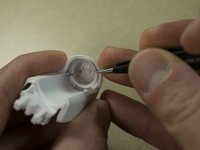
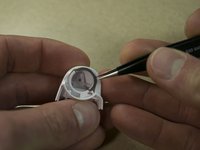
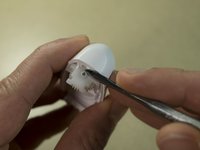
While wearing safety glasses, use a plastic opening tool to pry from right to left to pry out the tensor clip.
-
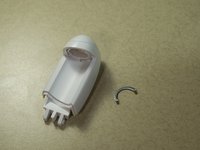
Be careful not to lose the clip. It will likely fly off when it releases.
-
-
Tool used on this step:Tweezers$4.99
-
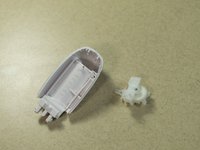
The left side will swing down.
-
Remove the Tweezers.
-
-
-
Remove the plastic component that swings down.
-
Use fingernails to lift clips from stubs.
-
-
-
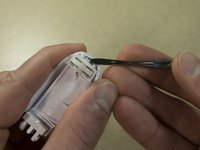
Using Needle Nose pliers remove metal roller track on both sides of the Tweezers Head.
-
-
-
-
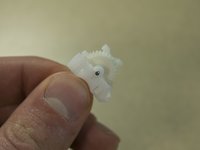
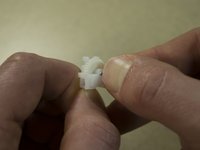
Use your thumbnail and a pair of needle nose pliers to push out the gear housing retention pin.
-
-


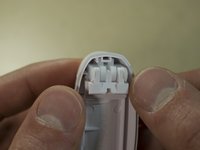
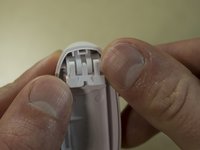
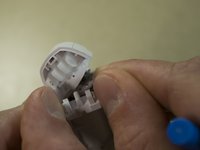
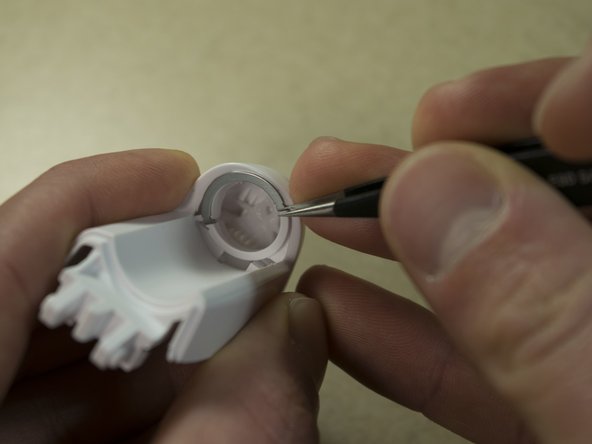






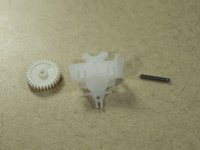
To reassemble your device, follow these instructions in reverse order.
Cancel: I did not complete this guide.
6 other people completed this guide.

Team

IUPUI, Team S5-G5, Wilson Fall 2017 Member of IUPUI, Team S5-G5, Wilson Fall 2017
IUPUI-WILSON-F17S5G5
3 Members
48 Guides authored
6 Guide Comments
can we open the lower part which holds the motor and gear..
actualy the gear which holds the motor is gone bad i think.. so i want to replace it ..
can this be fixed..??
similar here, wanted to open the lower part where the cable goes in. the cable is broken at the entry.
To open main body …Click here
Thank you for this great tutorial. It really helps!
Can you please give us the dimensions for the gear’s teeth in step 7 and the corresponding gear in step 2 in the Philips Satinelle Motor Replacement tutorial? I can 3D print the gears, but I can’t find the dimensions online and the gears are simply to eroded to be able to measure them.
