Free Shipping on Domestic Orders $75+

One Education Infinity Hinge Assembly Replacement

Views: 436

View statistics:

Past 24 Hours:
2
Past 7 Days:
11
Past 30 Days:
56
All Time:
436
Comments: 0

No one has left comments on this guide. Will you be first?

Go to guide comments
Completed: 0

No one has marked this guide "completed." Will you be the first?

Favorites: 0

No one has favorited (and subscribed to) this guide. Will you be the first?

Time Required: 1 - 2 hours
Difficulty: Difficult
In Progress

This guide is a work in progress. Reload periodically to see the latest changes!

One Education Infinity Hinge Assembly Replacement

Introduction

Go to step 1 ↓

If you need to replace the hinge assembly of your One Education Infinity laptop, this is the guide for you. We will be going through the step by step process of removing the entire hinge assembly from the device, separating the upper and lower case portions in the process.

The hinge assembly is a purely mechanical part responsible for regulating the movement between the upper and lower case. Over time, or with physical damage such as a fall, the hinge assembly may fail or start to loosen, preventing the laptop from being held in an open position when desired. If this is the case, the following guide will help one to replace the assembly and resume the desired movement from their device.

The hinge of the One Education Infinity facilitates a 360º range of motion such that the laptop can be used in a tablet mode, with the upper case of the device swinging below the keyboard.

Additionally, note that this guide has the user remove the battery prior to disassembling the upper case to prevent any electrical damage while disconnecting the display cables. However, the same effect can be achieved by simply disconnecting the battery cable, so the battery removal in step 5 can be skipped to save a bit of time and effort.

What you need

Tools

    1. One Education Infinity Hinge Assembly Replacement, Back Case: step 1, image 1 of 3 One Education Infinity Hinge Assembly Replacement, Back Case: step 1, image 2 of 3 One Education Infinity Hinge Assembly Replacement, Back Case: step 1, image 3 of 3
      • Always power off your device before beginning disassembly.

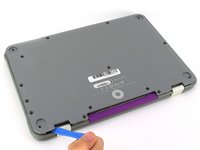
      • Remove the screw covers and rubber feet from the bottom of the laptop with a metal spudger.

      Ask FixBot

      Add Comment

    2. One Education Infinity Hinge Assembly Replacement: step 2, image 1 of 2 One Education Infinity Hinge Assembly Replacement: step 2, image 2 of 2
      • Using a Phillips #00 screwdriver, remove the sixteen 5.0 mm black screws from the back panel.

      Ask FixBot

      Add Comment

    3. One Education Infinity Hinge Assembly Replacement: step 3, image 1 of 3 One Education Infinity Hinge Assembly Replacement: step 3, image 2 of 3 One Education Infinity Hinge Assembly Replacement: step 3, image 3 of 3
      • Using the iFixit plastic opening tool or spudger, start near the white hinge of the device and lift along the outer edges of the device until all clips are released.

      • Lift the back case off of the device.

      • Removing the back may create a loud snapping noise.

      Ask FixBot

      Add Comment

    1. One Education Infinity Hinge Assembly Replacement, Battery: step 4, image 1 of 3 One Education Infinity Hinge Assembly Replacement, Battery: step 4, image 2 of 3 One Education Infinity Hinge Assembly Replacement, Battery: step 4, image 3 of 3
      • There may be black tape inside your device covering components or holding down wires. This tape is unimportant for the function of the device, and can be removed.

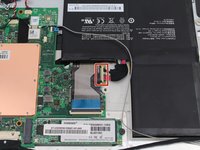
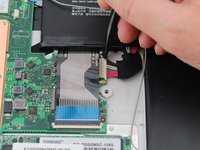
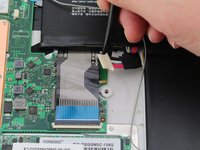
      • Carefully wiggle the battery cable to the right and out of the port with a plastic spudger.

      Ask FixBot

      Add Comment

    2. One Education Infinity Hinge Assembly Replacement: step 5, image 1 of 3 One Education Infinity Hinge Assembly Replacement: step 5, image 2 of 3 One Education Infinity Hinge Assembly Replacement: step 5, image 3 of 3
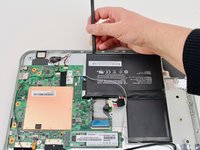
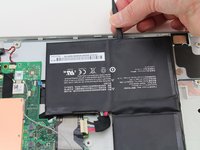
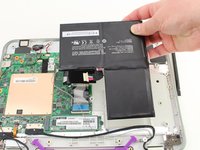
      • Wedge a plastic spudger underneath the battery from the upper edge and slide it carefully along the length of the battery to separate it from the case.

      • There is a mild adhesive holding down the battery. Take care not to puncture or excessively bend the battery while freeing it from the adhesive.

      • Lift the battery out from the internal case.

      Ask FixBot

      Add Comment

    1. One Education Infinity Hinge Assembly Replacement, Upper Case: step 6, image 1 of 3 One Education Infinity Hinge Assembly Replacement, Upper Case: step 6, image 2 of 3 One Education Infinity Hinge Assembly Replacement, Upper Case: step 6, image 3 of 3
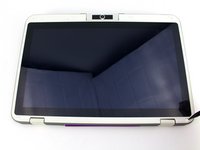
      • Flip open the laptop so that the screen is exposed.

      • We found it convenient to flip the laptop into tablet mode for added support.

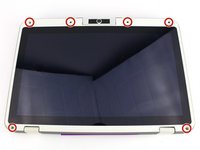
      • Using a spudger, remove the six screw covers along the bezel of the screen.

      Ask FixBot

      Add Comment

    2. One Education Infinity Hinge Assembly Replacement: step 7, image 1 of 2 One Education Infinity Hinge Assembly Replacement: step 7, image 2 of 2
      • Remove the six 2.8 mm Phillips #00 screws along the bezel.

      Ask FixBot

      Add Comment

    3. One Education Infinity Hinge Assembly Replacement: step 8, image 1 of 3 One Education Infinity Hinge Assembly Replacement: step 8, image 2 of 3 One Education Infinity Hinge Assembly Replacement: step 8, image 3 of 3
      • Use the two tabs on the top edge of the screen to pry the case apart.

      • Once the two top clips have been disengaged, start to work your way around the rest of the screen.

      Ask FixBot

      Add Comment

    4. One Education Infinity Hinge Assembly Replacement: step 9, image 1 of 1
      • Once all the clips have been popped off, remove the upper case from the back of the display assembly.

      • You may want to close the laptop while disconnecting the hinge-side edge, as it will give you extra clearance for the upper case.

      Ask FixBot

      Add Comment

    1. Careful: steps 10-12 are sourced from a guide that's marked as in-progress.

      One Education Infinity Hinge Assembly Replacement, Upper Hinge Assembly: step 10, image 1 of 2 One Education Infinity Hinge Assembly Replacement, Upper Hinge Assembly: step 10, image 2 of 2
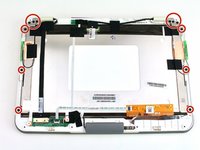
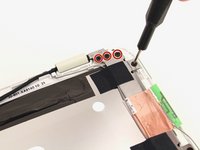
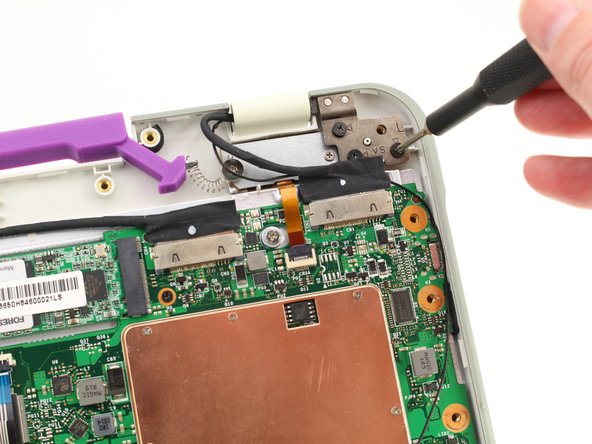
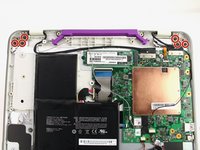
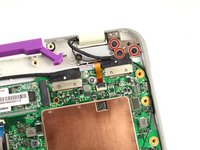
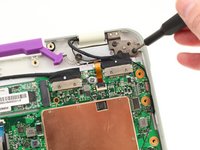
      • Remove the twelve 3.8 mm Phillips #00 screws from the hinge brackets extending along the height of the display.

      Ask FixBot

      Add Comment

    2. One Education Infinity Hinge Assembly Replacement: step 11, image 1 of 3 One Education Infinity Hinge Assembly Replacement: step 11, image 2 of 3 One Education Infinity Hinge Assembly Replacement: step 11, image 3 of 3
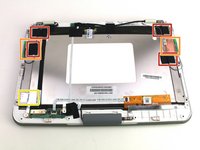
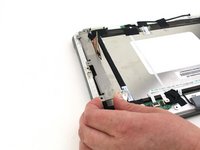
      • Peel back the four pieces of black tape.

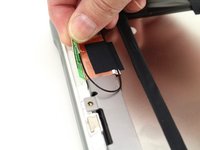
      • Peel back the antenna cable boards off of the display hinges.

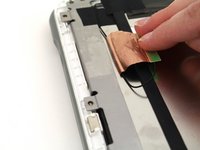
      • Peel off the silver tape from the display hinges.

      Ask FixBot

      Add Comment

    3. One Education Infinity Hinge Assembly Replacement: step 12, image 1 of 3 One Education Infinity Hinge Assembly Replacement: step 12, image 2 of 3 One Education Infinity Hinge Assembly Replacement: step 12, image 3 of 3
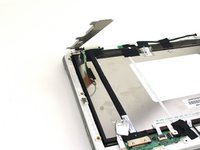
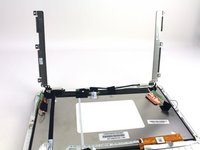
      • Lift up both hinges, ensuring that they clear all tape and wires.

      Ask FixBot

      Add Comment

    1. One Education Infinity Hinge Assembly Replacement, Hinge Assembly: step 13, image 1 of 3 One Education Infinity Hinge Assembly Replacement, Hinge Assembly: step 13, image 2 of 3 One Education Infinity Hinge Assembly Replacement, Hinge Assembly: step 13, image 3 of 3
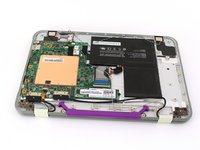
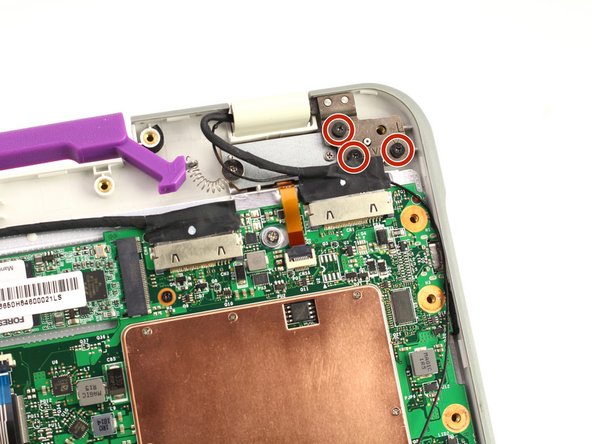
      • Flip the laptop over to expose the open bottom case.

      • Remove the six 5.6 mm Phillips #00 screws from the hinge brackets on the bottom case.

      Ask FixBot

      Add Comment

    2. One Education Infinity Hinge Assembly Replacement: step 14, image 1 of 3 One Education Infinity Hinge Assembly Replacement: step 14, image 2 of 3 One Education Infinity Hinge Assembly Replacement: step 14, image 3 of 3
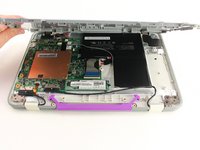
      • With the hinge still at a 90º angle, pull the hinge assembly clear from the bottom case.

      • You will need to apply a modest amount of force to squeeze the edge of the case between the two mounting brackets of the hinge.

      Ask FixBot

      Add Comment

    3. One Education Infinity Hinge Assembly Replacement: step 15, image 1 of 3 One Education Infinity Hinge Assembly Replacement: step 15, image 2 of 3 One Education Infinity Hinge Assembly Replacement: step 15, image 3 of 3
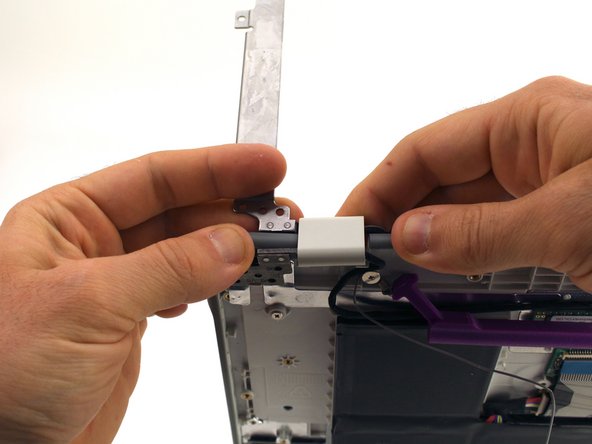
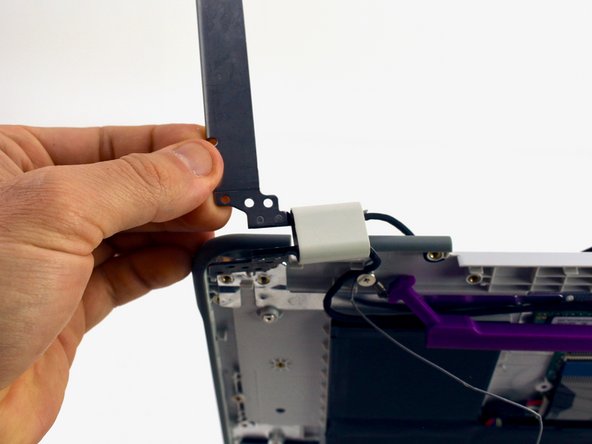
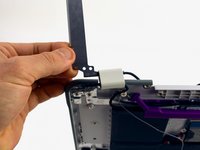
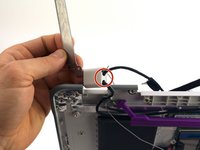
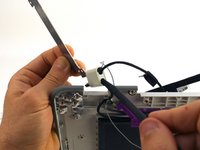
      • Use a spudger to pop out a white plastic cable retaining bit from the hinge body.

      • Pull the cables out from the hinge body.

      Ask FixBot

      Add Comment

    4. One Education Infinity Hinge Assembly Replacement: step 16, image 1 of 1
      • Remove the hinge assembly from the device.

      • Repeat the same steps for the other side.

      Ask FixBot

      Add Comment

Conclusion

To reassemble your device, follow these instructions in reverse order.

Cancel: I did not complete this guide.

Austin Blakely

Member since: 03/11/19

23,350 Reputation

53 Guides authored

Team

iFixit Member of iFixit

Staff

121 Members

72,895 Guides authored

0 Guide Comments

Add Comment

View Statistics:

Past 24 Hours: 2

Past 7 Days: 11

Past 30 Days: 56

All Time: 436