Introduction
Replace damaged Joy-Con 2 ABXY buttons, as well as their corresponding membrane.
What you need
-
-
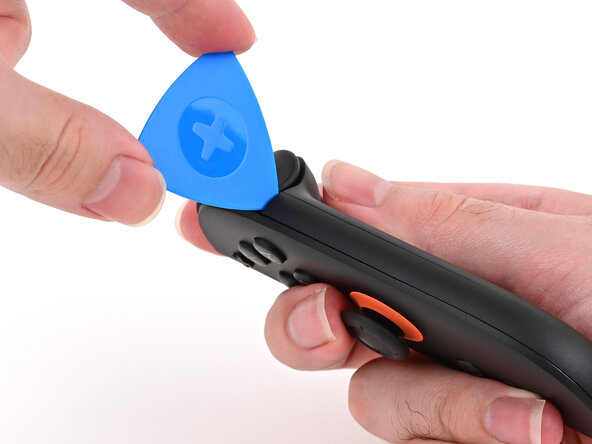
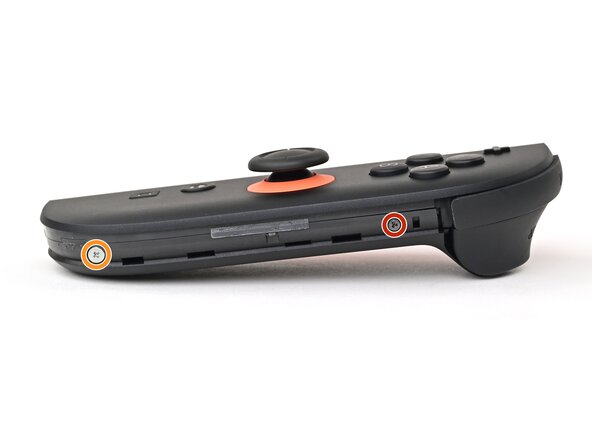
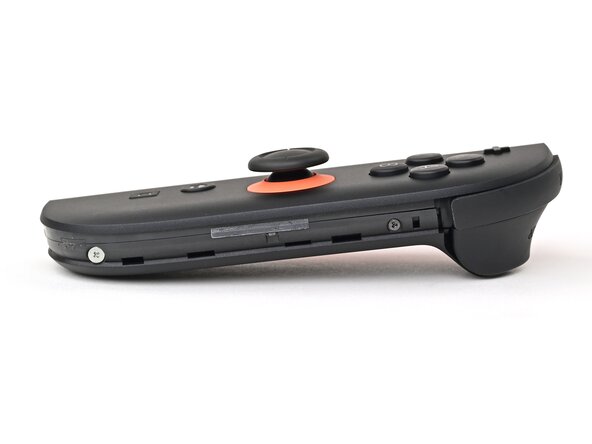
Use a tri-point Y00 driver to remove the two 3.1 mm‑long black screws on the left edge of the controller.
 Ask FixBot
-
-
-
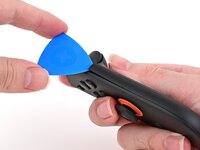
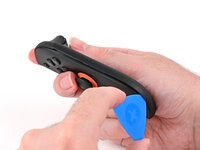
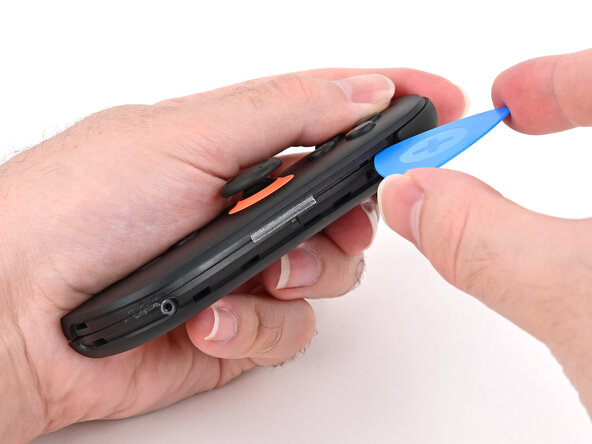
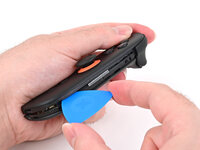
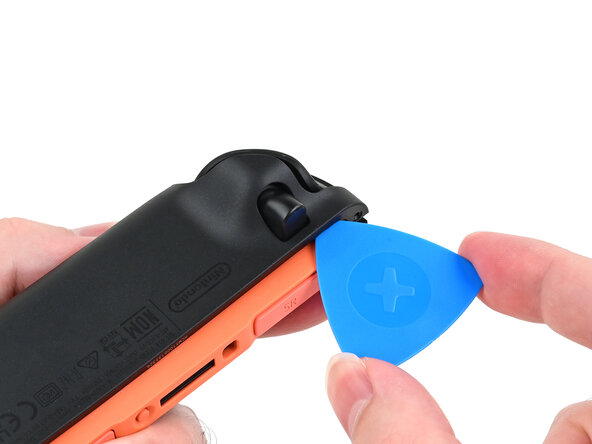
Insert an opening pick into the gap underneath the bumper button on the right side of the controller, with a point of the pick pointing downwards.
-
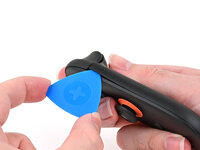
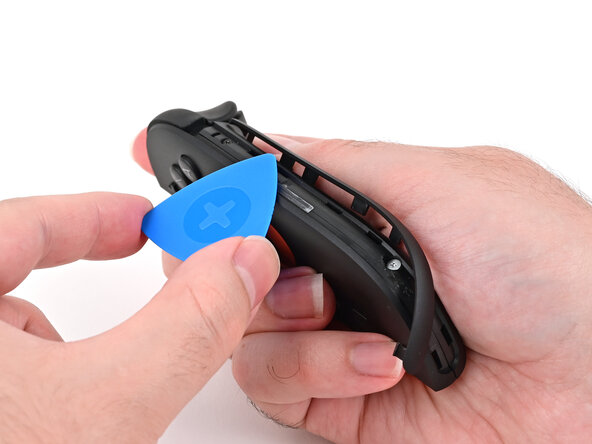
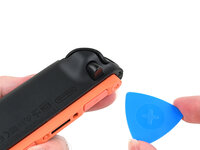
Pry up to slightly lift the plastic strip running across the right edge of the controller.
-
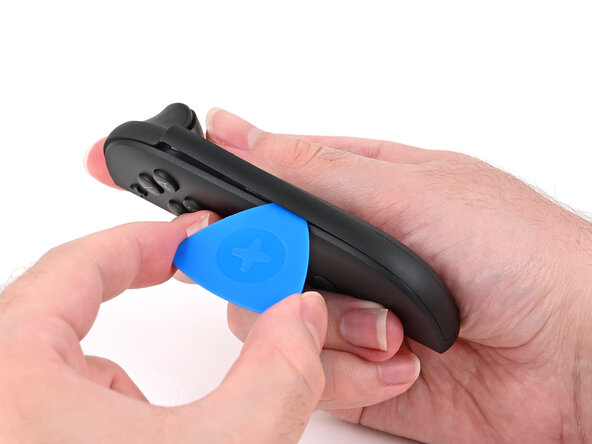
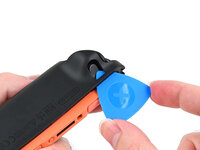
Slide the opening pick around to the front of the controller.
-
-
-
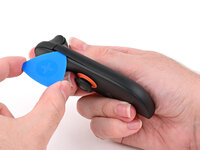
Slide the opening pick down the plastic strip to separate the clips and adhesive securing it to the controller's body.
-
-
-
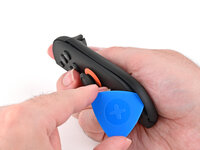
Pry up on the bottom edge of the plastic strip with slow, steady force.
-
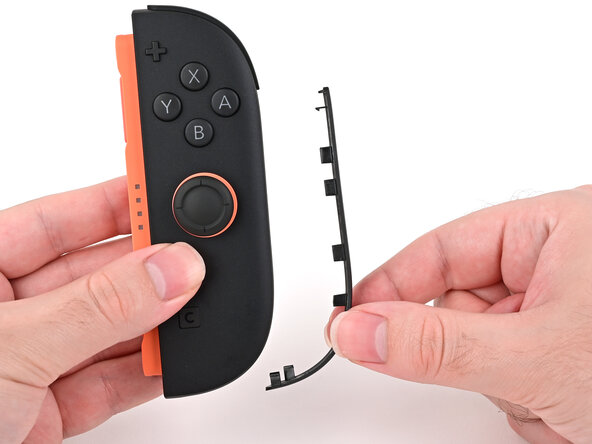
Repeat this prying action along the length of the strip until it's fully detached.
-
-
-
Remove the two screws on the right edge of the controller:
-
One 3.1 mm‑long tri-point Y00 black screw
-
One 3.0 mm‑long JIS 00 silver screw
-
-
-
-
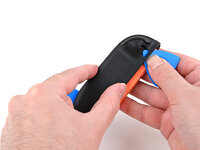
Insert an opening pick into the gap between the front and back halves of the controller on its right side.
-
Slide the pick down the controller to disengage the clips.
-
Leave the opening pick at the bottom of the controller's right edge, just before its curve.
-
-
-
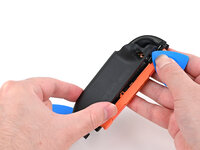
Hold the controller upside-down.
-
Insert a point of another opening pick next to the release button towards the top of the controller.
-
Use the opening pick to press the release button through the gap.
-
-
-
While holding the release button with the opening pick, use your other hand to slide the back cover down to release the clips securing it to the controller's body.
-
Open the back cover.
-
-
-
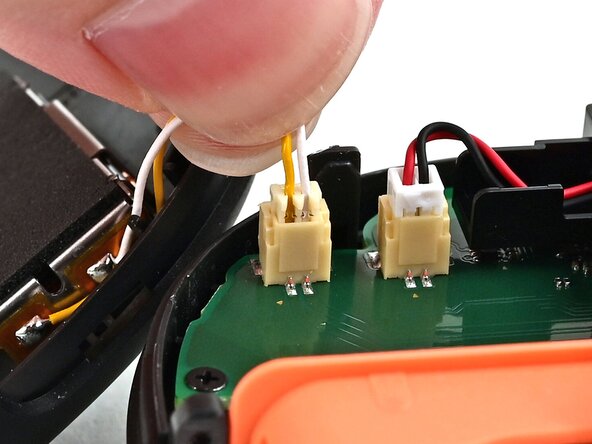
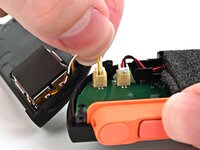
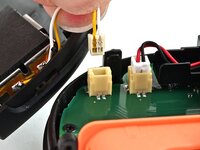
Firmly grasp the two wires (yellow and white) above the rumble motor connector, located at the bottom of the controller's board, and pull the beige connector out of its socket.
-
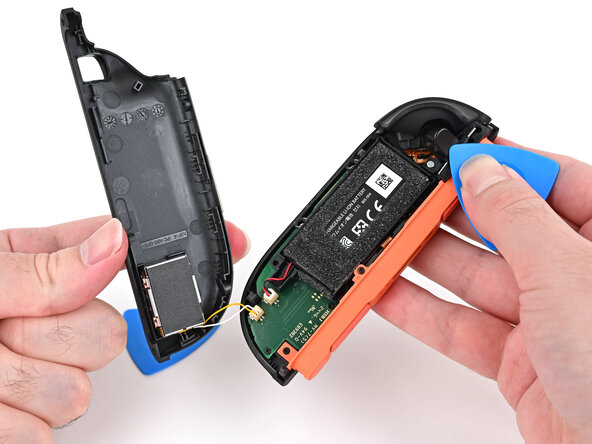
Remove the back cover.
-
-
-
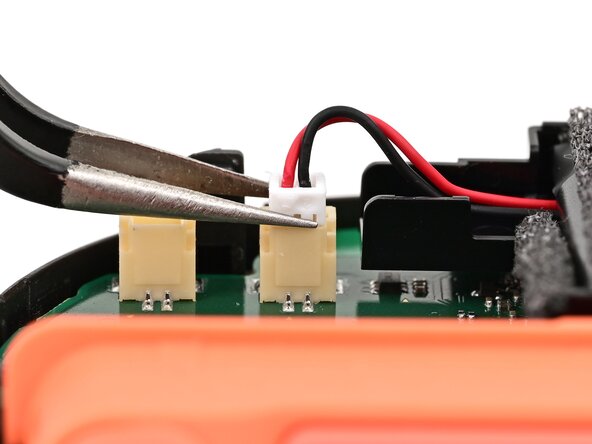
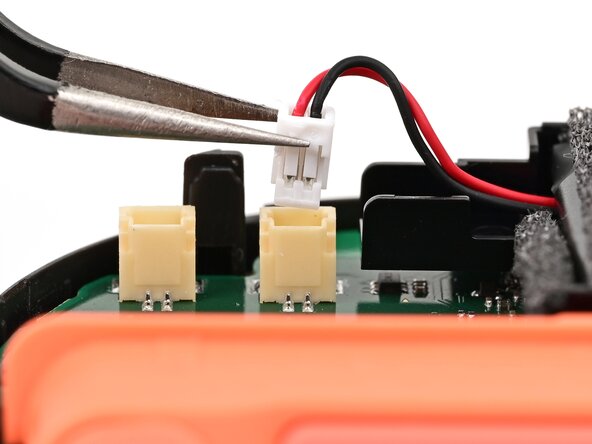
Use tweezers or your fingers to firmly grip the battery cable's white JST connector and pull straight away from its socket to disconnect it.
-
-
-
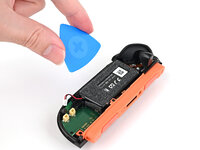
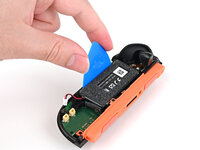
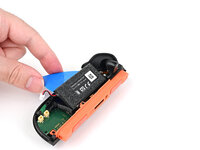
Insert a flat edge of an opening pick into the gap between the battery and the battery well.
-
-
Tool used on this step:iFixit Adhesive Remover$19.99
-
Pry the battery up slowly with steady force to release the adhesive.
-
If you're using adhesive remover, follow these preparation steps first.
-
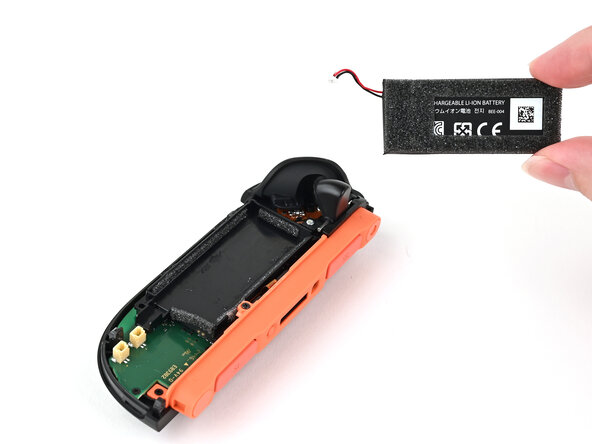
Remove the battery.
-
-
-
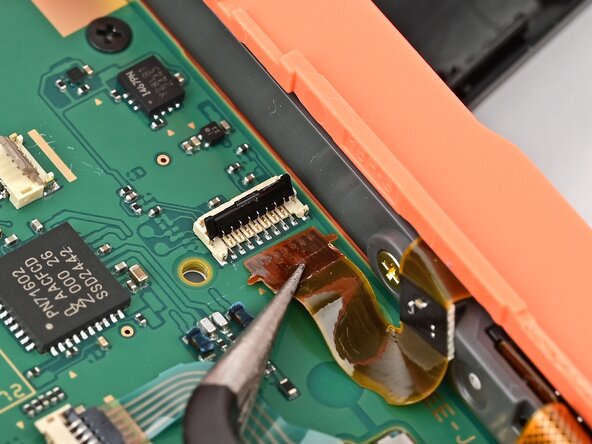
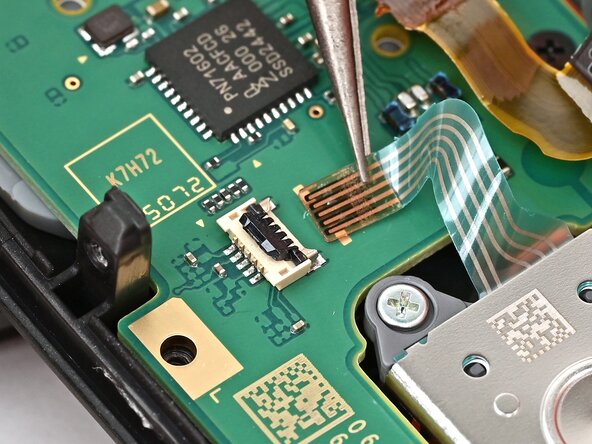
Repeat this procedure to disconnect the remaining three ZIF connectors on the controller's board.
-
-
-
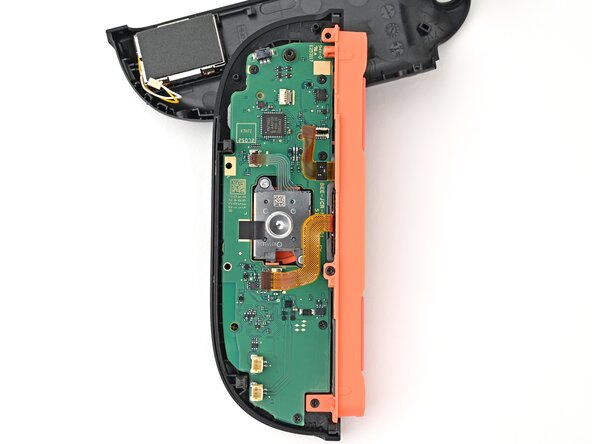
Use a JIS 00 driver to remove the five 3.1 mm‑long black screws securing the board to the controller.
-
-
-
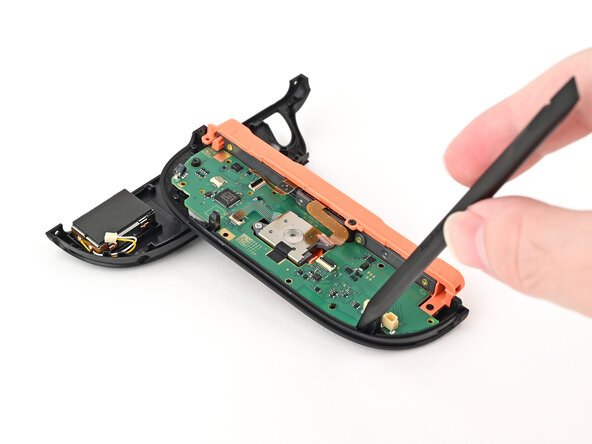
Insert the point of a spudger between the board and the controller, near the battery connector socket.
-
Pry up on the board enough to grasp its edge with your fingertips.
-
-
-
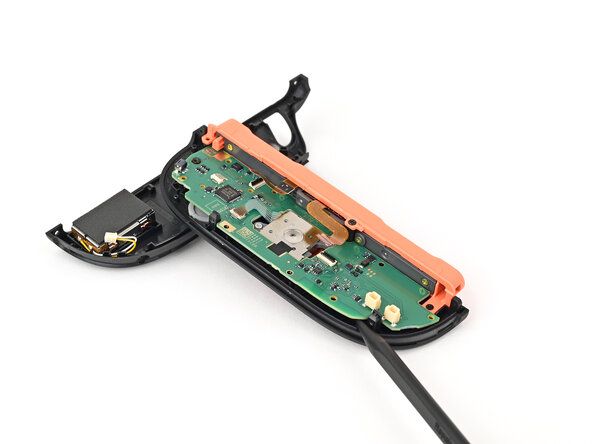
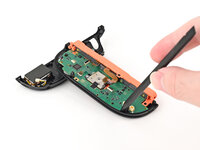
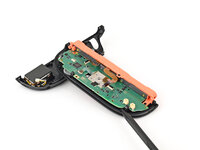
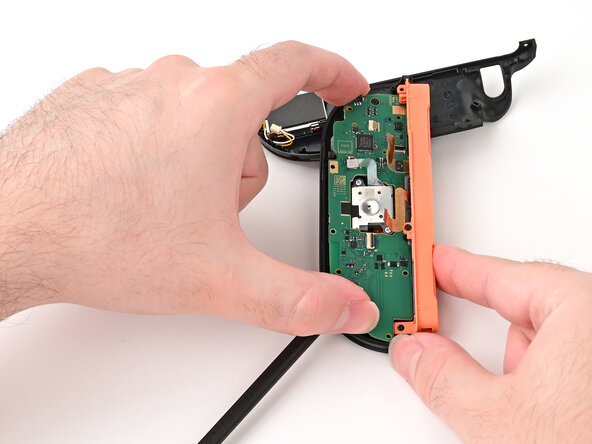
Lift the board by its outer edges to a roughly 45-degree angle, so it's no longer being blocked by the joystick assembly.
-
Remove the board.
-


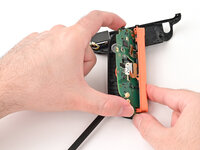

You have made it to the buttons! Use tweezers to remove the membrane, then you can push the button(s) off!
To reassemble your device, follow these instructions in reverse order. Please take your e-waste to a certified recycler.
Button order (counter-clockwise): X-Y-B-A
Cancel: I did not complete this guide.
One other person completed this guide.
