
Nikon D5000 Sensor Filter Replacement

Jacob Rardin and 4 other contributors
Last updated on May 7, 2024
Views: 6.4K
View statistics:
- Past 24 Hours:
- 2
- Past 7 Days:
- 22
- Past 30 Days:
- 116
- All Time:
- 6,370
Comments: 3
1 comment on steps, 2 guide comments.
Go to guide commentsCompleted: 3 4
3 people have marked this guide "completed." Will you be next?
4 people have marked this guide "completed." Including you — great job!
Favorites: 3 4
3 people have favorited (and subscribed to) this guide. Will you be next?
4 people have favorited (and subscribed to) this guide — including you!
Introduction
Go to step 1 ↓Need to clean out every last speck of dust? Scratched your sensor filter? Swapping out the filter for a custom modification? This guide can help.
What you need
Tools
-
×2
-
Spudger4.9
-


-
-
-
Unscrew the eight Phillips #00 screws on the back panel:
-
Two 2.5x6mm screws above the screen.
-
One 3x6mm screw on the upper part of each side (two total; right side shown).
-
One 3x7.5mm screw on the lower part of each side (two total).
-
Two 3x4.5mm screws on the bottom.
 Ask FixBot
-
-
Tool used on this step:Tweezers$4.99
-
Pull the back panel up, then tilt it back. There will be two cables still holding it on.
-
Disconnect the ribbon cable by flipping the black tab up, then pulling the cable out.
-
Pull out the other connector by lifting it up with tweezers, or by prying it out. Fingernails also work well.
-
-
-
-
Tool used on this step:Tweezers$4.99
-
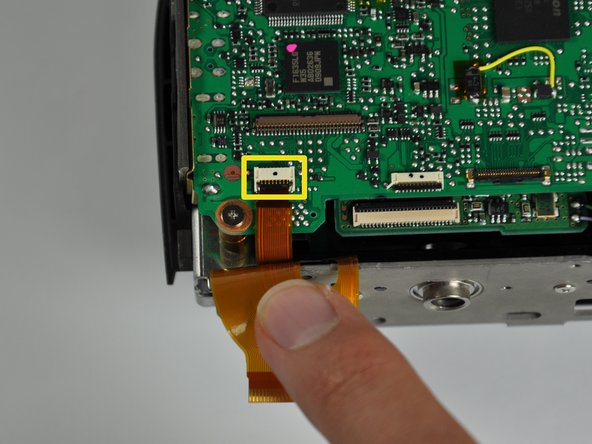
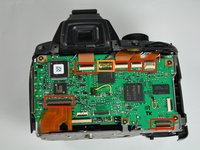
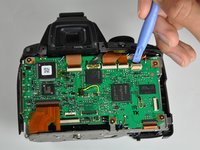
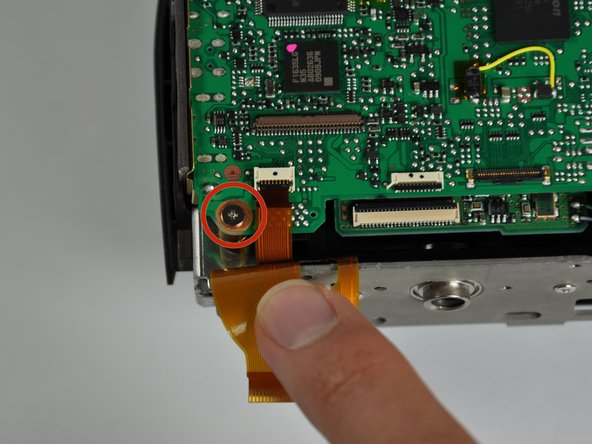
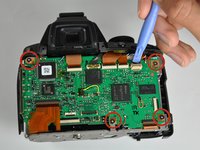
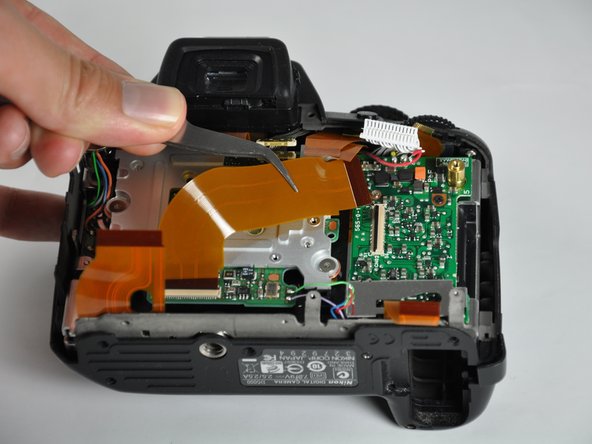
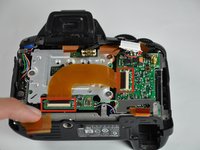
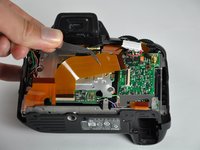
Disconnect the six ribbon cables by releasing the clips and pulling the cables out.
-
Pry off the gold-plated connector with an opening tool, spudger, tweezers, or a fingernail.
-
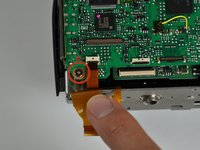
Disconnect a seventh ribbon cable in the lower-right corner.
-
-
-
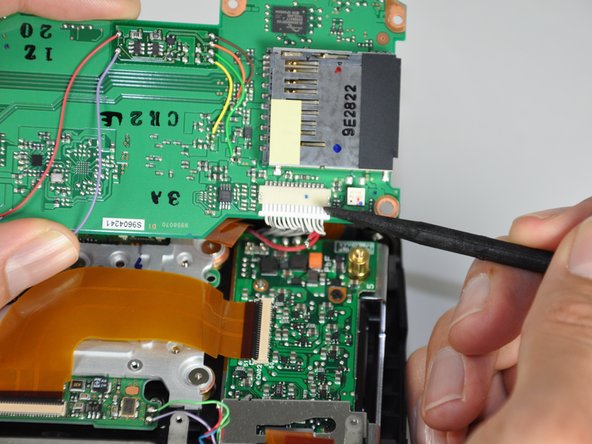
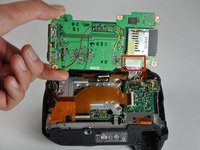
Flip up the motherboard.
-
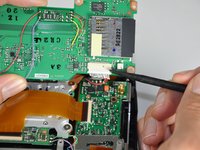
Remove the white cable connector by pulling it out of its socket with a spudger or fingernails.
-
-
-
-
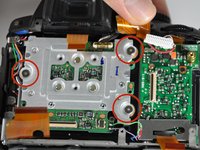
Remove the four silver 3.5x3.5mm screws securing the dust cover.
-
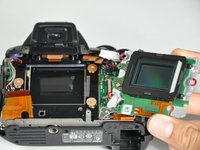
Pull the cover straight up to remove it.
-
-
-
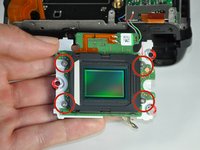
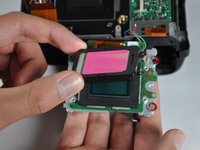
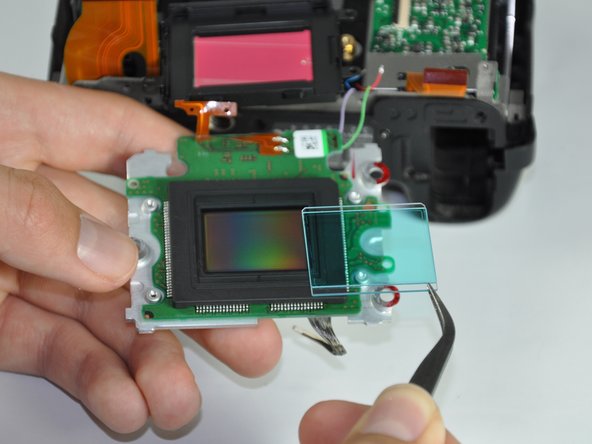
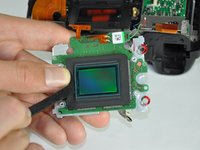
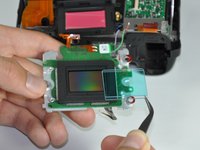
To remove the sensor filter, pull back the rubber gasket to expose the edge. Use a spudger or opening tool to carefully pry out the filter.
-
-











To reassemble your device, follow these instructions in reverse order.
Cancel: I did not complete this guide.
3 other people completed this guide.

Team

Cal Poly, Team 13-28, Maness Spring 2014 Member of Cal Poly, Team 13-28, Maness Spring 2014
CPSU-MANESS-S14S13G28
4 Members
72 Guides authored
