Free Shipping on Domestic Orders $75+

Motorola Moto E4 Plus (XT1771) Fingerprint Sensor Replacement

What you need

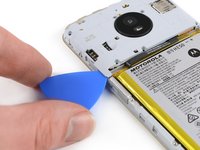
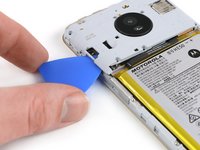
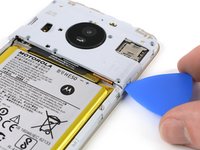
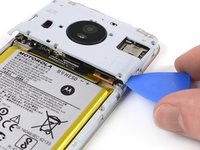
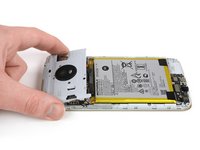
  1. Motorola Moto E4 Plus (XT1771) Fingerprint Sensor Replacement, Remove the back cover: step 1, image 1 of 3 Motorola Moto E4 Plus (XT1771) Fingerprint Sensor Replacement, Remove the back cover: step 1, image 2 of 3 Motorola Moto E4 Plus (XT1771) Fingerprint Sensor Replacement, Remove the back cover: step 1, image 3 of 3
    • Power off your phone before beginning disassembly.

    • Insert the edge of the spudger into the notch on the bottom right corner of the phone.

    • Twist the spudger to start releasing the back cover from the phone.

    • Slide the spudger along the bottom edge to separate the back cover from the phone.

    Ask FixBot
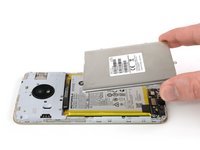
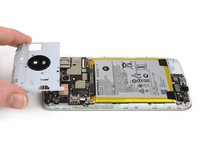
  2. Motorola Moto E4 Plus (XT1771) Fingerprint Sensor Replacement: step 2, image 1 of 2 Motorola Moto E4 Plus (XT1771) Fingerprint Sensor Replacement: step 2, image 2 of 2
    • Lift the phone unit out of the back cover.

    Ask FixBot
  3. Motorola Moto E4 Plus (XT1771) Fingerprint Sensor Replacement, Midframe: step 3, image 1 of 1
    • Remove the eighteen 3.3 mm Phillips screws securing the midframe assembly.

    Ask FixBot
  4. Motorola Moto E4 Plus (XT1771) Fingerprint Sensor Replacement: step 4, image 1 of 2 Motorola Moto E4 Plus (XT1771) Fingerprint Sensor Replacement: step 4, image 2 of 2
    • Remove the charging board cover.

    Ask FixBot
  5. Motorola Moto E4 Plus (XT1771) Fingerprint Sensor Replacement: step 5, image 1 of 3 Motorola Moto E4 Plus (XT1771) Fingerprint Sensor Replacement: step 5, image 2 of 3 Motorola Moto E4 Plus (XT1771) Fingerprint Sensor Replacement: step 5, image 3 of 3
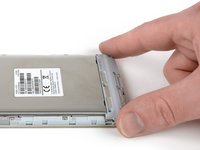
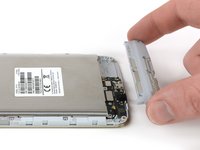
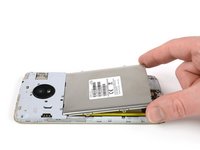
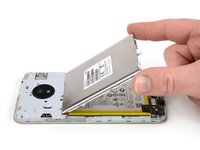
    • Remove the battery cover.

    Ask FixBot
  6. Motorola Moto E4 Plus (XT1771) Fingerprint Sensor Replacement: step 6, image 1 of 2 Motorola Moto E4 Plus (XT1771) Fingerprint Sensor Replacement: step 6, image 2 of 2
    • Insert an opening pick underneath the bottom left corner of the motherboard cover.

    • Slide the opening pick between the cover and the second SIM tray to release the plastic clip.

    Ask FixBot
  7. Motorola Moto E4 Plus (XT1771) Fingerprint Sensor Replacement: step 7, image 1 of 2 Motorola Moto E4 Plus (XT1771) Fingerprint Sensor Replacement: step 7, image 2 of 2
    • Insert an opening pick underneath the bottom right corner of the motherboard cover.

    • Use the opening pick to pry up the motherboard cover.

    Ask FixBot
  8. Motorola Moto E4 Plus (XT1771) Fingerprint Sensor Replacement: step 8, image 1 of 2 Motorola Moto E4 Plus (XT1771) Fingerprint Sensor Replacement: step 8, image 2 of 2
    • Remove the motherboard cover.

    Ask FixBot
  9. Motorola Moto E4 Plus (XT1771) Fingerprint Sensor Replacement, Battery Disconnect: step 9, image 1 of 2 Motorola Moto E4 Plus (XT1771) Fingerprint Sensor Replacement, Battery Disconnect: step 9, image 2 of 2
    • Use the edge of a spudger to pry up and disconnect the battery flex cable from the motherboard.

    Ask FixBot
  10. Motorola Moto E4 Plus (XT1771) Fingerprint Sensor Replacement, Motherboard Assembly: step 10, image 1 of 1
    • Remove the two 2.9 mm Phillips screws.

    Ask FixBot
  11. Motorola Moto E4 Plus (XT1771) Fingerprint Sensor Replacement: step 11, image 1 of 3 Motorola Moto E4 Plus (XT1771) Fingerprint Sensor Replacement: step 11, image 2 of 3 Motorola Moto E4 Plus (XT1771) Fingerprint Sensor Replacement: step 11, image 3 of 3
    Tool used on this step:
    Tweezers
    $4.99
    Buy
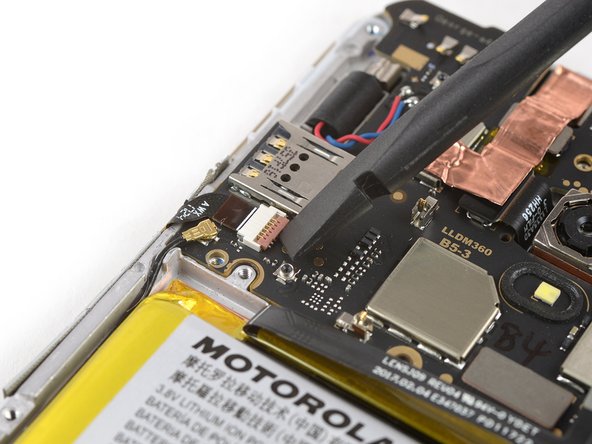
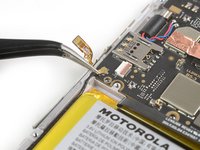
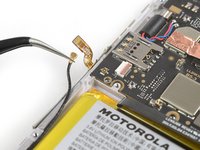
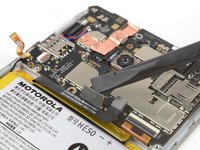
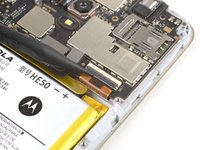
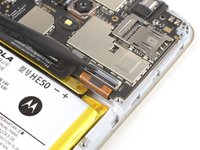
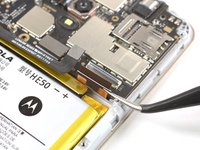
    • Use the edge of a spudger to pry up the flap of the ZIF connector located below the SIM slot on the left side of the motherboard.

    • Use a pair of tweezers to pull the power and volume button flex cable out of the ZIF connector.

    • To reattach ZIF connectors like this one, carefully insert the flex cable into the ZIF connector up to the marked line on the cable, and then close the locking flap.

    Ask FixBot
  12. Motorola Moto E4 Plus (XT1771) Fingerprint Sensor Replacement: step 12, image 1 of 2 Motorola Moto E4 Plus (XT1771) Fingerprint Sensor Replacement: step 12, image 2 of 2
    • Use a pair of tweezers to pry up and disconnect the antenna cable.

    Ask FixBot
  13. Motorola Moto E4 Plus (XT1771) Fingerprint Sensor Replacement: step 13, image 1 of 2 Motorola Moto E4 Plus (XT1771) Fingerprint Sensor Replacement: step 13, image 2 of 2
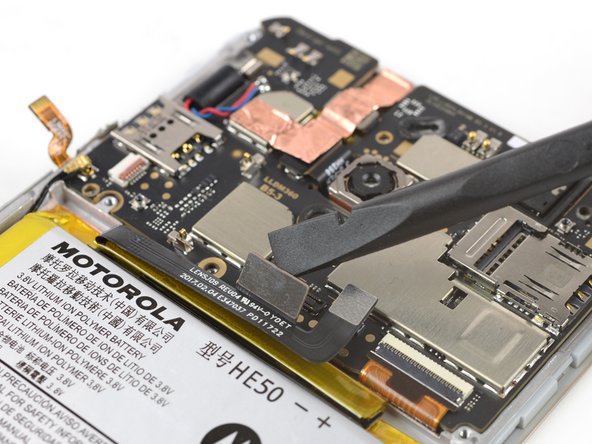
    • Use the flat end of a spudger to pry up and disconnect the interconnect flex cable.

    Ask FixBot
  14. Motorola Moto E4 Plus (XT1771) Fingerprint Sensor Replacement: step 14, image 1 of 3 Motorola Moto E4 Plus (XT1771) Fingerprint Sensor Replacement: step 14, image 2 of 3 Motorola Moto E4 Plus (XT1771) Fingerprint Sensor Replacement: step 14, image 3 of 3
    • Use the tip of a spudger or an opening pick to pry up the flap of the ZIF connector, located in the bottom right corner of the motherboard.

    • Use a pair of tweezers to pull the display flex cable out of the ZIF connector.

    Ask FixBot
  15. Motorola Moto E4 Plus (XT1771) Fingerprint Sensor Replacement: step 15, image 1 of 2 Motorola Moto E4 Plus (XT1771) Fingerprint Sensor Replacement: step 15, image 2 of 2
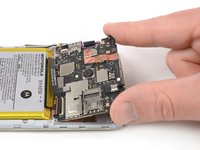
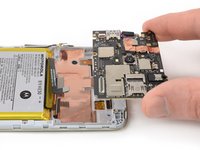
    • Grasp the motherboard by the top corners and remove it by lifting up and pulling it carefully out of its recess.

    Ask FixBot
  16. Motorola Moto E4 Plus (XT1771) Fingerprint Sensor Replacement, Charging Board: step 16, image 1 of 1
    • Remove the single 2.9 mm Phillips screw holding the charging board to the frame.

    Ask FixBot
  17. Motorola Moto E4 Plus (XT1771) Fingerprint Sensor Replacement: step 17, image 1 of 2 Motorola Moto E4 Plus (XT1771) Fingerprint Sensor Replacement: step 17, image 2 of 2
    Tool used on this step:
    Tweezers
    $4.99
    Buy
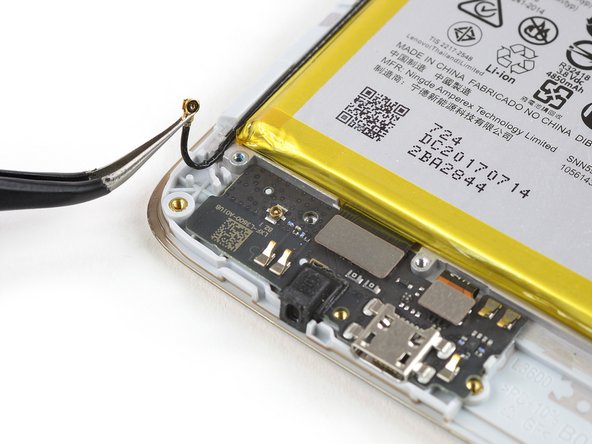
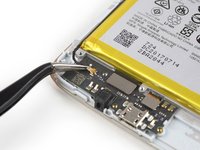
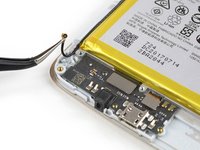
    • Use a pair of tweezers to pry up and disconnect the antenna cable.

    Ask FixBot
  18. Motorola Moto E4 Plus (XT1771) Fingerprint Sensor Replacement: step 18, image 1 of 2 Motorola Moto E4 Plus (XT1771) Fingerprint Sensor Replacement: step 18, image 2 of 2
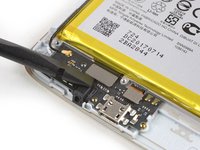
    • Use the edge of a spudger to pry up and disconnect the interconnect flex cable.

    Ask FixBot
  19. Motorola Moto E4 Plus (XT1771) Fingerprint Sensor Replacement: step 19, image 1 of 2 Motorola Moto E4 Plus (XT1771) Fingerprint Sensor Replacement: step 19, image 2 of 2
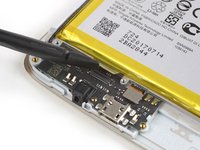
    • Use the edge of a spudger to pry up and disconnect the fingerprint sensor flex cable.

    Ask FixBot
  20. Motorola Moto E4 Plus (XT1771) Fingerprint Sensor Replacement: step 20, image 1 of 2 Motorola Moto E4 Plus (XT1771) Fingerprint Sensor Replacement: step 20, image 2 of 2
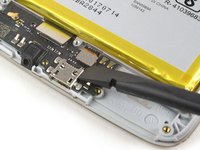
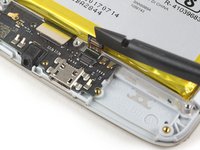
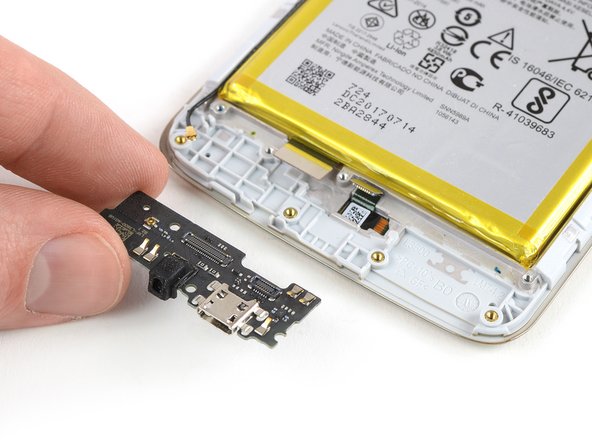
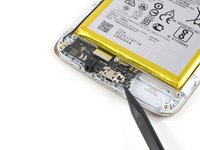
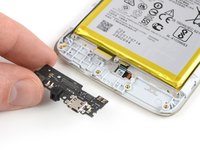
    • Insert the tip of a spudger underneath the bottom edge of the charging board and pry upwards.

    • Remove the charging board.

    • Before reassembly check your new part for any components that might need to be transferred from the old one (e.g. microphone rubber gasket).

    Ask FixBot
  21. Motorola Moto E4 Plus (XT1771) Fingerprint Sensor Replacement, Display: step 21, image 1 of 2 Motorola Moto E4 Plus (XT1771) Fingerprint Sensor Replacement, Display: step 21, image 2 of 2
    Tool used on this step:
    Tweezers
    $4.99
    Buy
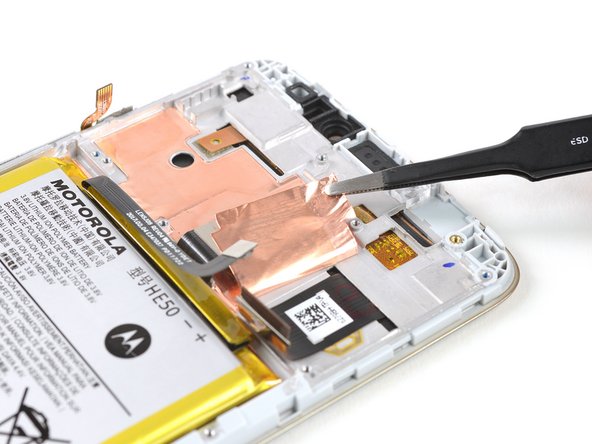
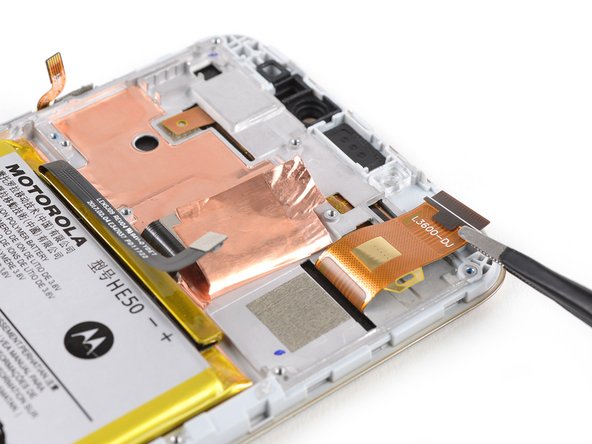
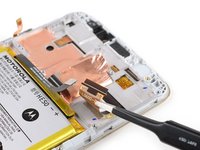
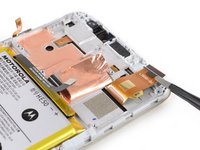
    • Use a pair of tweezers to peel the copper tape from the right edge until the display flex cable underneath is fully exposed.

    Ask FixBot
  22. Motorola Moto E4 Plus (XT1771) Fingerprint Sensor Replacement: step 22, image 1 of 2 Motorola Moto E4 Plus (XT1771) Fingerprint Sensor Replacement: step 22, image 2 of 2
    • Use a pair of tweezers to carefully peel the display flex cable off of the midframe.

    Ask FixBot
  23. Motorola Moto E4 Plus (XT1771) Fingerprint Sensor Replacement: step 23, image 1 of 1
    • Prepare an iOpener and apply it to the display for at least two minutes to loosen the adhesive underneath.

    Ask FixBot
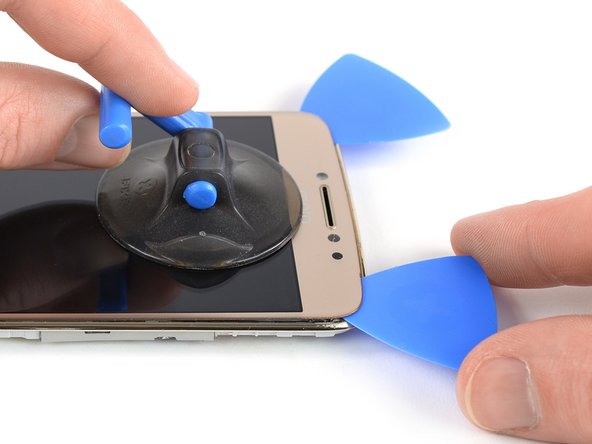
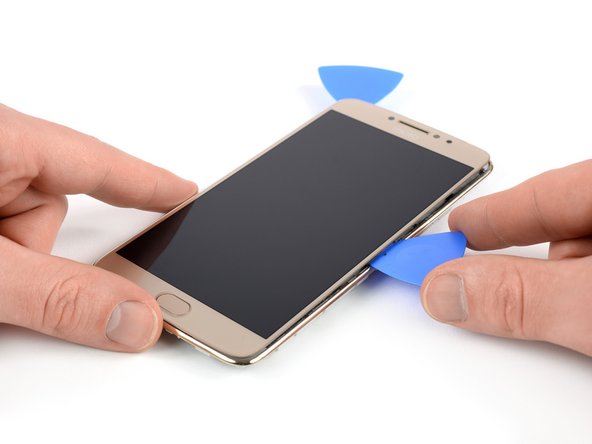
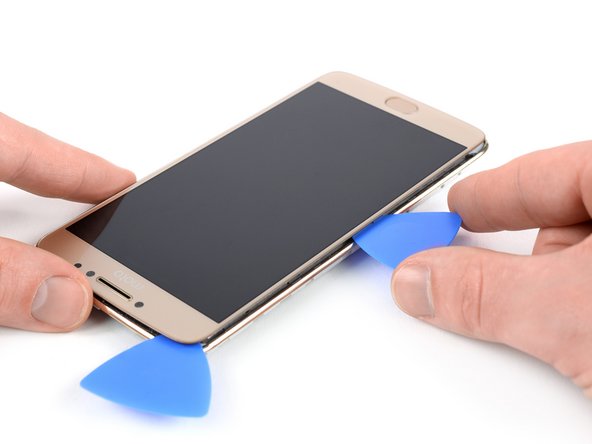
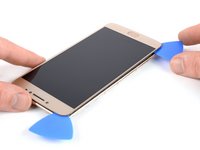
  24. Motorola Moto E4 Plus (XT1771) Fingerprint Sensor Replacement: step 24, image 1 of 3 Motorola Moto E4 Plus (XT1771) Fingerprint Sensor Replacement: step 24, image 2 of 3 Motorola Moto E4 Plus (XT1771) Fingerprint Sensor Replacement: step 24, image 3 of 3
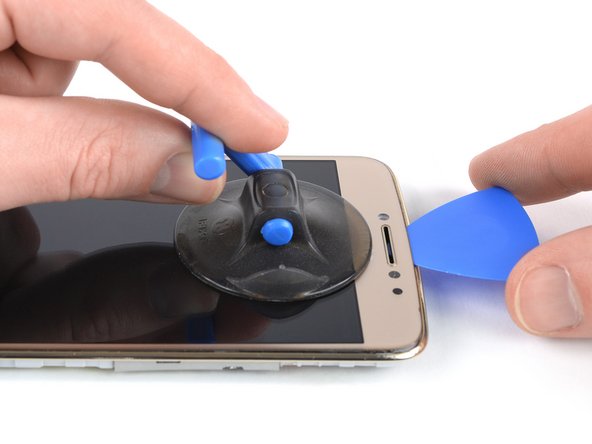
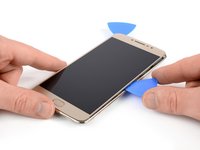
    • Once the screen is warm to the touch, apply a suction cup near the top edge of the phone right under the earpiece speaker.

    • If the phone's screen is cracked, the suction cup may not stick. Try lifting it with strong tape, or superglue the suction cup in place and allow it to cure so you can proceed.

    • Pull up the suction cup, and insert the tip of an opening pick under the display where the earpiece speaker is located.

    • Slide the opening pick to the top left corner of the phone to cut the adhesive.

    Ask FixBot
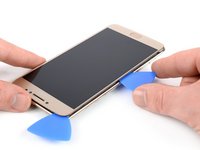
  25. Motorola Moto E4 Plus (XT1771) Fingerprint Sensor Replacement: step 25, image 1 of 2 Motorola Moto E4 Plus (XT1771) Fingerprint Sensor Replacement: step 25, image 2 of 2
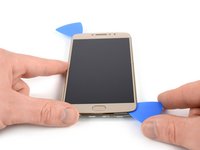
    • Insert a second opening pick and slide it to the top right corner of the phone.

    Ask FixBot
  26. Motorola Moto E4 Plus (XT1771) Fingerprint Sensor Replacement: step 26, image 1 of 3 Motorola Moto E4 Plus (XT1771) Fingerprint Sensor Replacement: step 26, image 2 of 3 Motorola Moto E4 Plus (XT1771) Fingerprint Sensor Replacement: step 26, image 3 of 3
    • If cutting becomes too difficult, reheat and reapply the iOpener.

    • Slide the opening pick from the top right corner down the right edge of the phone and cut the adhesive with it.

    • While cutting, make sure the pick slides under the display panel and not just between the display and the front glass.

    • Slide the opening pick around the bottom right corner.

    Ask FixBot
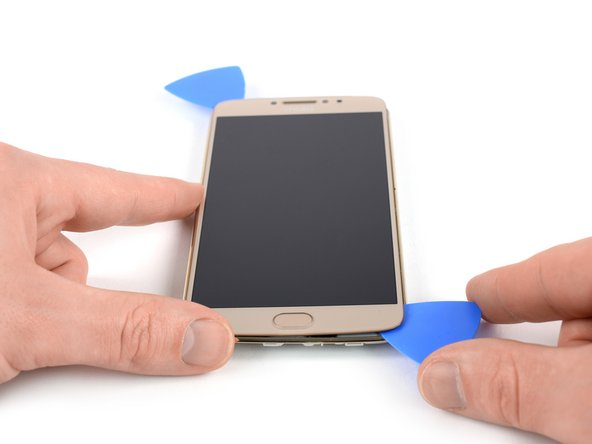
  27. Motorola Moto E4 Plus (XT1771) Fingerprint Sensor Replacement: step 27, image 1 of 3 Motorola Moto E4 Plus (XT1771) Fingerprint Sensor Replacement: step 27, image 2 of 3 Motorola Moto E4 Plus (XT1771) Fingerprint Sensor Replacement: step 27, image 3 of 3
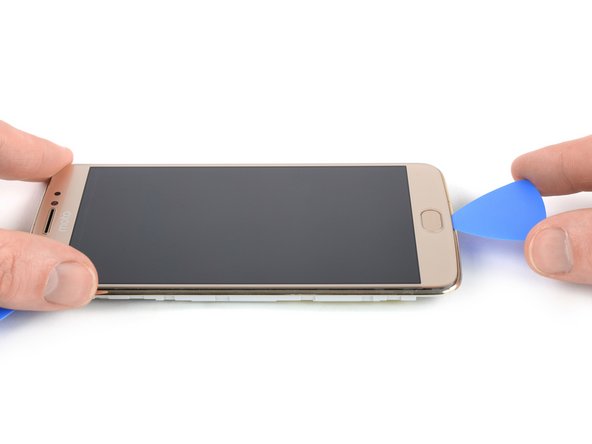
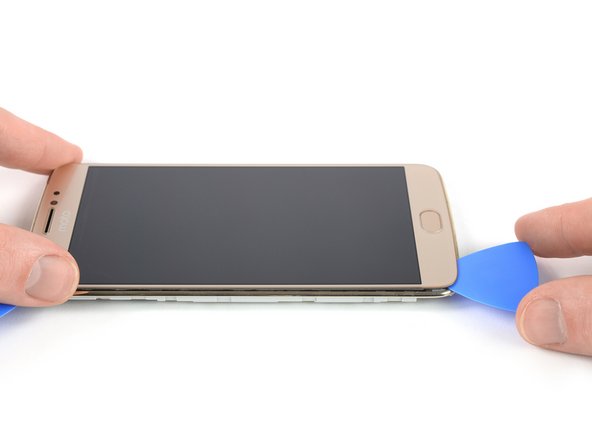
    • Slide the opening pick along the bottom edge of the phone and cut the adhesive.

    • Be careful around the home button, inserting only the tip of the opening pick to prevent damaging the button.

    Ask FixBot
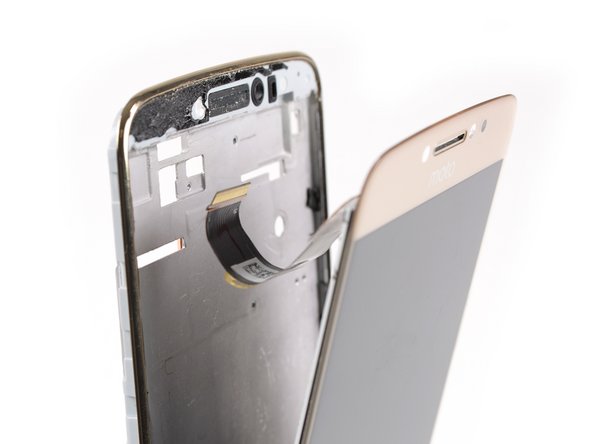
  28. Motorola Moto E4 Plus (XT1771) Fingerprint Sensor Replacement: step 28, image 1 of 2 Motorola Moto E4 Plus (XT1771) Fingerprint Sensor Replacement: step 28, image 2 of 2
    • Repeat the previous heating and cutting procedure on the left edge of the phone to cut the remaining adhesive.

    • Try not to remove the display all the way yet. The fingerprint and display flex cables are still threaded through the midframe.

    Ask FixBot
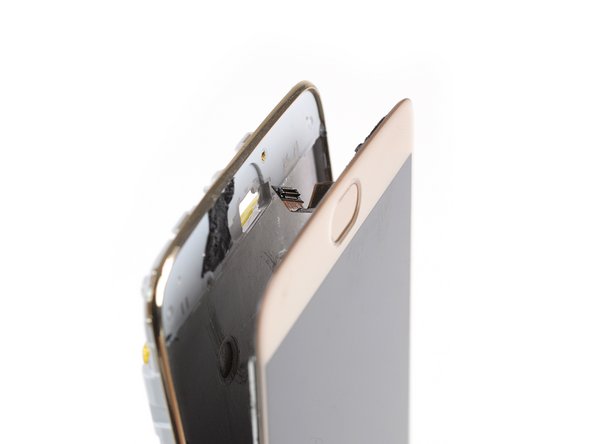
  29. Motorola Moto E4 Plus (XT1771) Fingerprint Sensor Replacement: step 29, image 1 of 3 Motorola Moto E4 Plus (XT1771) Fingerprint Sensor Replacement: step 29, image 2 of 3 Motorola Moto E4 Plus (XT1771) Fingerprint Sensor Replacement: step 29, image 3 of 3
    • Carefully thread the display cable at the top and the fingerprint sensor cable on the bottom through their gaps in the midframe.

    • Remove the LCD and digitizer.

    • Remove any remaining adhesive from the midframe, and clean the glued areas with isopropyl alcohol and a lint-free cloth.

    • In case your new LCD and digitizer doesn't include the fingerprint sensor, you will need to continue with the fingerprint sensor guide to transfer it to the new LCD and digitizer.

    Ask FixBot
  30. Motorola Moto E4 Plus (XT1771) Fingerprint Sensor Replacement, Fingerprint Sensor: step 30, image 1 of 1
    • Apply an iOpener to the bottom edge of the screen for about a minute to loosen the adhesive beneath the fingerprint sensor.

    Ask FixBot
  31. Motorola Moto E4 Plus (XT1771) Fingerprint Sensor Replacement: step 31, image 1 of 3 Motorola Moto E4 Plus (XT1771) Fingerprint Sensor Replacement: step 31, image 2 of 3 Motorola Moto E4 Plus (XT1771) Fingerprint Sensor Replacement: step 31, image 3 of 3
    Tool used on this step:
    Tweezers
    $4.99
    Buy
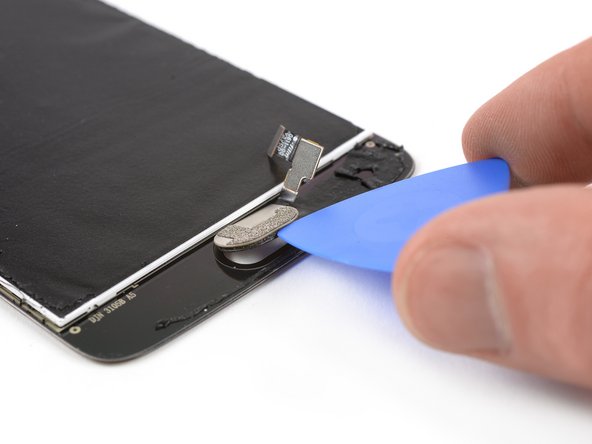
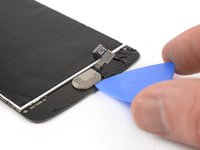
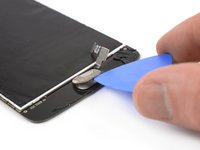
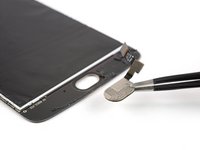
    • Carefully pry off the fingerprint sensor by lifting it with the edge of an opening pick.

    • Remove the fingerprint sensor with a pair of tweezers.

    • There's a small rubber gasket around the fingerprint sensor which you might need to transfer to your replacement sensor.

    Ask FixBot
Conclusion

The best way to secure the new screen is with a sheet of custom-cut double-sided tape. Apply the tape to the back of the screen, then carefully feed the display cable through the frame. Align the screen and press it into place.

To reassemble your device, follow these instructions in reverse order and reapply adhesive where it’s necessary.

If possible, turn on your phone and test your repair before installing new adhesive and resealing the phone.

Take your e-waste to an R2 or e-Stewards certified recycler.

One other person completed this guide.

Dominik Schnabelrauch

Member since: 11/23/16

258,486 Reputation

682 Guides authored

Team

iFixit Member of iFixit

Staff

123 Members

25,720 Guides authored

0 Guide Comments

Add Comment

View Statistics:

Past 24 Hours: 0

Past 7 Days: 11

Past 30 Days: 61

All Time: 2,523