Free Shipping on Domestic Orders $75+

MacBook Air 13" Retina Display 2019 Trackpad Replacement

What you need

  1. MacBook Air 13" Retina Display 2019 Trackpad Replacement, Remove the screws securing the lower case: step 1, image 1 of 1
    • Before starting this procedure, you should disable your Mac's Auto Boot feature. Auto Boot powers on your Mac when you open the lid, and may be accidentally triggered during disassembly. Use this guide to disable Auto Boot.

    • If your MacBook is running Big Sur v11.1 or later, disabling Auto Boot may not work. You can proceed normally, but make sure to disconnect the battery as soon as you're inside.

    • Completely power off and unplug your MacBook Air before you start. Close the display and flip the entire laptop upside-down.

    • Use a P5 driver to remove the following screws:

    • Two 7.9 mm screws

    • Two 7.1 mm screws

    • Six 2.6 mm screws

    Ask FixBot

    Add Comment

  2. MacBook Air 13" Retina Display 2019 Trackpad Replacement, Remove the lower case: step 2, image 1 of 1
    • Wedge your fingers between the display and the lower case and pull upward to pop the lower case off the Air.

    • Remove the lower case.

    • After reassembly, your MacBook might not turn on until it's connected to a power source (a low power phone charger may work). To test your repair, plug in your charger, allow two minutes for your MacBook to turn on, and check that everything works as expected.

    Ask FixBot

    Add Comment

  3. MacBook Air 13" Retina Display 2019 Trackpad Replacement, Disconnect the battery: step 3, image 1 of 1
    • Peel back the tape covering the battery connector enough to reveal the connector underneath.

    Ask FixBot

    Add Comment

  4. MacBook Air 13" Retina Display 2019 Trackpad Replacement: step 4, image 1 of 2 MacBook Air 13" Retina Display 2019 Trackpad Replacement: step 4, image 2 of 2
    • Use a spudger to slide the battery connector parallel to the logic board and out of its socket on the logic board.

    Ask FixBot

    Add Comment

  5. MacBook Air 13" Retina Display 2019 Trackpad Replacement, Disconnect the logic board: step 5, image 1 of 2 MacBook Air 13" Retina Display 2019 Trackpad Replacement, Disconnect the logic board: step 5, image 2 of 2
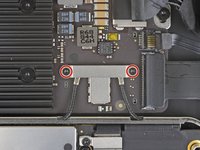
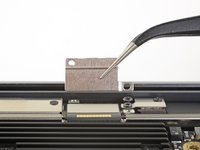
    • Use a T3 Torx driver to remove the two 1.4 mm screws securing the trackpad connector bracket.

    • Depending on the condition of your bits, a T4 Torx driver may fit better.

    • Remove the trackpad connector bracket.

    Ask FixBot

    Add Comment

  6. MacBook Air 13" Retina Display 2019 Trackpad Replacement: step 6, image 1 of 2 MacBook Air 13" Retina Display 2019 Trackpad Replacement: step 6, image 2 of 2
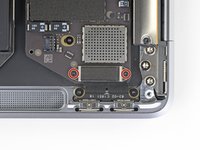
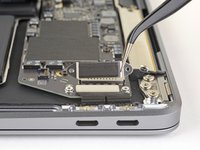
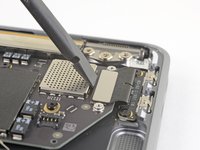
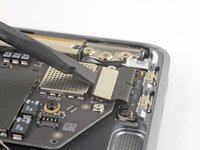
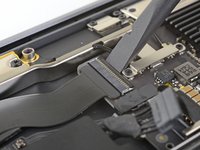
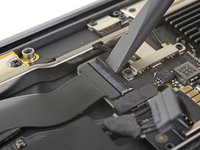
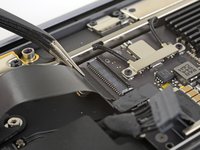
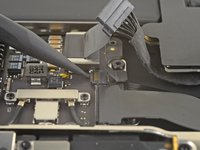
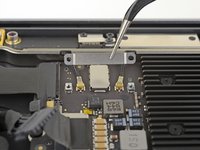
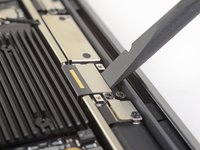
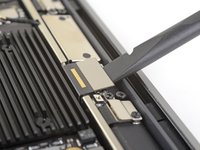
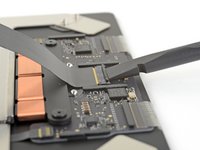
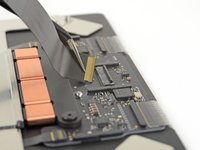
    • Use the flat end of a spudger to pry the trackpad cable connector up and out of its socket.

    Ask FixBot

    Add Comment

  7. MacBook Air 13" Retina Display 2019 Trackpad Replacement: step 7, image 1 of 3 MacBook Air 13" Retina Display 2019 Trackpad Replacement: step 7, image 2 of 3 MacBook Air 13" Retina Display 2019 Trackpad Replacement: step 7, image 3 of 3
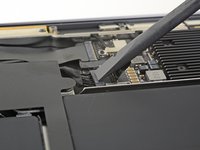
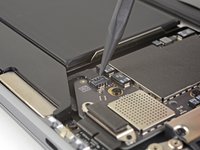
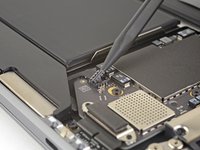
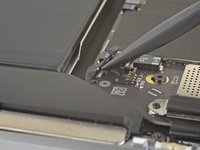
    • If the left speaker is already disconnected, skip this step.

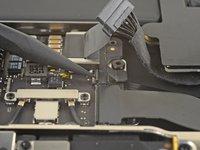
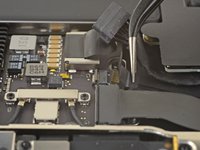
    • Slide the tip of a spudger underneath the left speaker cable and pry straight up to disconnect the speaker.

    • With the connector disconnected, slide the flat end of a spudger under the cable to separate the adhesive securing the cable to the logic board.

    Ask FixBot

    Add Comment

  8. MacBook Air 13" Retina Display 2019 Trackpad Replacement: step 8, image 1 of 2 MacBook Air 13" Retina Display 2019 Trackpad Replacement: step 8, image 2 of 2
    • If you're replacing the battery, see the comments for an alternative procedure that doesn't require removing the logic board.

    • Use a T3 Torx driver to remove the two 1.3 mm screws securing the USB-C port connector bracket.

    • Remove the USB-C connector bracket.

    Ask FixBot

    Add Comment

  9. MacBook Air 13" Retina Display 2019 Trackpad Replacement: step 9, image 1 of 2 MacBook Air 13" Retina Display 2019 Trackpad Replacement: step 9, image 2 of 2
    • Use the flat end of a spudger to pry the USB-C cable connector up and out of its socket on the logic board.

    Ask FixBot

    Add Comment

  10. MacBook Air 13" Retina Display 2019 Trackpad Replacement: step 10, image 1 of 3 MacBook Air 13" Retina Display 2019 Trackpad Replacement: step 10, image 2 of 3 MacBook Air 13" Retina Display 2019 Trackpad Replacement: step 10, image 3 of 3
    • Use a spudger to lift up the small locking flap on the sound board cable's ZIF connector.

    • Slide the sound board cable out of the ZIF connector.

    Ask FixBot

    Add Comment

  11. MacBook Air 13" Retina Display 2019 Trackpad Replacement: step 11, image 1 of 1
    • Peel back the black tape covering the fan cable connector.

    Ask FixBot

    Add Comment

  12. MacBook Air 13" Retina Display 2019 Trackpad Replacement: step 12, image 1 of 3 MacBook Air 13" Retina Display 2019 Trackpad Replacement: step 12, image 2 of 3 MacBook Air 13" Retina Display 2019 Trackpad Replacement: step 12, image 3 of 3
    • Use the tip of a spudger to lift up the locking flap on the fan cable's ZIF connector.

    • Slide the fan cable out of the ZIF connector.

    Ask FixBot

    Add Comment

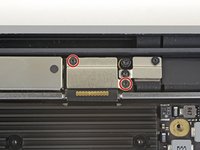
  13. MacBook Air 13" Retina Display 2019 Trackpad Replacement: step 13, image 1 of 2 MacBook Air 13" Retina Display 2019 Trackpad Replacement: step 13, image 2 of 2
    • Use a T3 Torx driver to remove the two 1.4 mm screws securing the antenna cable bracket.

    • Remove the antenna cable bracket.

    Ask FixBot

    Add Comment

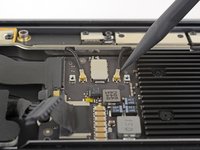
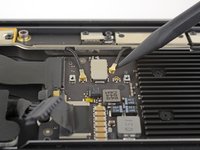
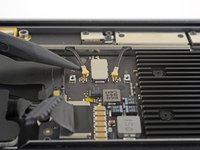
  14. MacBook Air 13" Retina Display 2019 Trackpad Replacement: step 14, image 1 of 3 MacBook Air 13" Retina Display 2019 Trackpad Replacement: step 14, image 2 of 3 MacBook Air 13" Retina Display 2019 Trackpad Replacement: step 14, image 3 of 3
    • Insert the point of a spudger under one of the antenna cables close to the connector. Pry straight up to disconnect the cable.

    • Repeat for the other antenna cable.

    Ask FixBot

    Add Comment

  15. MacBook Air 13" Retina Display 2019 Trackpad Replacement: step 15, image 1 of 2 MacBook Air 13" Retina Display 2019 Trackpad Replacement: step 15, image 2 of 2
    • Use a T3 Torx driver to remove the two 1.5 mm screws securing the display cable connector bracket.

    • Remove the display cable connector bracket.

    Ask FixBot

    Add Comment

  16. MacBook Air 13" Retina Display 2019 Trackpad Replacement: step 16, image 1 of 2 MacBook Air 13" Retina Display 2019 Trackpad Replacement: step 16, image 2 of 2
    • Use the flat end of a spudger to pry up the display cable connector.

    Ask FixBot

    Add Comment

  17. MacBook Air 13" Retina Display 2019 Trackpad Replacement, Unscrew the logic board: step 17, image 1 of 1
    • Use a T5 Torx driver to remove the following screws:

    • One 5.5 mm screw

    • Three 2.6 mm screws

    • Two 1.9 mm screws

    Ask FixBot

    Add Comment

  18. MacBook Air 13" Retina Display 2019 Trackpad Replacement, Remove the logic board: step 18, image 1 of 1
    • Remove the logic board.

    Ask FixBot

    Add Comment

  19. MacBook Air 13" Retina Display 2019 Trackpad Replacement, Separate the trackpad cable adhesive: step 19, image 1 of 3 MacBook Air 13" Retina Display 2019 Trackpad Replacement, Separate the trackpad cable adhesive: step 19, image 2 of 3 MacBook Air 13" Retina Display 2019 Trackpad Replacement, Separate the trackpad cable adhesive: step 19, image 3 of 3
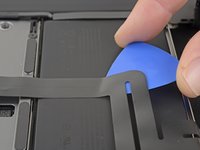
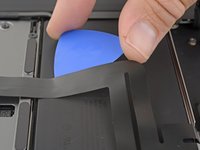
    • Carefully slide an opening pick under the trackpad cable towards the keyboard connector to separate the adhesive securing it to the upper case.

    • If you have difficulty separating the adhesive, heat it slightly with an iOpener or hair dryer to soften the adhesive.

    Ask FixBot

    Add Comment

  20. MacBook Air 13" Retina Display 2019 Trackpad Replacement, Disconnect the keyboard: step 20, image 1 of 3 MacBook Air 13" Retina Display 2019 Trackpad Replacement, Disconnect the keyboard: step 20, image 2 of 3 MacBook Air 13" Retina Display 2019 Trackpad Replacement, Disconnect the keyboard: step 20, image 3 of 3
    • Use the flat end of a spudger to lift the small locking flap on the keyboard ZIF connector.

    • The trackpad cable connects the logic board to both the keyboard and the trackpad.

    • Slide the keyboard cable straight out of its connector.

    Ask FixBot

    Add Comment

  21. MacBook Air 13" Retina Display 2019 Trackpad Replacement, Separate the trackpad cable adhesive: step 21, image 1 of 2 MacBook Air 13" Retina Display 2019 Trackpad Replacement, Separate the trackpad cable adhesive: step 21, image 2 of 2
    • Carefully slide an opening pick under the trackpad cable to separate the adhesive securing it to the battery.

    • If you have difficulty separating the adhesive, heat it slightly with an iOpener or hair dryer. Be careful not to overheat the battery.

    Ask FixBot

    Add Comment

  22. MacBook Air 13" Retina Display 2019 Trackpad Replacement, Remove the trackpad: step 22, image 1 of 1
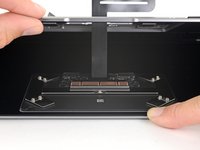
    • Use a T5 Torx driver to remove the following screws securing the trackpad:

    • One 3.2 mm screw

    • Eight 3.1 mm screws

    Ask FixBot

    Add Comment

  23. MacBook Air 13" Retina Display 2019 Trackpad Replacement: step 23, image 1 of 2 MacBook Air 13" Retina Display 2019 Trackpad Replacement: step 23, image 2 of 2
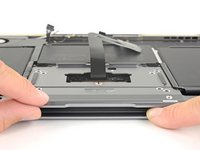
    • With the laptop still lying screen-side down, carefully open the laptop. The trackpad will stay sitting on the display.

    • Remove the trackpad from the MacBook. Take care not to scratch the display.

    Ask FixBot

    Add Comment

  24. MacBook Air 13" Retina Display 2019 Trackpad Replacement, Disconnect the trackpad cable: step 24, image 1 of 3 MacBook Air 13" Retina Display 2019 Trackpad Replacement, Disconnect the trackpad cable: step 24, image 2 of 3 MacBook Air 13" Retina Display 2019 Trackpad Replacement, Disconnect the trackpad cable: step 24, image 3 of 3
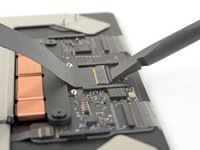
    • Use the flat end of a spudger to lift the small locking flap on the trackpad's ZIF connector.

    • Slide the trackpad cable straight out of the ZIF connector.

    Ask FixBot

    Add Comment

Conclusion

Compare your new replacement part to the original part—you may need to transfer remaining components or remove adhesive backings from the new part before installing.

To reassemble your device, follow the above steps in reverse order.

Take your e-waste to an R2 or e-Stewards certified recycler.

Repair didn’t go as planned? Check out our Answers community for troubleshooting help.

Cancel: I did not complete this guide.

5 other people completed this guide.

Adam O'Camb

Member since: 04/11/15

223,790 Reputation

416 Guides authored

0 Guide Comments

Add Comment

View Statistics:

Past 24 Hours: 10

Past 7 Days: 32

Past 30 Days: 158

All Time: 10,826