
Logitech G915 Wireless (Clicky) Battery Replacement

Spencer Day and 2 other contributors
Last updated on Sep 30, 2025
Views: 2.5K
View statistics:
- Past 24 Hours:
- 6
- Past 7 Days:
- 37
- Past 30 Days:
- 154
- All Time:
- 2,512
Comments: 0
No one has left comments on this guide. Will you be first?
Go to guide commentsCompleted: 1 2
1 person has marked this guide "completed." Will you be next?
2 people have marked this guide "completed." Including you — great job!
Favorites: 0 1
No one has favorited (and subscribed to) this guide. Will you be the first?
1 person has favorited (and subscribed to) this guide — and that's you!
Featured Guide
This guide has been found to be exceptionally cool by the iFixit staff.
Introduction
Go to step 1 ↓Use this guide to replace a worn-out or dead battery in your Logitech G915 TKL wireless keyboard.
Lithium-ion batteries have a limited lifespan. If your keyboard dies quickly and doesn't hold a charge, it may be time to replace the battery.
If possible, follow this guide after your battery has fallen below 15% charge—this is indicated when the battery light on the top edge of the keyboard is red. While your G915 TKL keyboard has a relatively small battery, any charged battery is a potential safety hazard if accidentally bent or punctured.
If your battery looks puffy or swollen, take extra precautions.
What you need
Fix Kit
This kit contains all the parts and tools needed to complete this guide.

Parts


Tools
-
-
-
Spudger4.9
-


-
-
-
Slide the power switch on the top edge of the keyboard to the OFF (left) position.
-
Unplug all cables from the keyboard.
-
Lay the keyboard down with the feet facing up on a clean work surface.
 Ask FixBot
-
-
-
-
-
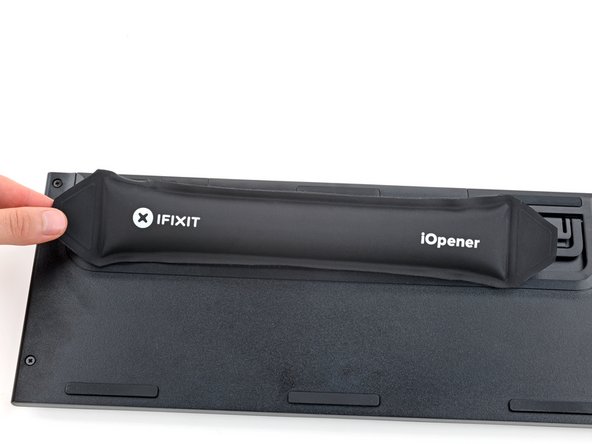
Heat an iOpener and lay it on the Logitech sticker for one minute.
-
-
-
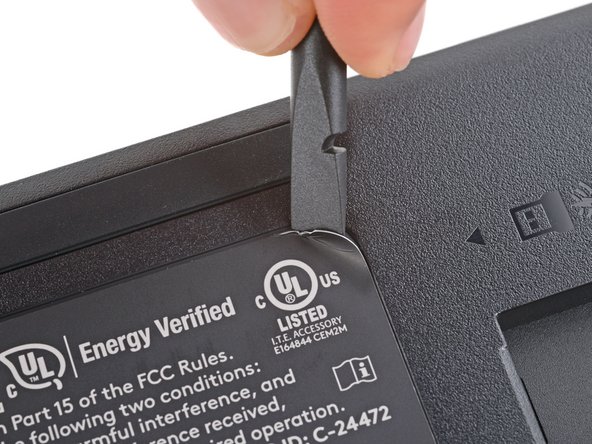
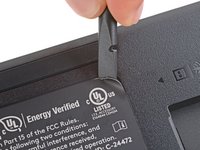
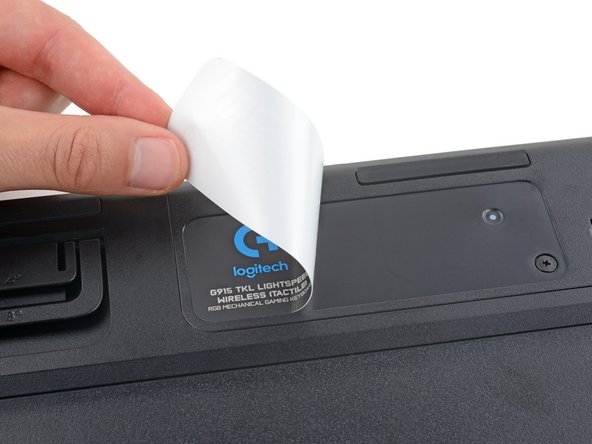
Use a spudger or your fingernail to peel up a corner of the sticker until you can grip it with your fingers.
-
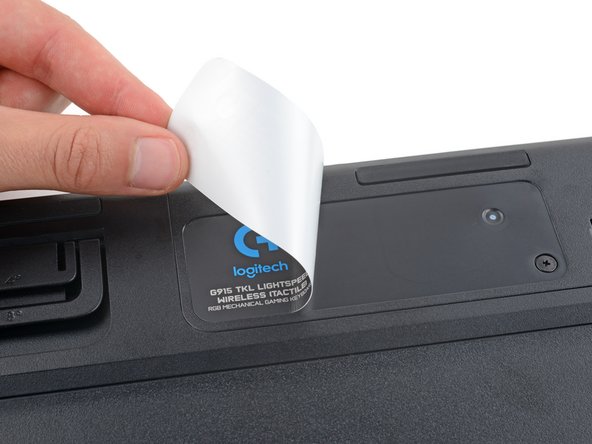
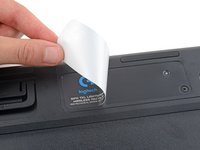
Peel up the sticker with your fingers and remove it.
-
-
-
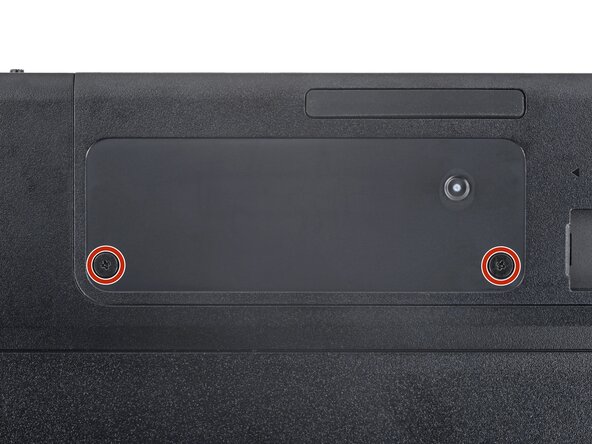
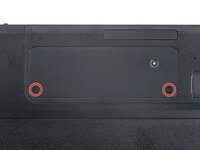
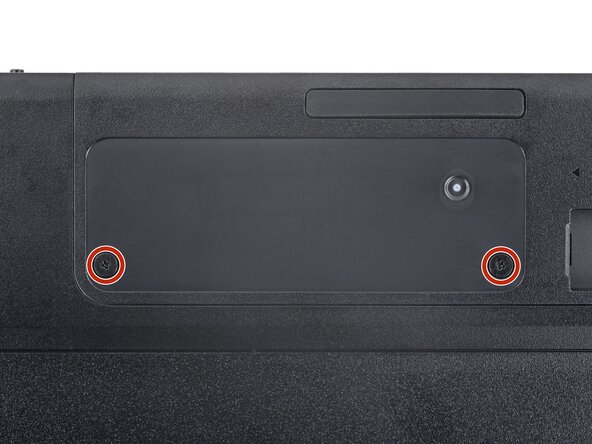
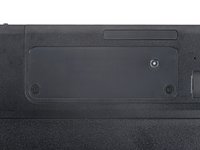
Use a Phillips screwdriver to remove the two 4 mm‑long screws securing the battery cover.
-
-
-
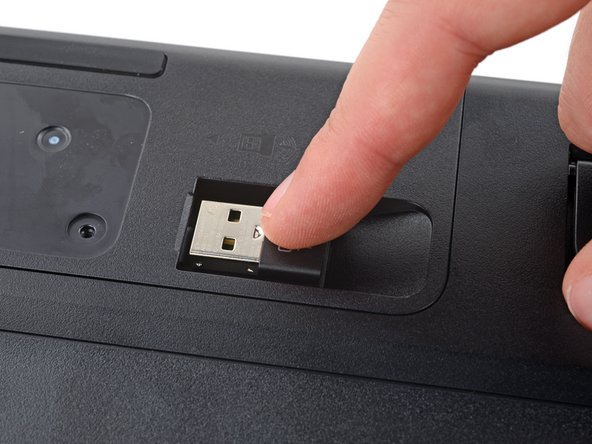
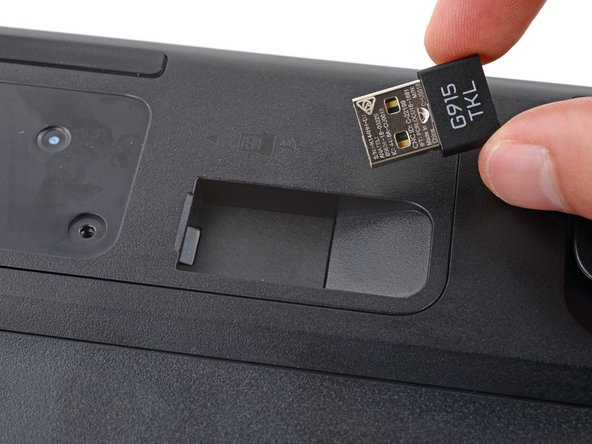
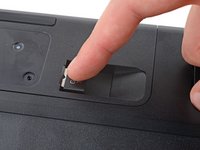
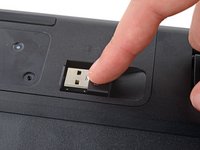
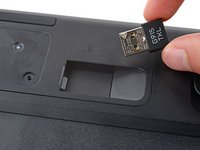
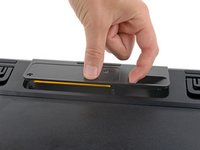
If you have a USB receiver stored in the battery cover compartment, use your finger to slide it out and remove it.
-
-
-
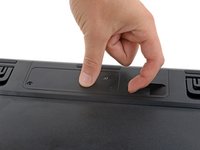
Insert your finger into the USB receiver compartment on the battery cover.
-
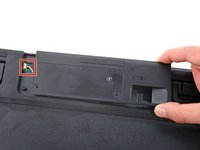
Pull up the bottom edge of the cover to release the clips.
-
Gently pull the cover to the right so you can access the battery connector on the left side of the recess.
-
-
-
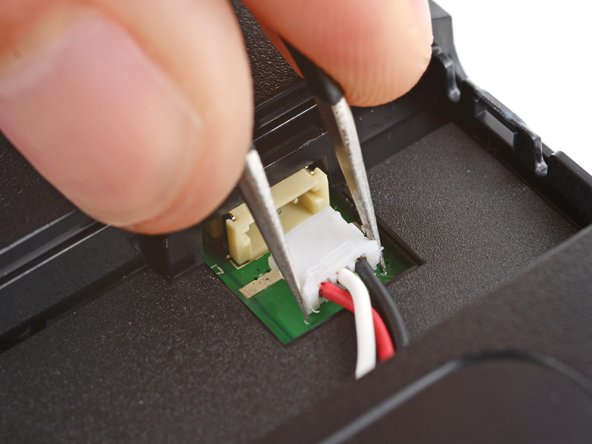
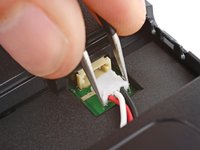
Use a pair of angled tweezers to firmly grip the battery connector.
-
Slide the connector straight out of its socket.
-
-
-
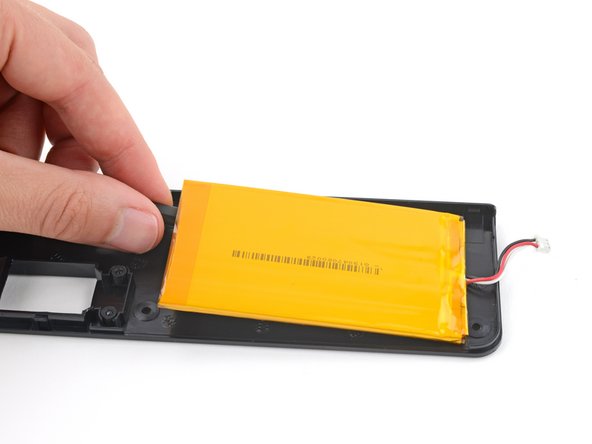
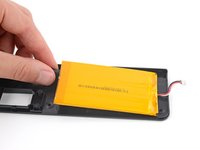
Gently slide the flat end of a spudger under one of the short edges of the battery and lift to separate the adhesive.
-
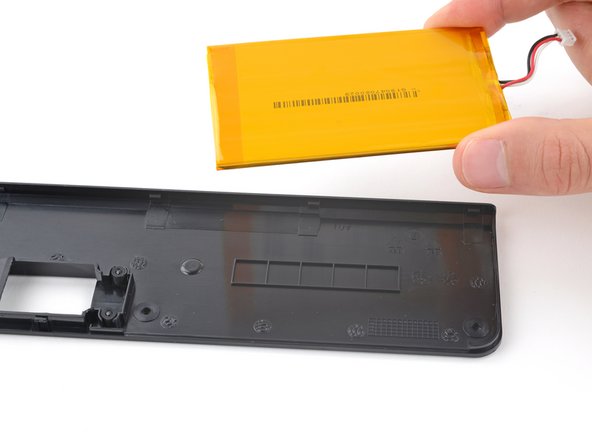
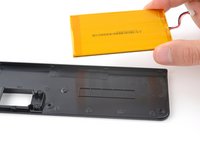
Remove the battery from its cover.
-
-
Tool used on this step:Tesa 61395 Tape$8.95
-
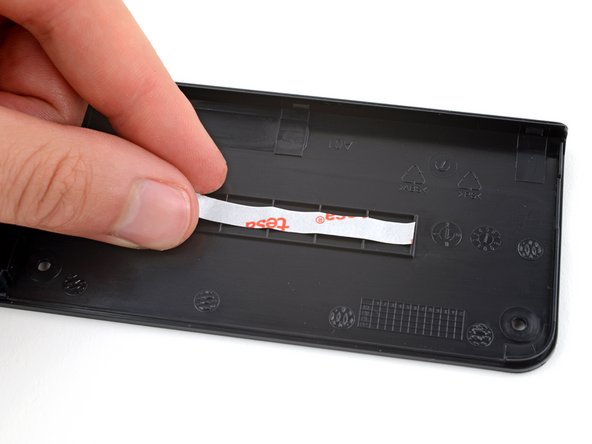
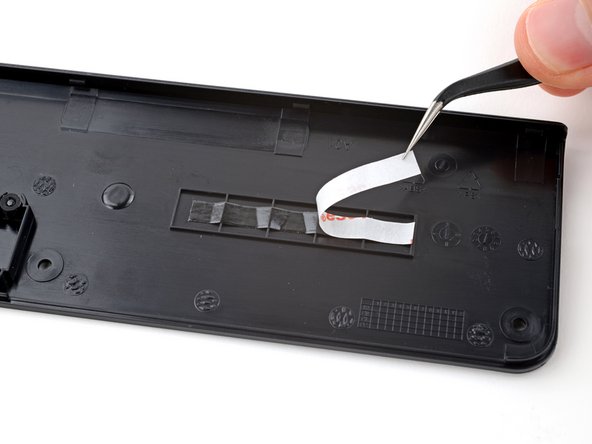
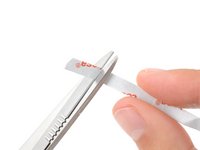
Cut a piece of double-sided tape so it fits on the line of squares on the inside of the battery cover.
-
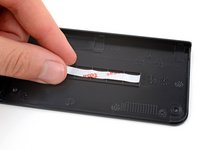
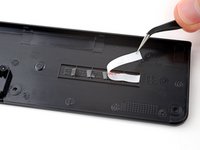
Press the tape firmly into place on the squares and remove the liner.
-
-
-
-
Lay your new battery into its recess in the keyboard so the cable is on the left edge, near the battery connector.
-
-
-
Insert the new battery's connector into its socket so the side with exposed pins is on the bottom.
-
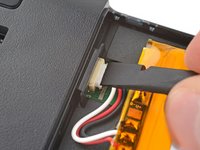
Use a spudger to push the battery connector fully into its socket.
-
-
-
Set the battery cover into place and firmly press down around its edges to engage all the clips.
-
-
-
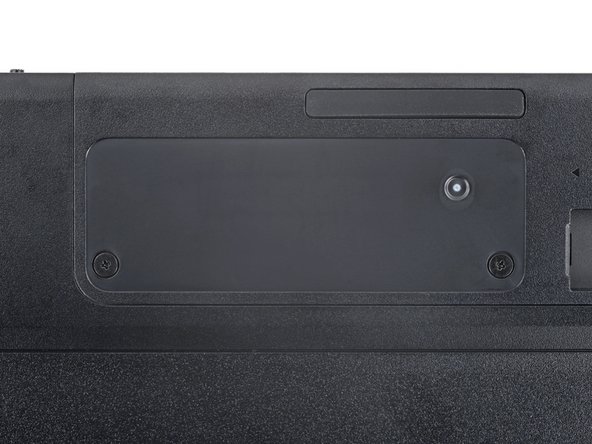
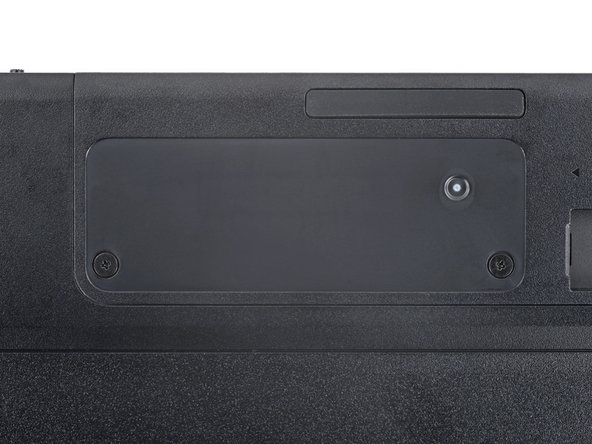
Use a Phillips screwdriver to install the two 4 mm‑long screws securing the battery cover.
-
-
-
Use your fingers to apply the sticker to the battery cover.
-
-














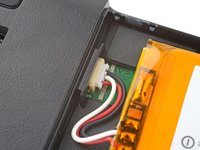

To reassemble your device, follow these instructions in reverse order.
Take your e-waste to an R2 or e-Stewards certified recycler.
Repair didn’t go as planned? Try some basic troubleshooting, or ask our Answers community for help.
Cancel: I did not complete this guide.
One other person completed this guide.


