Free Shipping on Domestic Orders $75+

Linksys WAP54g Bottom Casing/Motherboard Replacement

What you need

  1. Linksys WAP54g Bottom Casing/Motherboard Replacement, Top Casing: step 1, image 1 of 1
    • Power down and unplug the device.

    Ask FixBot

    Add Comment

  2. Linksys WAP54g Bottom Casing/Motherboard Replacement: step 2, image 1 of 1
    Ask FixBot

    Add Comment

  3. Linksys WAP54g Bottom Casing/Motherboard Replacement: step 3, image 1 of 1
    • Remove the two black rubber feet of the device using the screwdriver. The feet are located on the bottom towards the front.

    Ask FixBot

    Add Comment

  4. Linksys WAP54g Bottom Casing/Motherboard Replacement: step 4, image 1 of 1
    • Once the feet are removed, two small screws will be visible. With a small screwdriver, unscrew them. Screws are phillips head, 4.35 mm in diameter, 7.88 mm in length.

    Ask FixBot

    Add Comment

  5. Linksys WAP54g Bottom Casing/Motherboard Replacement: step 5, image 1 of 1
    • To remove the front blue panel, grip firmly and place thumbs in the two notches on top. Push thumbs forward while keeping a firm grip on bottom.

    • This may require a bit of force.

    Ask FixBot

    Add Comment

  6. Linksys WAP54g Bottom Casing/Motherboard Replacement: step 6, image 1 of 1
    • Now slide the bottom panel forward and remove it so the top casing is isolated from the bottom casing and motherboard.

    Ask FixBot

    Add Comment

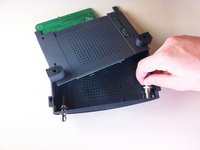
  7. Linksys WAP54g Bottom Casing/Motherboard Replacement: step 7, image 1 of 2 Linksys WAP54g Bottom Casing/Motherboard Replacement: step 7, image 2 of 2
    • Unscrew the nut on the outer side of the back casing. Remove the nut and the washer from both antenna mounts.

    Ask FixBot

    Add Comment

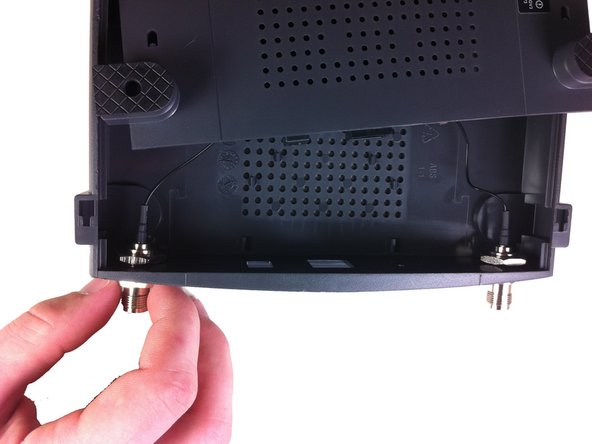
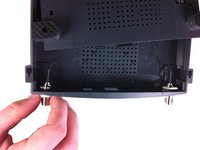
  8. Linksys WAP54g Bottom Casing/Motherboard Replacement: step 8, image 1 of 2 Linksys WAP54g Bottom Casing/Motherboard Replacement: step 8, image 2 of 2
    • From here, remove the wires and nuts connected to the back panel by pulling the nuts through the holes.

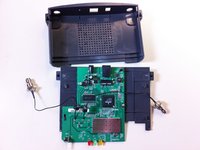
    • Now the top casing has been removed and isolated from the rest of the device. From here, you can make repairs to the top casing.

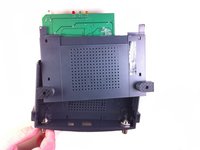
    • Once the top panel is removed the main board will still be attached to the bottom panel.

    Ask FixBot

    Add Comment

  9. Linksys WAP54g Bottom Casing/Motherboard Replacement, Bottom Casing/Motherboard: step 9, image 1 of 2 Linksys WAP54g Bottom Casing/Motherboard Replacement, Bottom Casing/Motherboard: step 9, image 2 of 2
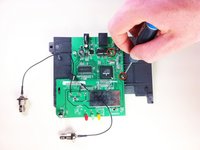
    • Unscrew the two screws that connect the motherboard to the bottom casing.

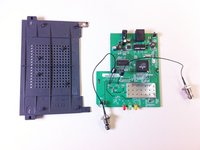
    • The motherboard and bottom casing should be completely separated at this point. This allows for replacement of the motherboard and/ or its components as well as the bottom casing.

    Ask FixBot

    Add Comment

Conclusion

After the motherboard is isolated component level repairs can be made.

Cancel: I did not complete this guide.

2 other people completed this guide.

Mathew Fuller

Member since: 10/04/11

146 Reputation

1 Guide authored

Team

Cal Poly, Team 21-21, Maness Fall 2011 Member of Cal Poly, Team 21-21, Maness Fall 2011

CPSU-MANESS-F11S21G21

5 Members

12 Guides authored

0 Guide Comments

Add Comment

View Statistics:

Past 24 Hours: 0

Past 7 Days: 6

Past 30 Days: 32

All Time: 2,961