Free Shipping on Domestic Orders $75+

Kodak Easyshare C813 LCD Replacement

What you need

  1. Kodak Easyshare C813 LCD Replacement, Battery: step 1, image 1 of 1
    • Turn off camera by firmly pressing the power button that is located on the top of the camera near the selector dial.

    Ask FixBot

    Add Comment

  2. Kodak Easyshare C813 LCD Replacement: step 2, image 1 of 3 Kodak Easyshare C813 LCD Replacement: step 2, image 2 of 3 Kodak Easyshare C813 LCD Replacement: step 2, image 3 of 3
    • Press thumb firmly on battery door and slide it in the direction of the arrow.

    • Lift thumb allowing the door to swing open.

    Ask FixBot

    Add Comment

  3. Kodak Easyshare C813 LCD Replacement, Back Cover: step 3, image 1 of 1
    Tool used on this step:
    Anti-Static Wrist Strap
    $7.95
    Buy
    Ask FixBot

    Add Comment

  4. Kodak Easyshare C813 LCD Replacement: step 4, image 1 of 1
    • Turn the camera off by firmly pressing the power button located on top of the camera.

    Ask FixBot

    Add Comment

  5. Kodak Easyshare C813 LCD Replacement: step 5, image 1 of 3 Kodak Easyshare C813 LCD Replacement: step 5, image 2 of 3 Kodak Easyshare C813 LCD Replacement: step 5, image 3 of 3
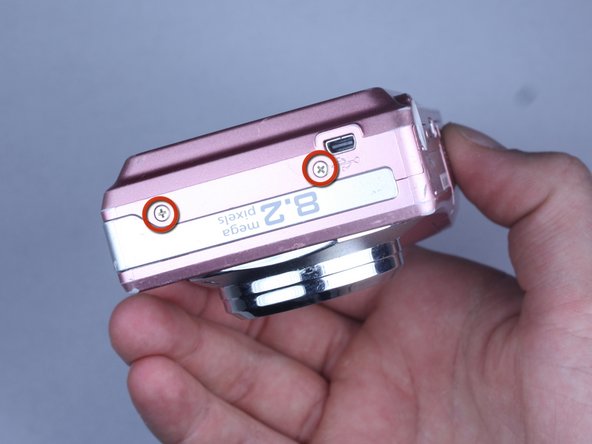
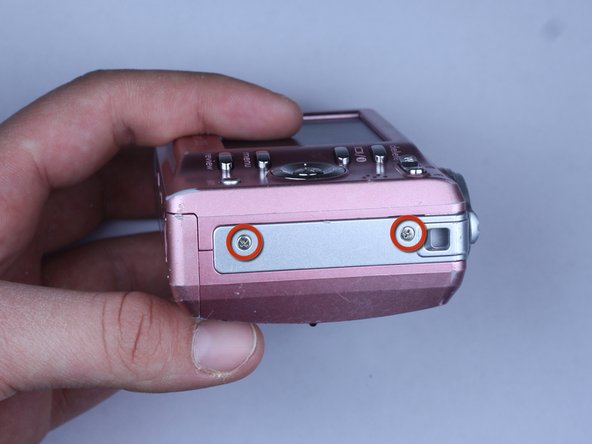
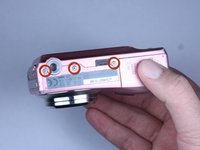
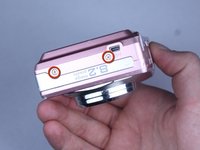
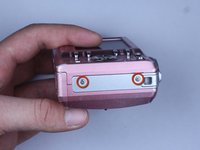
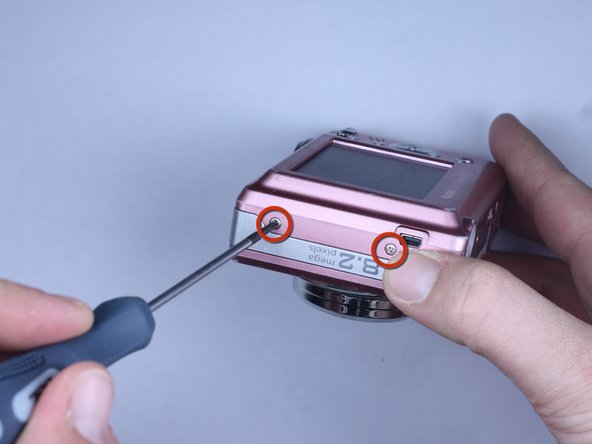
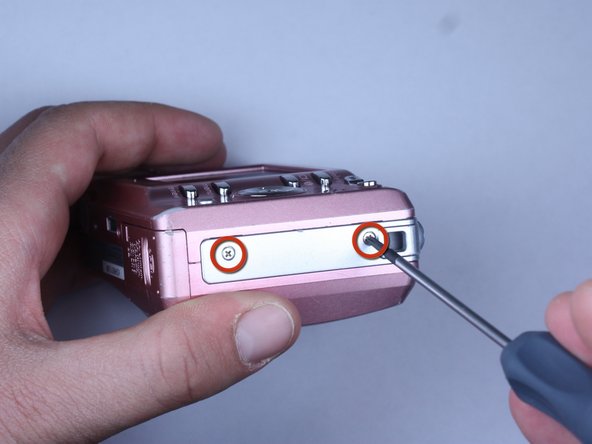
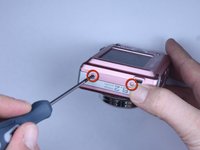
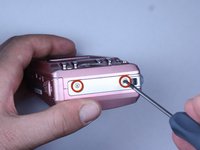
    • Locate the 7 screws holding the back cover on.

    • Three screws are located on the bottom of the camera.

    • Two screws are located on the side shown in the photograph.

    • Two final screws are located on the opposite side shown in the photograph.

    Ask FixBot

    Add Comment

  6. Kodak Easyshare C813 LCD Replacement: step 6, image 1 of 3 Kodak Easyshare C813 LCD Replacement: step 6, image 2 of 3 Kodak Easyshare C813 LCD Replacement: step 6, image 3 of 3
    • Remove all 7 screws:

    • Hold the camera firmly with one hand so that you can still see a screw.

    • Place the Philips 00(Found here)screwdriver into the screw.

    • Turn the screwdriver to the left until it is free.

    • Repeat for the remaining screws.

    Ask FixBot

    Add Comment

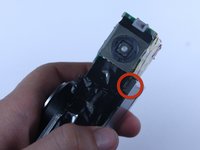
  7. Kodak Easyshare C813 LCD Replacement: step 7, image 1 of 3 Kodak Easyshare C813 LCD Replacement: step 7, image 2 of 3 Kodak Easyshare C813 LCD Replacement: step 7, image 3 of 3
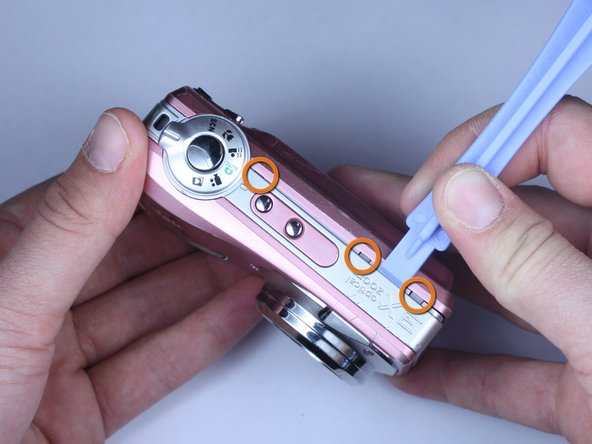
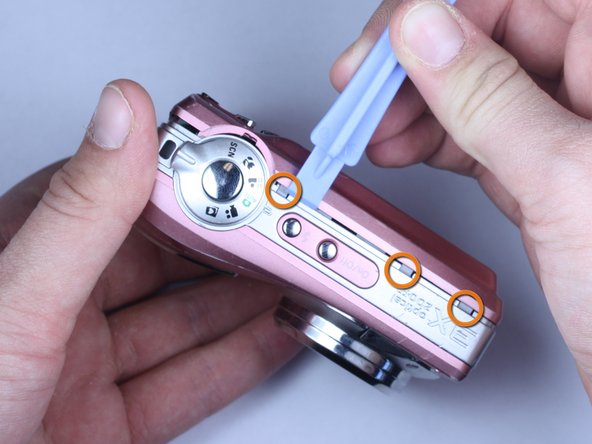
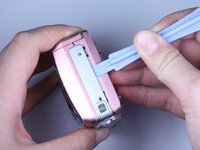
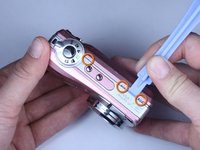
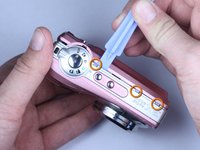
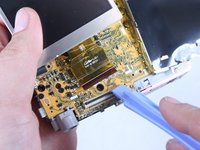
    • Use plastic opening tools to slightly open the side of the case.

    • Insert a plastic opening tool and apply pressure to the internal three tabs at the top.

    • The first two are near the words "3X Optical Zoom".

    • The third is near the shutter button.

    Ask FixBot

    Add Comment

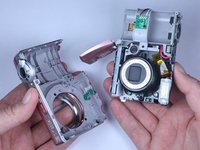
  8. Kodak Easyshare C813 LCD Replacement: step 8, image 1 of 3 Kodak Easyshare C813 LCD Replacement: step 8, image 2 of 3 Kodak Easyshare C813 LCD Replacement: step 8, image 3 of 3
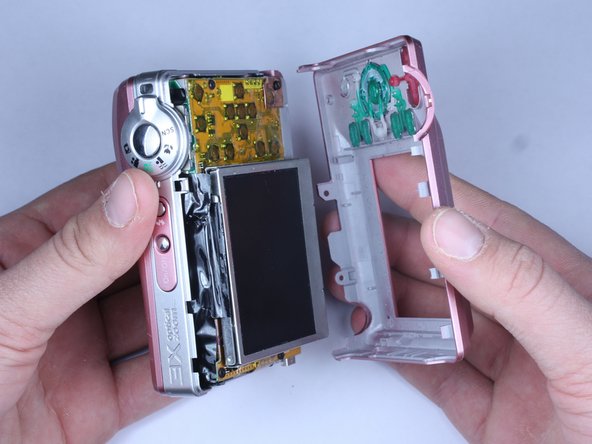
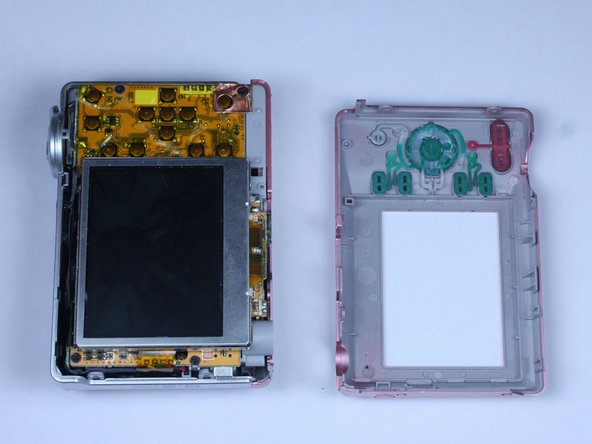
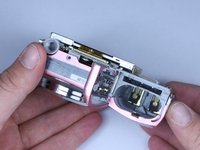
    • Gently pull apart the back cover from the rest of the camera.

    • Make sure there are no more screws or tabs keeping the cover on.

    • Use the plastic opening tool to separate any sides still closely connected.

    Ask FixBot

    Add Comment

  9. Kodak Easyshare C813 LCD Replacement, Front Cover: step 9, image 1 of 2 Kodak Easyshare C813 LCD Replacement, Front Cover: step 9, image 2 of 2
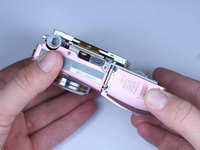
    • Open the battery door.

    • Press thumb firmly on battery door and slide it in the direction of the arrow.

    • Lift thumb allowing the door to swing open.

    Ask FixBot

    Add Comment

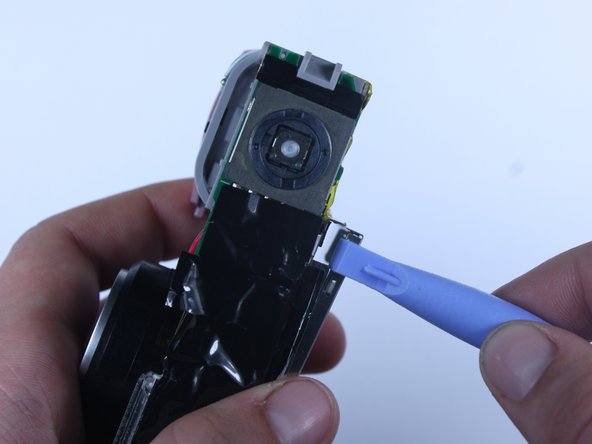
  10. Kodak Easyshare C813 LCD Replacement: step 10, image 1 of 3 Kodak Easyshare C813 LCD Replacement: step 10, image 2 of 3 Kodak Easyshare C813 LCD Replacement: step 10, image 3 of 3
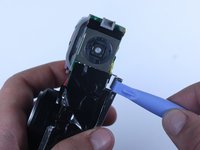
    • Use the plastic opening tool to lift the casing around the shutter button.

    • Gently remove the front cover from the device.

    Ask FixBot

    Add Comment

  11. Kodak Easyshare C813 LCD Replacement: step 11, image 1 of 1
    • Do not touch the terminals shown in the photo. These link to the capacitor which could shock you if not discharged.

    • To discharge the capacitor follow this guide.

    Ask FixBot

    Add Comment

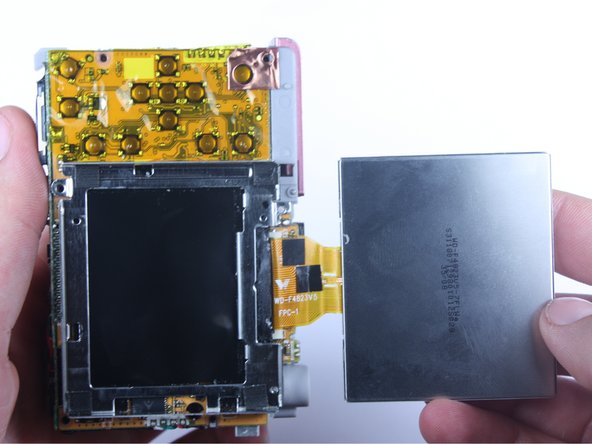
  12. Kodak Easyshare C813 LCD Replacement, LCD: step 12, image 1 of 3 Kodak Easyshare C813 LCD Replacement, LCD: step 12, image 2 of 3 Kodak Easyshare C813 LCD Replacement, LCD: step 12, image 3 of 3
    • Once the front cover is removed, the battery door maybe closed for convenience.

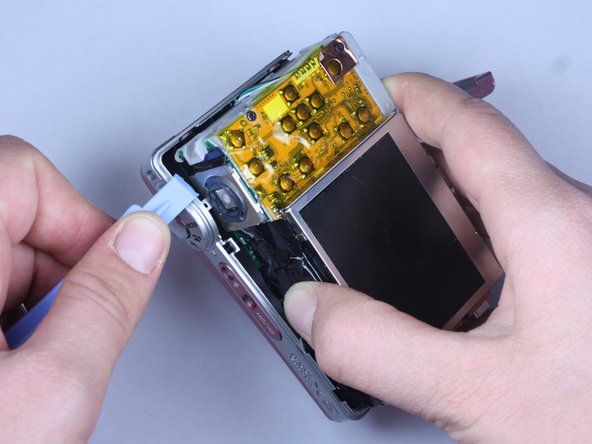
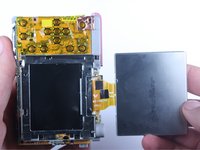
    • Locate the exposed portion of the LCD screen.

    • Use a wedge to free the LCD screen from the medal housing.

    • Do not pull the screen away completely, it is still attached to the logic board via the yellow cable.

    Ask FixBot

    Add Comment

  13. Kodak Easyshare C813 LCD Replacement: step 13, image 1 of 1
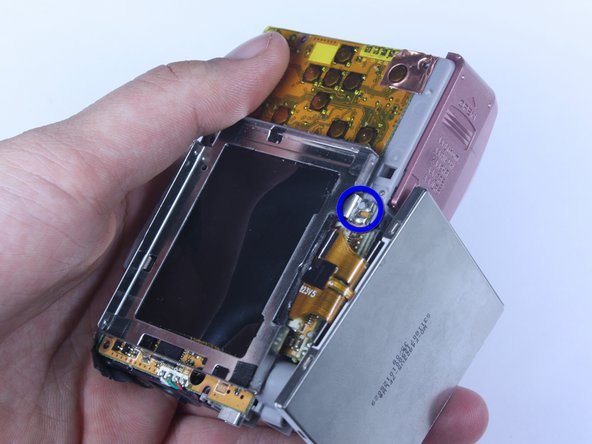
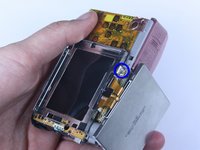
    • Remove the screw at the upper right corner of the metal housing.

    Ask FixBot

    Add Comment

  14. Kodak Easyshare C813 LCD Replacement: step 14, image 1 of 3 Kodak Easyshare C813 LCD Replacement: step 14, image 2 of 3 Kodak Easyshare C813 LCD Replacement: step 14, image 3 of 3
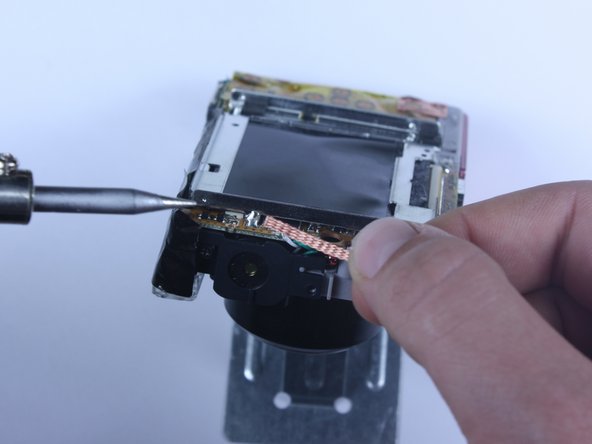
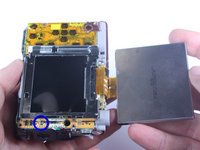
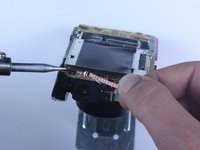
    • Locate the 2 solder joints holding down the medal housing.

    • Remove the solder.

    • Place wick on solder.

    • Place solder iron on wick

    • The wick should be sandwiched between the iron and the solder.

    Ask FixBot

    Add Comment

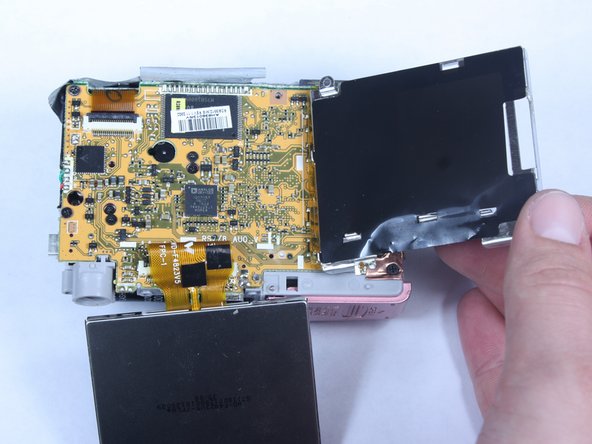
  15. Kodak Easyshare C813 LCD Replacement: step 15, image 1 of 3 Kodak Easyshare C813 LCD Replacement: step 15, image 2 of 3 Kodak Easyshare C813 LCD Replacement: step 15, image 3 of 3
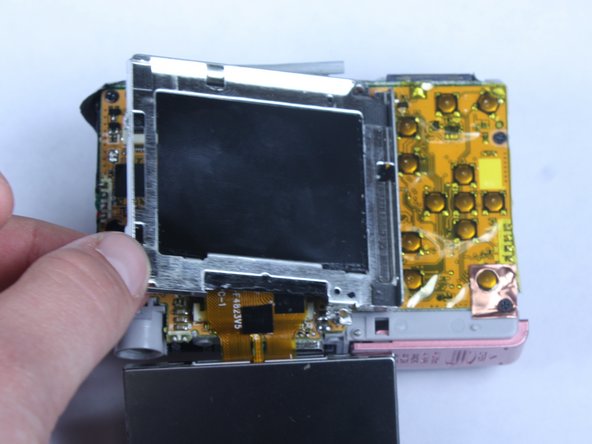
    • Peel back the black tape from the metal housing.

    • Lift the metal housing from the left so that it hinges on its right side.

    • The metal housing is still loosely attached on its right side.

    Ask FixBot

    Add Comment

  16. Kodak Easyshare C813 LCD Replacement: step 16, image 1 of 3 Kodak Easyshare C813 LCD Replacement: step 16, image 2 of 3 Kodak Easyshare C813 LCD Replacement: step 16, image 3 of 3
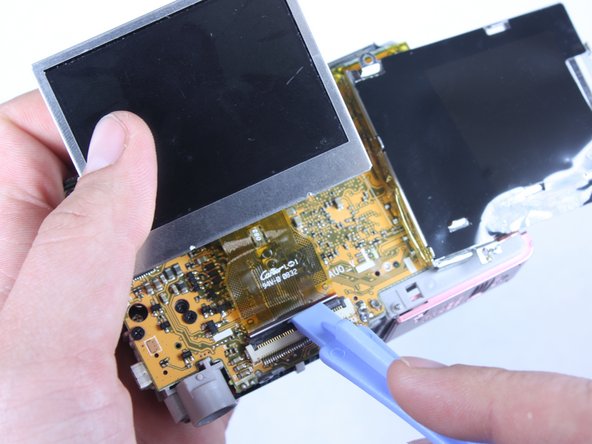
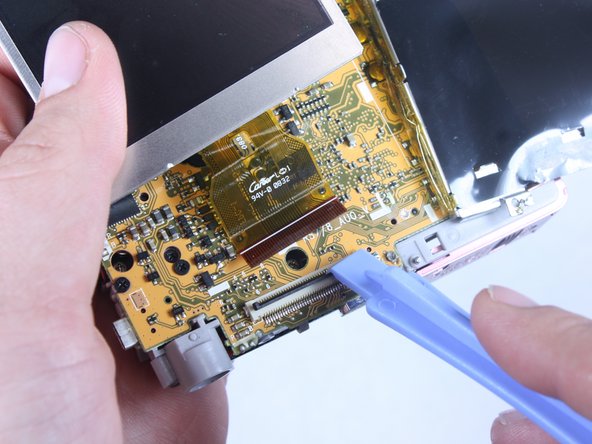
    • Locate black tab holding the LCD screen connector in the port.

    • Use wedge or fingernail to lift the black tab.

    • Pull the the LCD screen connector out of the port.

    Ask FixBot

    Add Comment

Conclusion

To reassemble your device, follow these instructions in reverse order.

Cancel: I did not complete this guide.

2 other people completed this guide.

Samantha Murray

Member since: 04/15/10

296 Reputation

3 Guides authored

Team

Cal Poly, Team 24-22, Regan Spring 2010 Member of Cal Poly, Team 24-22, Regan Spring 2010

CPSU-REGAN-S10S24G22

4 Members

22 Guides authored

1 Guide Comment

De sluiterknop werkt niet altijd, hoe is dit op te lossen?

Jacobus Rijken - Reply Share
Add Comment

View Statistics:

Past 24 Hours: 2

Past 7 Days: 10

Past 30 Days: 37

All Time: 13,998