
How to Fix a Stuck Button in Sharp Calculator

Micah Bustamante and 2 other contributors
Last updated on Sep 26, 2024
Views: 6.1K
View statistics:
- Past 24 Hours:
- 2
- Past 7 Days:
- 19
- Past 30 Days:
- 106
- All Time:
- 6,053
Comments: 0
No one has left comments on this guide. Will you be first?
Go to guide commentsCompleted: 2 3
2 people have marked this guide "completed." Will you be next?
3 people have marked this guide "completed." Including you — great job!
Favorites: 0 1
No one has favorited (and subscribed to) this guide. Will you be the first?
1 person has favorited (and subscribed to) this guide — and that's you!
Introduction
Go to step 1 ↓This guide shows an easy step-by-step repair process that fixes stuck buttons on the Sharp scientific calculator quickly.
It covers the models EL-W531X, EL-W531XG, EL-W531XH, and EL-W535X for Sharp Scientific Write View Calculator. If your device does not display the inputted numbers correctly, it is likely due to sticky keys. This common issue occurs when the buttons become exposed to excessive force, such as being dropped or roughly used. As a result, some keys become sticky, knocked out from their position and unusable.
What you need
Tools
-
Spudger4.9


-
-
-
Turn the power off by pressing a button named 2NDF located in the top-left corner.
-
Press the button named ON/C in the top-right corner.
 Ask FixBot
-
-
-
Flip the calculator over so that the back panel is facing upwards.
-
Remove two 5mm Phillips #0 screws from the battery cover by turning the screwdriver in a counter-clockwise direction.
-
Remove the remaining four 5mm Phillips #0 screws from the back panel cover.
-
-
-
Remove the battery cover.
-
Insert a spudger into the slot located in the top-right corner and pry the battery out.
-
-
-
Remove the front panel by sticking an opening tool into a small gap between front and back panel.
-
Push the tool down with force and pry open the right side carefully.
-
Detach the front panel from the back panel by lifting the front board.
-
-
-
Use a Phillips #0 screwdriver to remove the eight 5mm screws from the motherboard.
-
-
-
-
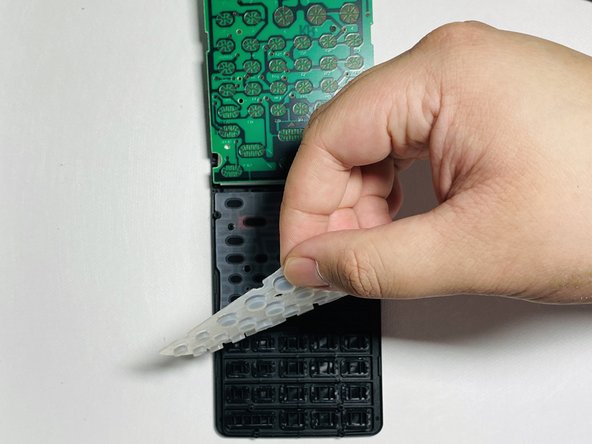
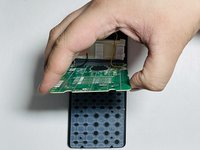
Lift the motherboard by holding both sides and placing it on the top panel.
-
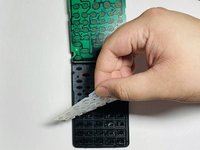
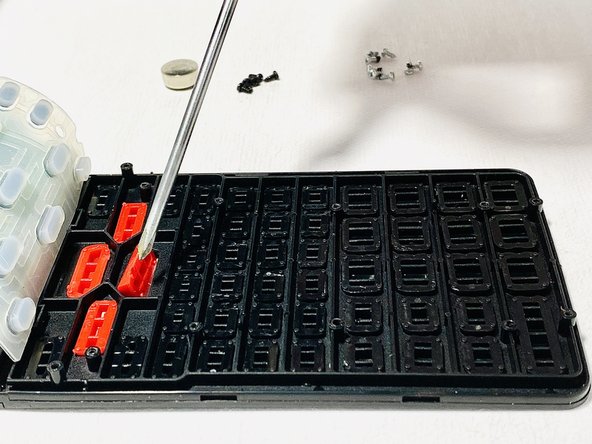
Lift the grey padding upwards by holding any corner and place it on top of the motherboard.
-
-



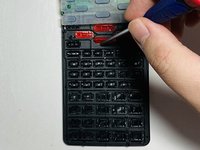
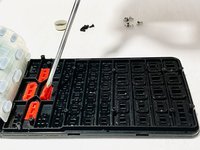
To reassemble your device, follow these instructions in reverse order.
Cancel: I did not complete this guide.
2 other people completed this guide.
Attached Documents

Team

York University, Team S1-G5, O'Regan Summer 2020 Member of York University, Team S1-G5, O'Regan Summer 2020
YORK-O'REGAN-SU20S1G5
1 Member
12 Guides authored
