
Hair Scrunchie Elastic Replacement

Malena Hansen and 5 other contributors
Last updated on Aug 7, 2019
Views: 27K
View statistics:
- Past 24 Hours:
- 4
- Past 7 Days:
- 34
- Past 30 Days:
- 169
- All Time:
- 26,607
Comments: 1
1 guide comment.
Go to guide commentsCompleted: 9 10
9 people have marked this guide "completed." Will you be next?
10 people have marked this guide "completed." Including you — great job!
Favorites: 3 4
3 people have favorited (and subscribed to) this guide. Will you be next?
4 people have favorited (and subscribed to) this guide — including you!
Introduction
Go to step 1 ↓Often the elastic interior of a scrunchie will break, while the outer cloth material remains intact. At this point, most people would discard their scrunchie as useless, contributing to the fashion waste stream. Buying a new scrunchie adds to pollution, depletion of natural resources, and unfair labor practices within the fast fashion industry. With the help of this guide, scrunchie users will be able to learn how to simply replace the inner elastic and repair their broken scrunchie. This guide is relatively simple, however, it requires the use of sharp objects, such as a needle and hem ripper.
What you need
Parts
Tools


-
-
-
There are two seams that hold the fabric outer tube of the scrunchie together. The long seam runs along the entire circumference of the tube. The short seam goes around just one part of the tube.
 Ask FixBot
-
-
-
Locate the short seam and use the hem ripper to carefully cut through each stitch without damaging the fabric.
-
-
-
Insert the pencil tip into one end of the fabric tube.
-
As you push the pencil through, scrunch the fabric together until the tip comes out the other side.
-
-
-
-
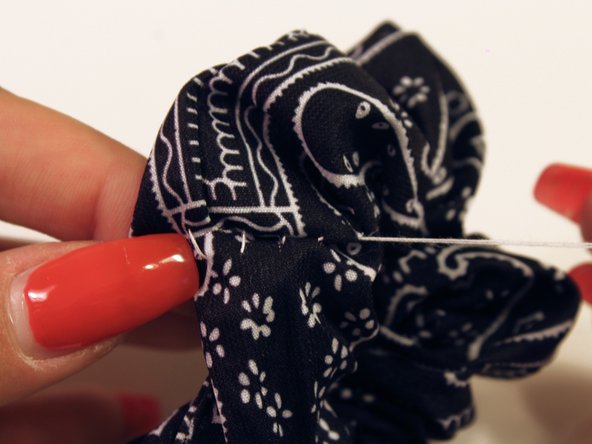
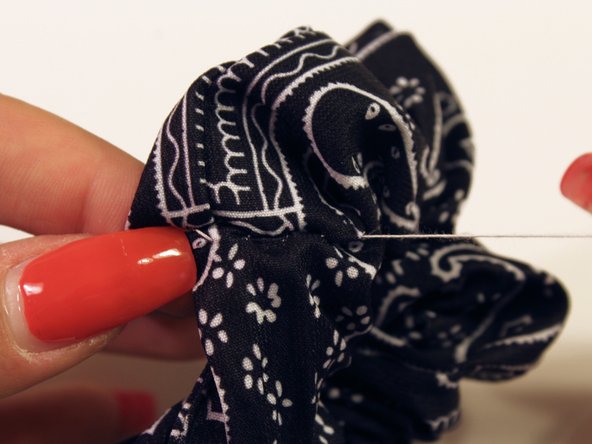
Use the ladder stitch technique to sew each end of the tube back together.
-
Use this guide for assistance.
-
-
-
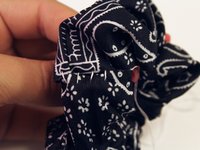
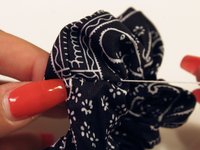
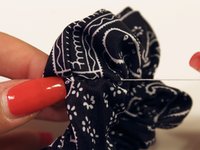
Tie a knot and use your finger to keep the knot close as close to the fabric as possible.
-
Repeat this process until the thread is secure.
-
-


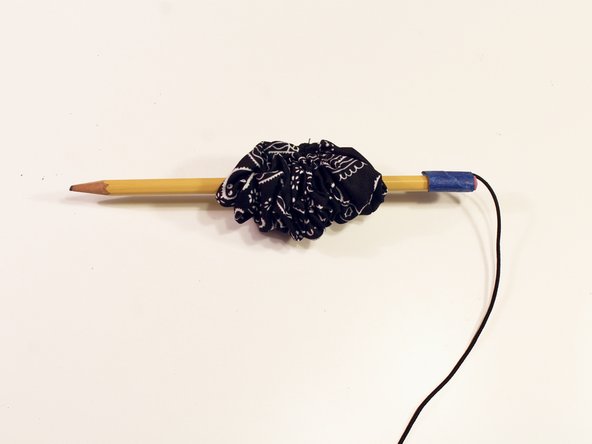
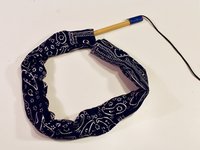
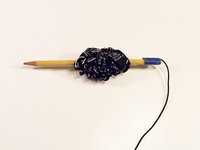

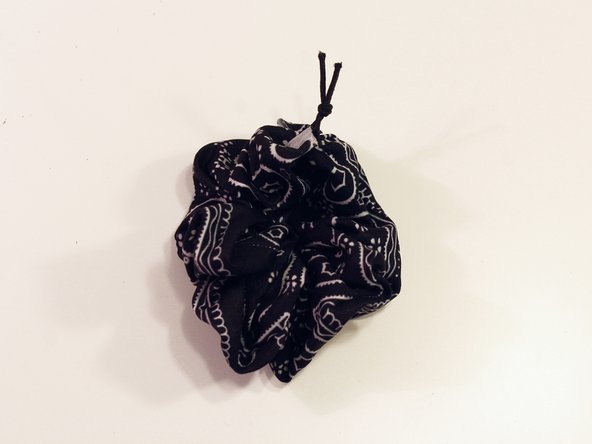
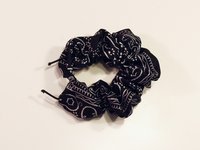
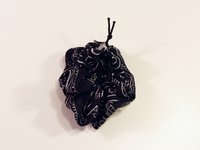




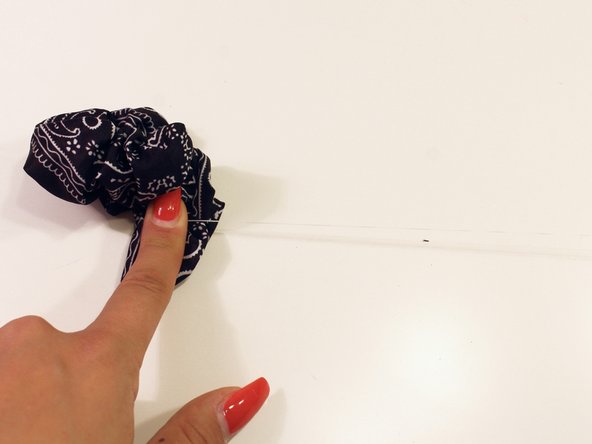
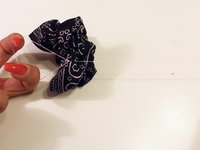
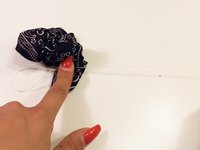
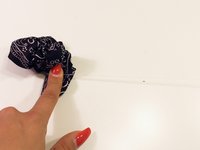

This is a simple and effective way to replace the elastic so that you can continue to use the hair accessory.
Cancel: I did not complete this guide.
9 other people completed this guide.

Team

UC Davis, Team S2-G2, Bender Fall 2018 Member of UC Davis, Team S2-G2, Bender Fall 2018
UCD-BENDER-F18S2G2
3 Members
12 Guides authored
1 Guide Comment
Amazing
Been looking for a way to fix my scrunchie
Thanks!
