Free Shipping on Domestic Orders $75+

GuliKit KingKong 2 Pro Face Buttons Replacement

What you need

  1. GuliKit KingKong 2 Pro Face Buttons Replacement, Unfasten the back cover screws: step 1, image 1 of 1
    • Use a Phillips #00 screwdriver to remove the four 11 mm-long screws securing the back cover.

    Ask FixBot

    Add Comment

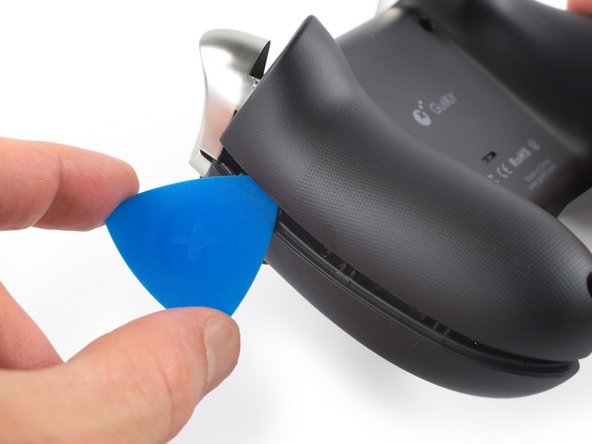
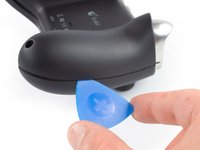
  2. GuliKit KingKong 2 Pro Face Buttons Replacement, Insert an opening pick: step 2, image 1 of 2 GuliKit KingKong 2 Pro Face Buttons Replacement, Insert an opening pick: step 2, image 2 of 2
    • The back cover of the GuliKit Kingkong 2 Pro is held in place by plastic clips.

    • Insert an opening pick into the gap between the front assembly and the back cover at the bottom edge of the controller.

    • Tilt your opening pick downwards to widen the gap.

    Ask FixBot

    Add Comment

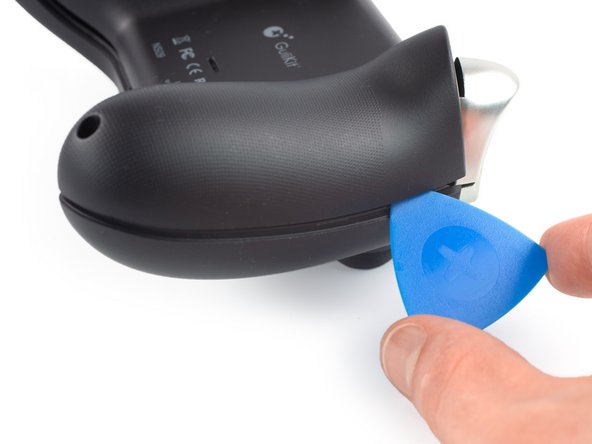
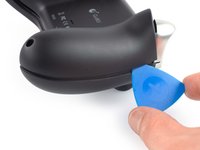
  3. GuliKit KingKong 2 Pro Face Buttons Replacement, Separate the front assembly and back cover: step 3, image 1 of 2 GuliKit KingKong 2 Pro Face Buttons Replacement, Separate the front assembly and back cover: step 3, image 2 of 2
    • Insert an opening pick into the gap between the front assembly and the back cover at the outside of the right controller handle.

    • Slide the opening pick along the gap to separate the front assembly from the back cover.

    Ask FixBot

    Add Comment

  4. GuliKit KingKong 2 Pro Face Buttons Replacement: step 4, image 1 of 2 GuliKit KingKong 2 Pro Face Buttons Replacement: step 4, image 2 of 2
    • Insert an opening pick into the gap between the front assembly and the back cover at the outside of the left controller handle.

    • Slide the opening pick along the gap to separate the front assembly from the back cover.

    Ask FixBot

    Add Comment

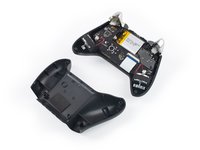
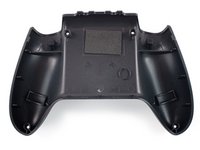
  5. GuliKit KingKong 2 Pro Face Buttons Replacement, Remove the back cover: step 5, image 1 of 2 GuliKit KingKong 2 Pro Face Buttons Replacement, Remove the back cover: step 5, image 2 of 2
    • Separate the back cover from the front assembly and remove it.

    Ask FixBot

    Add Comment

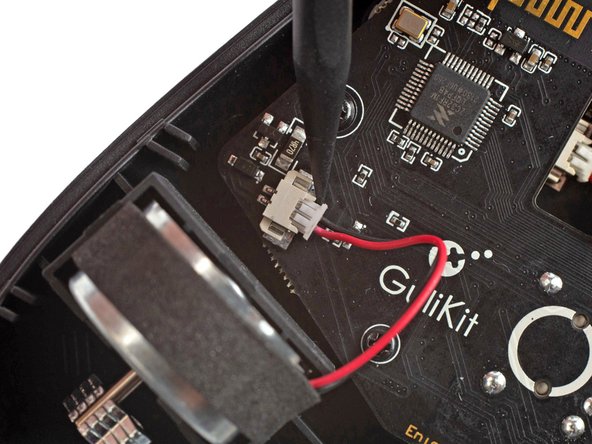
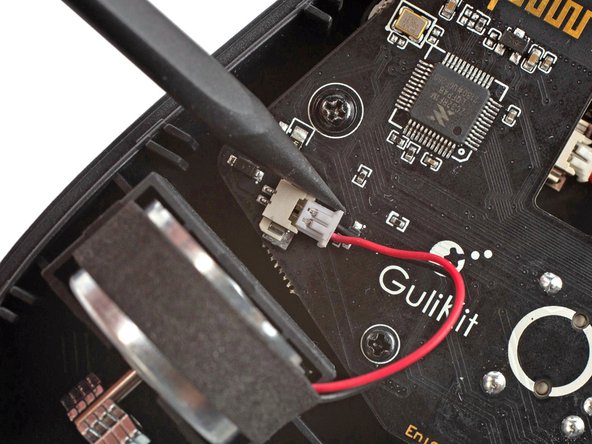
  6. GuliKit KingKong 2 Pro Face Buttons Replacement, Disconnect the right vibration motor: step 6, image 1 of 3 GuliKit KingKong 2 Pro Face Buttons Replacement, Disconnect the right vibration motor: step 6, image 2 of 3 GuliKit KingKong 2 Pro Face Buttons Replacement, Disconnect the right vibration motor: step 6, image 3 of 3
    Tool used on this step:
    Tweezers
    $4.99
    Buy
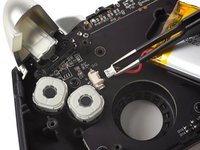
    • It's not mandatory to remove the two vibration motors to remove the mainboard assembly. However, other repairs become much easier with the motors removed. If you want to leave the motors in place, you can jump straight to step 9.

    • Pull on the connectors themselves and not the cables to avoid damaging them.

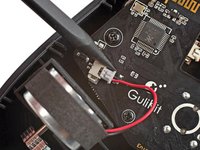
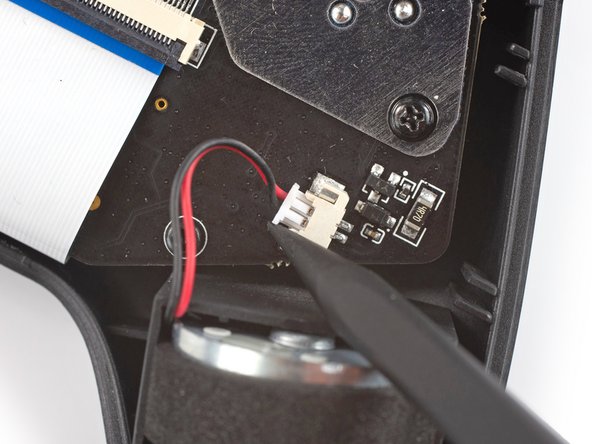
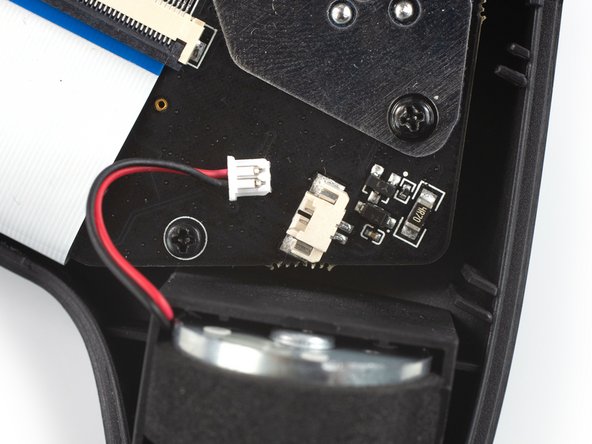
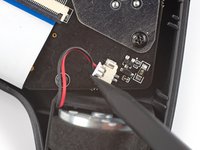
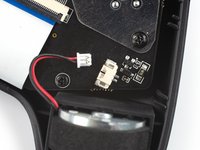
    • Use the point of a spudger to disconnect the right vibration motor by pushing the connector straight out of its socket.

    • If you can't disconnect the vibration motor with a spudger, use a pair of blunt nose tweezers to pull the connector out of its socket.

    Ask FixBot

    Add Comment

  7. GuliKit KingKong 2 Pro Face Buttons Replacement, Disconnect the left vibration motor: step 7, image 1 of 3 GuliKit KingKong 2 Pro Face Buttons Replacement, Disconnect the left vibration motor: step 7, image 2 of 3 GuliKit KingKong 2 Pro Face Buttons Replacement, Disconnect the left vibration motor: step 7, image 3 of 3
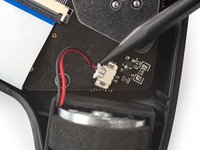
    • Use the point of a spudger to disconnect the left vibration motor by pushing the connector straight out of its socket.

    Ask FixBot

    Add Comment

  8. GuliKit KingKong 2 Pro Face Buttons Replacement, Remove the vibration motors: step 8, image 1 of 1
    • Remove the vibration motors by lifting them out of the controller housing.

    Ask FixBot

    Add Comment

  9. GuliKit KingKong 2 Pro Face Buttons Replacement, Release the interconnect cable ZIF connector: step 9, image 1 of 2 GuliKit KingKong 2 Pro Face Buttons Replacement, Release the interconnect cable ZIF connector: step 9, image 2 of 2
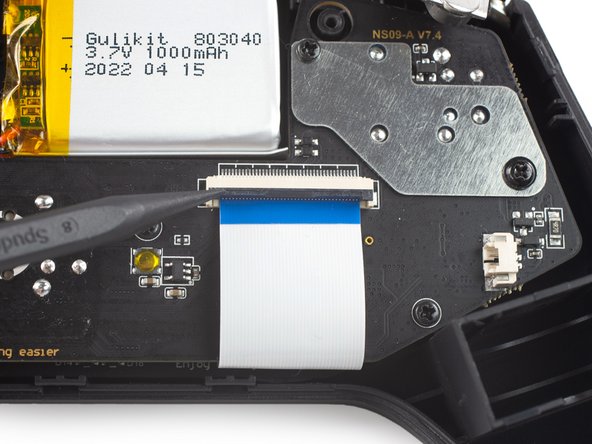
    • Use a spudger, an opening tool, or your fingernail to flip up the small, hinged locking flap on the interconnect cable's ZIF connector.

    Ask FixBot

    Add Comment

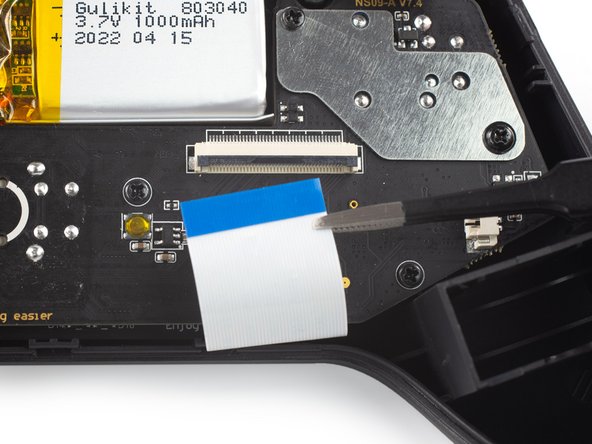
  10. GuliKit KingKong 2 Pro Face Buttons Replacement, Disconnect the interconnect cable: step 10, image 1 of 2 GuliKit KingKong 2 Pro Face Buttons Replacement, Disconnect the interconnect cable: step 10, image 2 of 2
    • Use a pair of blunt nose tweezers to disconnect the interconnect cable by pulling the cable straight out of the connector.

    Ask FixBot

    Add Comment

  11. GuliKit KingKong 2 Pro Face Buttons Replacement, Unfasten the mainboard assembly screws: step 11, image 1 of 1
    • Use a Phillips #00 screwdriver to remove the screws securing the mainboard assembly:

    • Four 7.8 mm-long screws.

    • Two 11 mm-long screws.

    Ask FixBot

    Add Comment

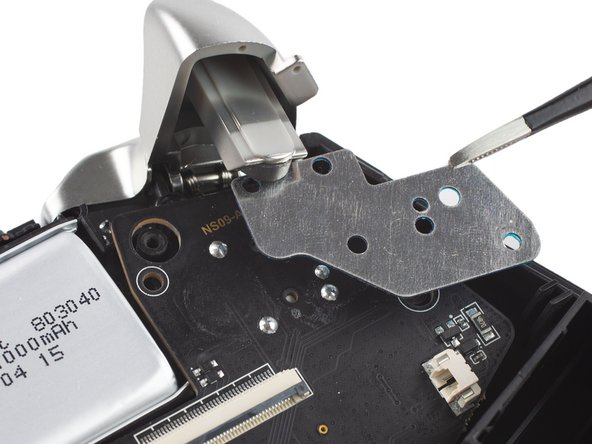
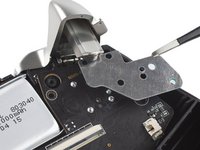
  12. GuliKit KingKong 2 Pro Face Buttons Replacement, Remove the mainboard shield: step 12, image 1 of 2 GuliKit KingKong 2 Pro Face Buttons Replacement, Remove the mainboard shield: step 12, image 2 of 2
    • Use a pair of blunt nose tweezers to remove the metal shield from the mainboard assembly.

    Ask FixBot

    Add Comment

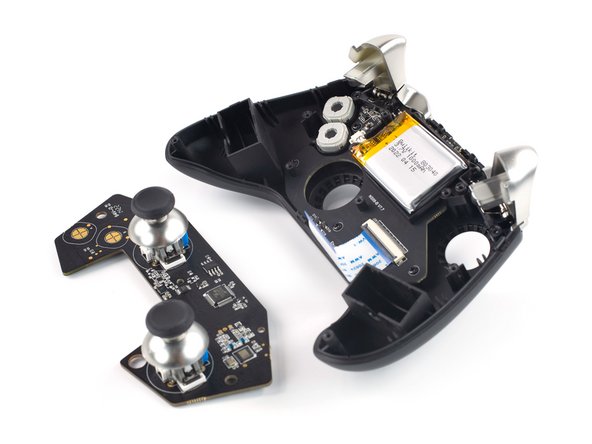
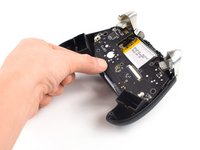
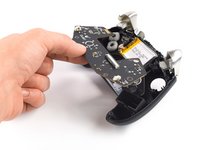
  13. GuliKit KingKong 2 Pro Face Buttons Replacement, Remove the mainboard assembly: step 13, image 1 of 3 GuliKit KingKong 2 Pro Face Buttons Replacement, Remove the mainboard assembly: step 13, image 2 of 3 GuliKit KingKong 2 Pro Face Buttons Replacement, Remove the mainboard assembly: step 13, image 3 of 3
    • Remove the mainboard assembly by lifting it out of the controller housing.

    Ask FixBot

    Add Comment

  14. GuliKit KingKong 2 Pro Face Buttons Replacement, Unfasten the battery frame screw: step 14, image 1 of 1
    • Take care not to puncture the battery with your tool—a punctured battery may leak dangerous chemicals or cause a fire.

    • Use a Phillips #00 screwdriver to remove the single 7.8 mm-long screw securing the battery frame.

    Ask FixBot

    Add Comment

  15. GuliKit KingKong 2 Pro Face Buttons Replacement, Free the battery frame: step 15, image 1 of 3 GuliKit KingKong 2 Pro Face Buttons Replacement, Free the battery frame: step 15, image 2 of 3 GuliKit KingKong 2 Pro Face Buttons Replacement, Free the battery frame: step 15, image 3 of 3
    • Free the battery frame by lifting it off the plastic pins holding it in place.

    Ask FixBot

    Add Comment

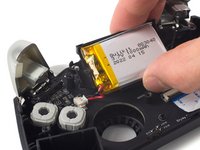
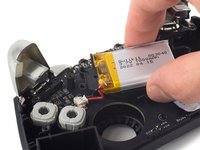
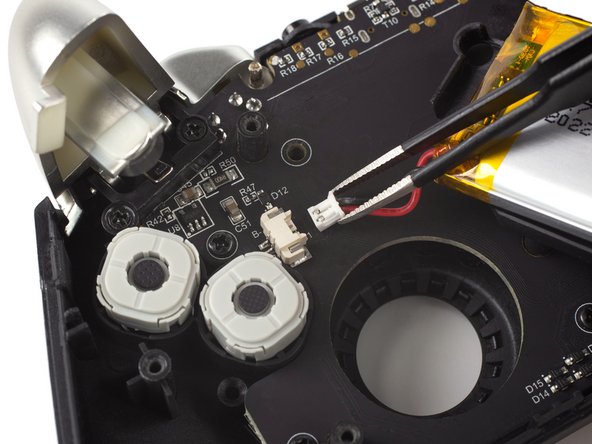
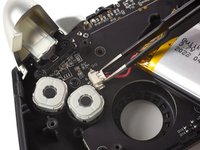
  16. GuliKit KingKong 2 Pro Face Buttons Replacement, Disconnect the battery: step 16, image 1 of 2 GuliKit KingKong 2 Pro Face Buttons Replacement, Disconnect the battery: step 16, image 2 of 2
    Tool used on this step:
    Tweezers
    $4.99
    Buy
    • Pull on the connectors themselves and not the cables to avoid damaging them.

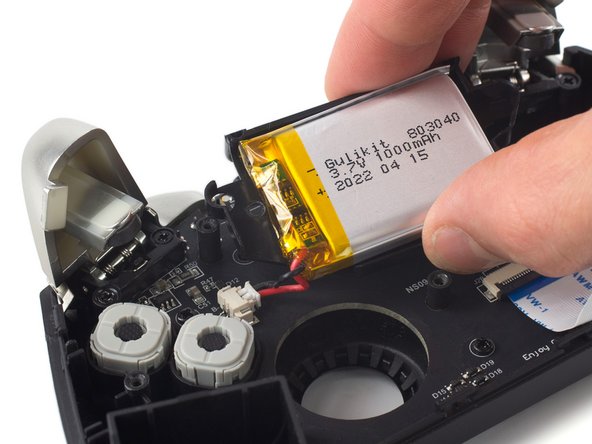
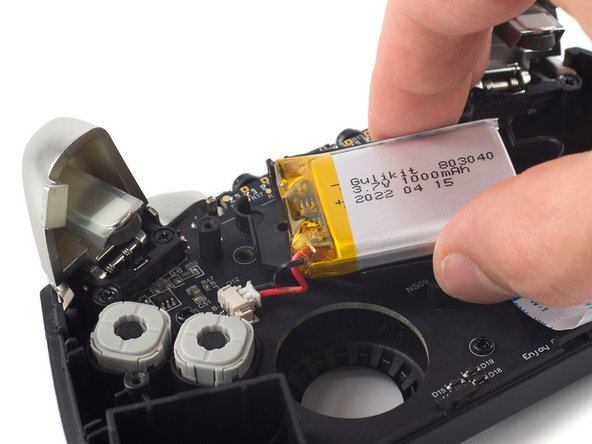
    • Use a pair of blunt nose tweezers to disconnect the battery connector by pulling it straight out of its socket.

    • Remove the battery and its frame from the controller housing.

    Ask FixBot

    Add Comment

  17. GuliKit KingKong 2 Pro Face Buttons Replacement, Unfasten the trigger screws: step 17, image 1 of 1
    • Use a Phillips #00 screwdriver to remove the four 7.8 mm-long screws securing the triggers.

    Ask FixBot

    Add Comment

  18. GuliKit KingKong 2 Pro Face Buttons Replacement, Remove the left trigger: step 18, image 1 of 3 GuliKit KingKong 2 Pro Face Buttons Replacement, Remove the left trigger: step 18, image 2 of 3 GuliKit KingKong 2 Pro Face Buttons Replacement, Remove the left trigger: step 18, image 3 of 3
    • Use your fingers to lift the left trigger off its bracket.

    • Remove the left trigger.

    Ask FixBot

    Add Comment

  19. GuliKit KingKong 2 Pro Face Buttons Replacement, Remove the right trigger: step 19, image 1 of 3 GuliKit KingKong 2 Pro Face Buttons Replacement, Remove the right trigger: step 19, image 2 of 3 GuliKit KingKong 2 Pro Face Buttons Replacement, Remove the right trigger: step 19, image 3 of 3
    • Repeat the previous procedure and lift the right trigger off its bracket to remove it.

    Ask FixBot

    Add Comment

  20. GuliKit KingKong 2 Pro Face Buttons Replacement, Unfasten the daughterboard screws: step 20, image 1 of 1
    • Use a Phillips #00 screwdriver to remove the four 7.8 mm-long screws securing the daughterboard.

    Ask FixBot

    Add Comment

  21. GuliKit KingKong 2 Pro Face Buttons Replacement, Remove the daughterboard: step 21, image 1 of 3 GuliKit KingKong 2 Pro Face Buttons Replacement, Remove the daughterboard: step 21, image 2 of 3 GuliKit KingKong 2 Pro Face Buttons Replacement, Remove the daughterboard: step 21, image 3 of 3
    • Remove the daughterboard by lifting it out of the controller housing.

    Ask FixBot

    Add Comment

  22. GuliKit KingKong 2 Pro Face Buttons Replacement, Remove the button padding: step 22, image 1 of 3 GuliKit KingKong 2 Pro Face Buttons Replacement, Remove the button padding: step 22, image 2 of 3 GuliKit KingKong 2 Pro Face Buttons Replacement, Remove the button padding: step 22, image 3 of 3
    Tool used on this step:
    Tweezers
    $4.99
    Buy
    • If you're replacing the directional pad or the menu and home buttons, follow the steps in order. If not, use the links below to skip to the corresponding steps:

    • A, B, X and Y mechanical buttons

    • Bumpers

    • Use a pair of blunt nose tweezers to lift the grey rubber padding off the directional pad.

    Ask FixBot

    Add Comment

  23. GuliKit KingKong 2 Pro Face Buttons Replacement, Remove the menu and home buttons: step 23, image 1 of 3 GuliKit KingKong 2 Pro Face Buttons Replacement, Remove the menu and home buttons: step 23, image 2 of 3 GuliKit KingKong 2 Pro Face Buttons Replacement, Remove the menu and home buttons: step 23, image 3 of 3
    • Use a pair of tweezers to lift the menu or home button out of its recess in the controller housing.

    Ask FixBot

    Add Comment

  24. GuliKit KingKong 2 Pro Face Buttons Replacement, Remove the directional pad: step 24, image 1 of 2 GuliKit KingKong 2 Pro Face Buttons Replacement, Remove the directional pad: step 24, image 2 of 2
    • Use a pair of tweezers to lift the directional pad out of its recess in the controller housing.

    Ask FixBot

    Add Comment

  25. GuliKit KingKong 2 Pro Face Buttons Replacement, Remove the bumpers: step 25, image 1 of 3 GuliKit KingKong 2 Pro Face Buttons Replacement, Remove the bumpers: step 25, image 2 of 3 GuliKit KingKong 2 Pro Face Buttons Replacement, Remove the bumpers: step 25, image 3 of 3
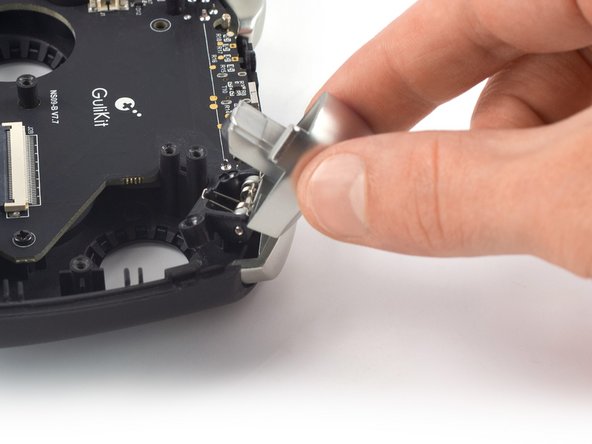
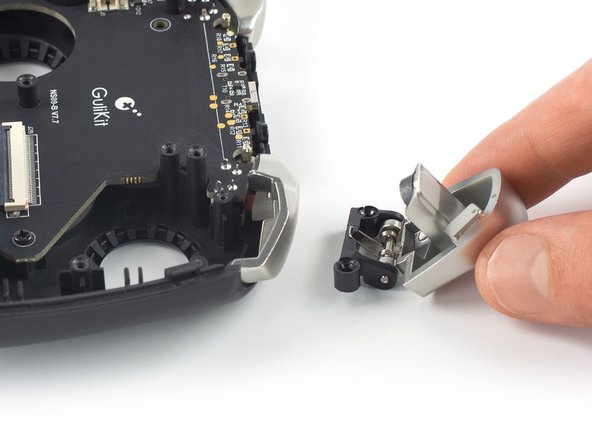
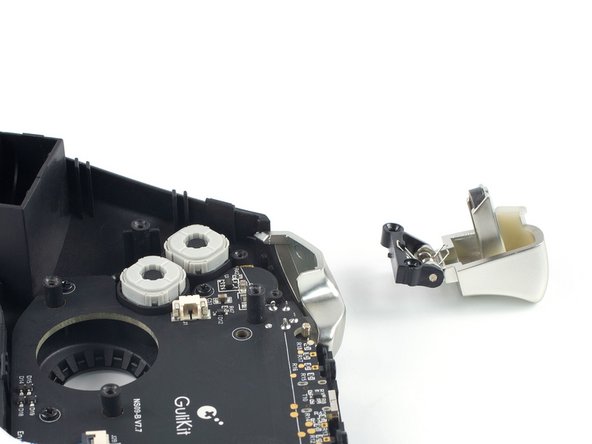
    • Use your fingers to lift the bumpers off their brackets in the controller housing and remove them.

    Ask FixBot

    Add Comment

  26. GuliKit KingKong 2 Pro Face Buttons Replacement, Remove the A, B, X and Y mechanical buttons: step 26, image 1 of 2 GuliKit KingKong 2 Pro Face Buttons Replacement, Remove the A, B, X and Y mechanical buttons: step 26, image 2 of 2
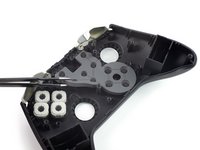
    • Use a pair of tweezers to lift the desired mechanical button out of its recess in the controller housing.

    Ask FixBot

    Add Comment

Conclusion

To reassemble your device, follow these instructions in reverse order.

Take your e-waste to an R2 or e-Stewards certified recycler.

Repair didn’t go as planned? Check out our Answers community for troubleshooting help.

Cancel: I did not complete this guide.

7 other people completed this guide.

Dominik Schnabelrauch

Member since: 11/23/16

260,935 Reputation

682 Guides authored

Team

iFixit Member of iFixit

Staff

123 Members

27,624 Guides authored

7 Guide Comments

I want to change the A, B, X, Y buttons on my controller to the Xbox controller configuration.

Are each of the buttons different heights?.. Do I need to buy replacement buttons that are specifically the Xbox controller configuration style for the King Kong Pro 2?

Thanks in advance.

Charlie - Reply Share
Yep, they are all different heights. If you look on GuliKits website it shows them being different heights.

https://www.gulikit.com/productinfo/8519...

Nissan Uddin - Reply Share
I want to change the A, B, X, Y buttons on my controller to the Xbox controller configuration.

Are each of the buttons different heights?.. Do I need to buy replacement buttons that are specifically the Xbox controller configuration style for the King Kong Pro 2?

Thanks in advance.

Owen Gibson - Reply Share

Yep, they are all different heights. If you look on GuliKits website it shows them being different heights.

https://www.gulikit.com/productinfo/8519...

They sell replacement keycaps.

Nissan Uddin - Reply Share

This guide is very convoluted and adds about 25 steps to a one-step procedure. Example image from gulikit

One of the features of the King Kong 2 Pro that they advertise with the replacement buttons is that they include a pair of tweezers to take the buttons out of the face of the controller

That's it, it's one step.

Kenneth Spicer - Reply Share

Add Comment

View Statistics:

Past 24 Hours: 0

Past 7 Days: 29

Past 30 Days: 108

All Time: 24,000