
Durofix RV332 Battery LED Replacement

Tyler Vincent and 7 other contributors
Last updated on Jan 14, 2026
Views: 1.7K
View statistics:
- Past 24 Hours:
- 1
- Past 7 Days:
- 20
- Past 30 Days:
- 94
- All Time:
- 1,719
Comments: 1
1 guide comment.
Go to guide commentsCompleted: 1 2
1 person has marked this guide "completed." Will you be next?
2 people have marked this guide "completed." Including you — great job!
Favorites: 0 1
No one has favorited (and subscribed to) this guide. Will you be the first?
1 person has favorited (and subscribed to) this guide — and that's you!
Action Shots
Be an action hero! This guide needs images that better demonstrate how to perform specific actions.
Needs Better Images
Better photos will improve this guide. Help out by taking, editing, or uploading new ones!
Better Introduction
Improve this guide by completing or revising its introduction.
Introduction
Go to step 1 ↓This guide can be used to replace a defective battery LED indicator in your Durofix RV332. To complete this repair, you will need a new battery LED, a #0 Phillips head screwdriver, a plastic opening tool, and a soldering iron.
What you need
Parts
Tools


-
-
-
Remove the six 13 mm screws from the side of the power screwdriver using a #0 Phillips screwdriver.
 Ask FixBot
-
-
-
Using a plastic opening tool, separate the case in two to expose the internals of the cordless screwdriver.
-
-
-
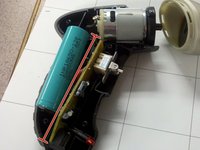
Remove the printed circuit board, LED, battery, and motor assembly from the screwdriver casing.
-
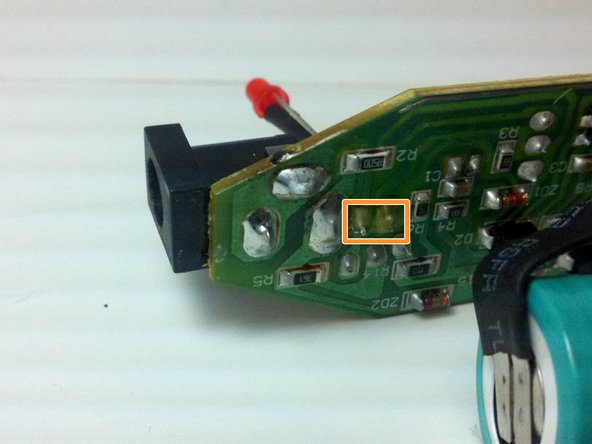
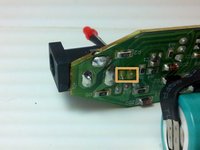
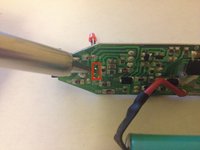
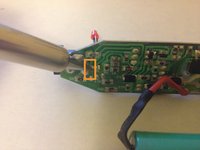
Use a soldering iron to melt the solder from the LED's two pins on the printed circuit board.
-
Remove the LED from the circuit board while the solder is still melted.
-
-
-
-
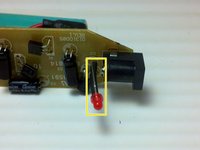
Place the positive leg of the new LED through the positive hole in the printed circuit board and solder it into place.
-
Place the negative leg of the LED through the negative hold in the printed circuit board and solder it into place.
-
-





To reassemble your device, follow these instructions in reverse order.
Replace the printed circuit board, the new battery, the LED, and the motor assembly. Put the case back together and replace the six 13 mm screws in the case using the #0 Phillips head screw driver.
Cancel: I did not complete this guide.
One other person completed this guide.

Team

Michigan Tech, Team 5-5, Lauer Spring 2014 Member of Michigan Tech, Team 5-5, Lauer Spring 2014
MTU-LAUER-S14S5G5
3 Members
60 Guides authored
1 Guide Comment
Hello, I would ask the author about the type and model number of the electronic element marked as Q1 on the PCB (transistor or thyristor) on the third picture in Step 3 of this article, because mine is burnt out, and on this picture can't be read anything.
Greetings,
Plam
