Introduction
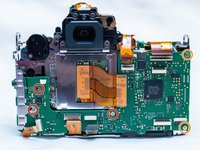
This guide shows you how to remove the main PCB board in the camera. This is useful in the event that the main PCB board is damaged and needs to be replaced, or if you need to access other parts such as the SD card board, or the imaging sensor.
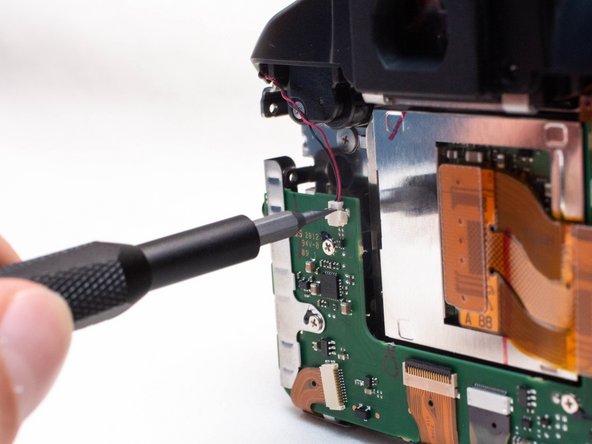
When you install the new main PCB board and are reconnecting the cables, note the single round black cable that leads to the top cover. This cable connects to the right side of the board and the connector is attached to the back of the board. To reconnect it, you simply need to push the cable down into the hole on the connector.
This cable is a fiber optics cable used for the camera flash. Forgetting to reconnect this cable will likely cause the camera flash to no longer function.
The Phillips #000 screwdriver is marked as an optional tool as you can always use the JIS #000 screwdriver in its place (JIS screwdrivers won't damage Phillips head screws).
What you need
-
-
Pry open the rubber I/F terminal cap with your finger.
-
Remove the two M1.7x4.5mm JIS #000 screws that are underneath the I/F terminal cap.
-
Using a plastic pick, or another thin plastic prying tool, pop off the I/F terminal cover from the camera.
 Ask FixBot
-
-
-
On the left side of the camera, remove the following screw:
-
One M1.7x4.5mm JIS #000 screw
-
On the right side, remove the following screws:
-
One M1.7x5.5mm JIS #000 screw
-
One M1.7x4.5mm JIS #000 screw
-
-
-
Remove the battery door.
-
Open the battery door to about a 35° angle.
-
Pull the battery door straight outwards.
-
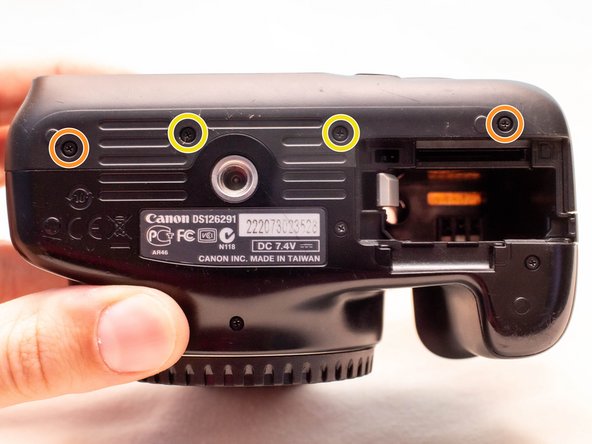
Remove the following screws from the bottom of the camera:
-
Two M1.7x4.5mm JIS #000 screws
-
Two M1.7x3.0mm JIS #000 screws
-
-
-
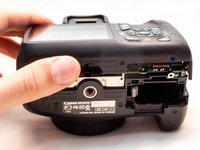
Carefully lift the back cover partially off of the camera.
-
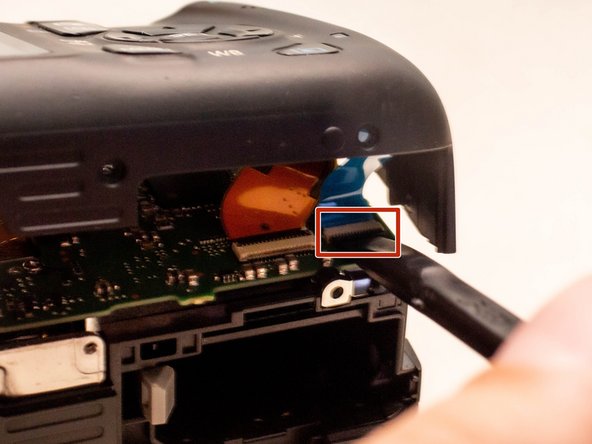
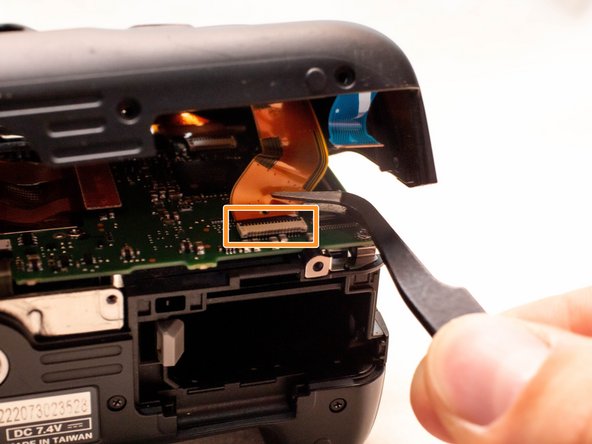
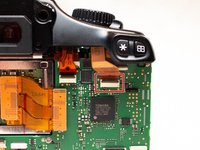
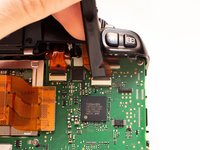
Disconnect the right most ribbon cables from the main PCB board.
-
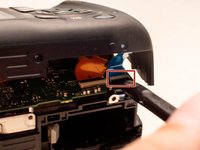
Use a plastic spudger to lift up the black locking tab.
-
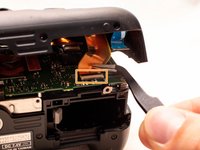
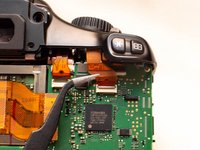
Pull out the ribbon cable from its connector using a pair of angled tweezers.
-
Remove the left ribbon cable using the same two steps as with the other ribbon cable.
-
-
-
Remove the following screws on the front of the camera.
-
Two M1.7x5.5mm JIS #000 screws
-
-
-
On the bottom of the camera, remove the following screws:
-
Two M1.7x5.5mm JIS #000 screws
-
One M1.7x4.5mm JIS #000 screw
-
-
-
-
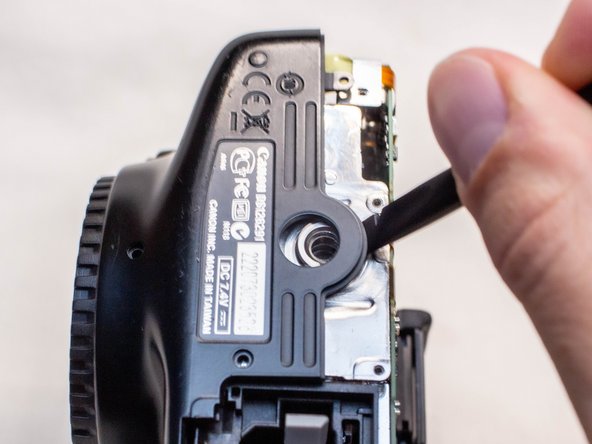
Slide a spudger tool towards the tripod mount, underneath the plastic cover.
-
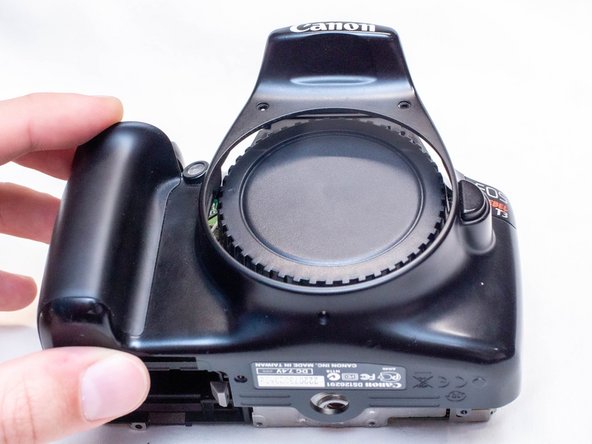
Push the plastic cover up and over the tripod mount.
-
Pull the front cover off of the camera.
-
-
-
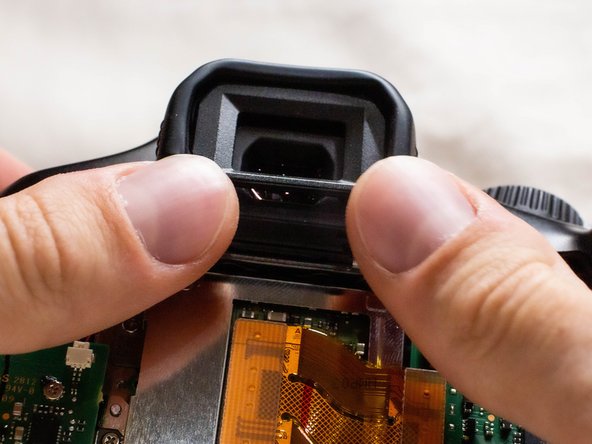
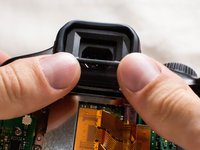
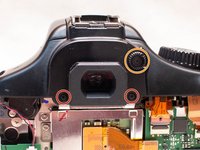
Push up and slide off the eyepiece.
-
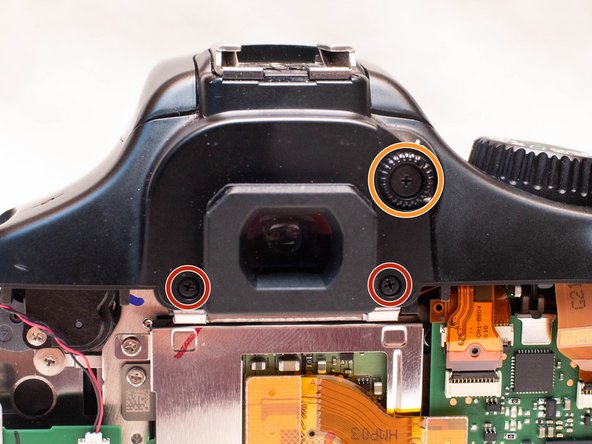
Remove the following screws:
-
Two M1.7x2.5mm JIS #000 screws
-
One M1.7x3.6mm JIS #000 diopter screw
-
-
-
Remove the following screws on the top of the camera:
-
One M1.7x2.5mm JIS #000 screw
-
One M1.7x5.5mm JIS #000 screw
-
-
-
Disconnect the microphone cable from the main PCB board.
-
Position a flathead 2.5mm screwdriver between the main PCB board connector and the microphone connector.
-
Gently wiggle the flathead screwdriver back and forth until the microphone connector comes free.
-
-
-
Locate the mode dial ribbon cable on the main PCB board.
-
Use a plastic spudger tool to carefully lift up the locking tab.
-
Use a pair of angled tweezers to pull the ribbon cable out of the connector.
-
-
-
Gently lift up the top cover.
-
Set the top cover down, making sure not to pull on the cables still attached.
-
-
-
Locate the two ribbon cables on the main PCB board which are marked in the picture.
-
Disconnect the ribbon cables.
-
Use a plastic spudger tool to carefully push up and disconnect the imaging sensor ribbon cable.
-
-
-
Locate the remaining four ribbon cables connected to the main PCB board.
-
Gently push up on the plastic lock tabs to unlock each of the ribbon cable connectors. Be especially careful with the wide lock tab, as it is particularly fragile.
-
Disconnect each ribbon cable from the main PCB board.
-
-
-
Remove the following screws on the main PCB board:
-
Three M1.7x2.5mm Phillips #000 screws
-
Two M1.7x4.5mm Phillips #000 screws
-
Slide off the metal I/F terminal shield.
-
-
-
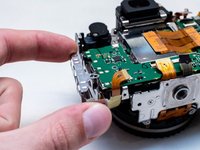
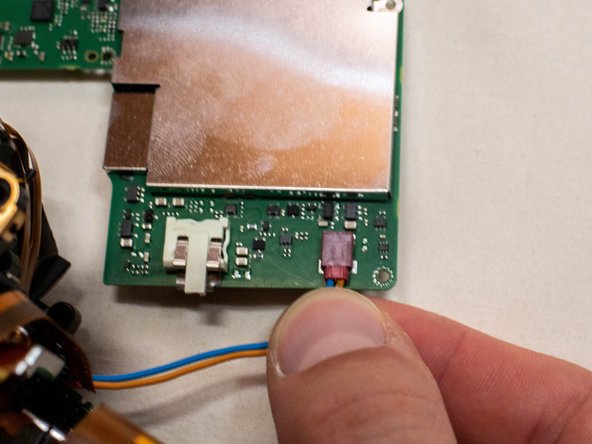
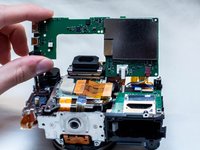
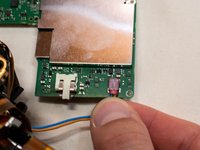
Tilt the main PCB board upwards to reveal the remaining cable connection.
-
Grab the two cables going into the connector, grabbing them as close to the connector as you can.
-
Carefully pull the connector straight out.
-







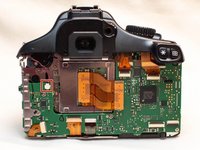




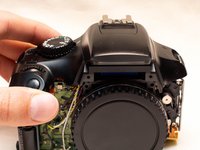
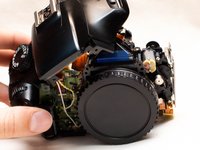


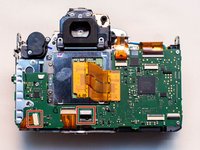
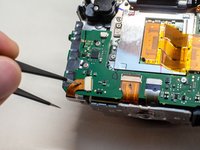
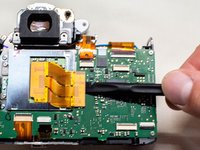



To reassemble your device, follow these instructions in reverse order.
Cancel: I did not complete this guide.
One other person completed this guide.
Attached Documents

Team

