Introduction
This guide shows you how to remove the front cover if you either need to replace the cover, or in order to access other parts inside of the camera.
If you're replacing, the front covers for the Canon EOS Rebel T3, Canon EOS Kiss X50, and Canon EOS 1100D are all compatible with each other (since they are all the same camera, just rebranded for different countries). If you buy a front cover that has a name plate that has one of the other model names than the camera you have, you can always switch it out from the one from your broken front cover (it's held on with adhesive). Front cover replacement parts won't always include a name plate though.
What you need
-
-
-
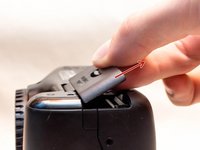
Pry open the rubber I/F terminal cap with your finger.
-
Remove the two M1.7x4.5mm JIS #000 screws that are underneath the I/F terminal cap.
-
Using a plastic pick, or another thin plastic prying tool, pop off the I/F terminal cover from the camera.
 Ask FixBot
-
-
-
-
-
On the left side of the camera, remove the following screw:
-
One M1.7x4.5mm JIS #000 screw
-
On the right side, remove the following screws:
-
One M1.7x5.5mm JIS #000 screw
-
One M1.7x4.5mm JIS #000 screw
-
-
-
Remove the battery door.
-
Open the battery door to about a 35° angle.
-
Pull the battery door straight outwards.
-
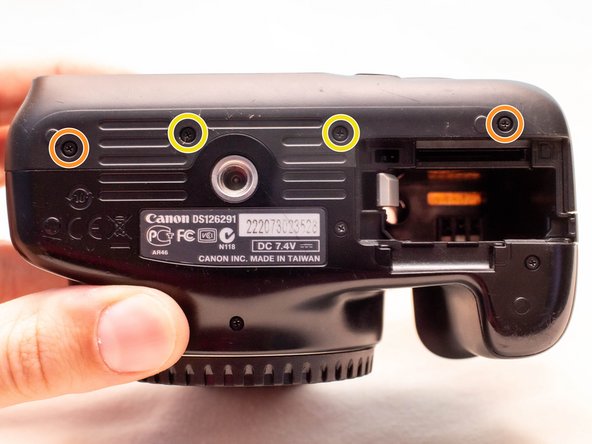
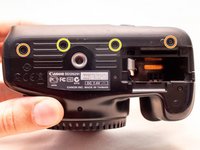
Remove the following screws from the bottom of the camera:
-
Two M1.7x4.5mm JIS #000 screws
-
Two M1.7x3.0mm JIS #000 screws
-
-
-
-
Carefully lift the back cover partially off of the camera.
-
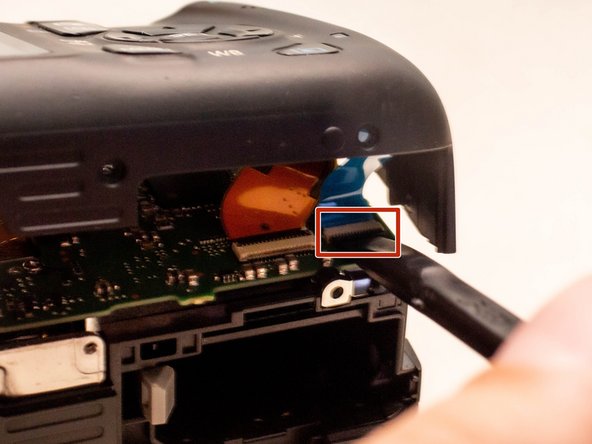
Disconnect the right most ribbon cables from the main PCB board.
-
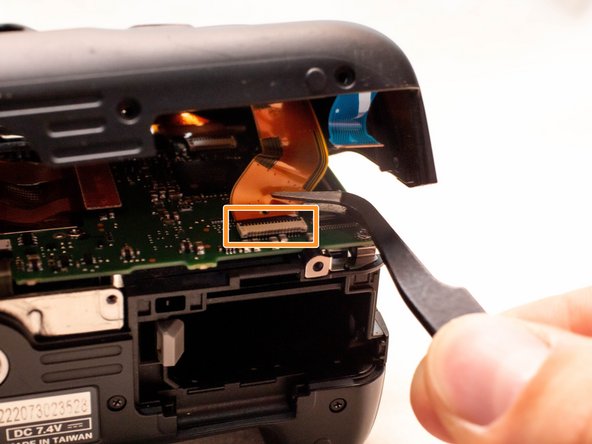
Use a plastic spudger to lift up the black locking tab.
-
Pull out the ribbon cable from its connector using a pair of angled tweezers.
-
Remove the left ribbon cable using the same two steps as with the other ribbon cable.
-
-
-
-
-
Remove the following screws on the front of the camera.
-
Two M1.7x5.5mm JIS #000 screws
-
-
-
On the bottom of the camera, remove the following screws:
-
Two M1.7x5.5mm JIS #000 screws
-
One M1.7x4.5mm JIS #000 screw
-
-
-
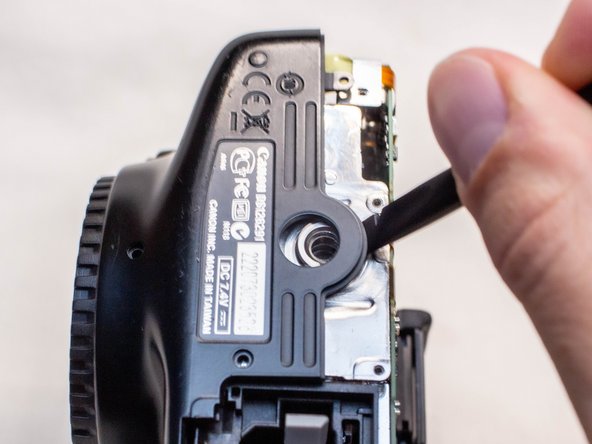
Slide a spudger tool towards the tripod mount, underneath the plastic cover.
-
Push the plastic cover up and over the tripod mount.
-
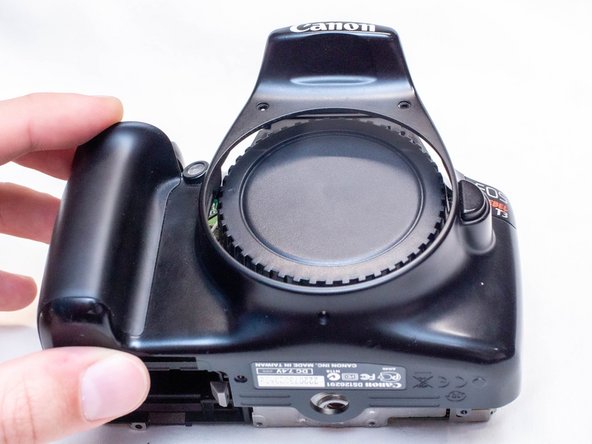
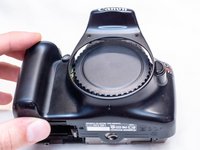
Pull the front cover off of the camera.
-
-





To reassemble your device, follow these instructions in reverse order.


