Free Shipping on Domestic Orders $75+

Canon EOS Rebel G Logic Board Replacement

What you need

  1. Canon EOS Rebel G Logic Board Replacement, Front Panel: step 1, image 1 of 1
    • Using a #00 Phillips screw driver, remove three 4.4 mm Phillips screws as indicated by the red circles.

    Ask FixBot
  2. Canon EOS Rebel G Logic Board Replacement: step 2, image 1 of 2 Canon EOS Rebel G Logic Board Replacement: step 2, image 2 of 2
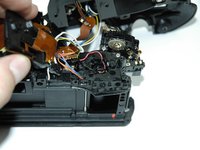
    • Using your finger, peel back the textured grip so the components are separated.

    Ask FixBot
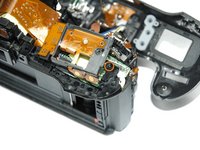
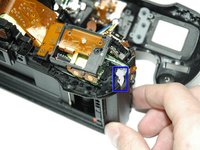
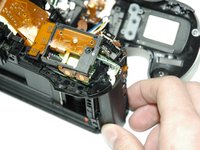
  3. Canon EOS Rebel G Logic Board Replacement: step 3, image 1 of 3 Canon EOS Rebel G Logic Board Replacement: step 3, image 2 of 3 Canon EOS Rebel G Logic Board Replacement: step 3, image 3 of 3
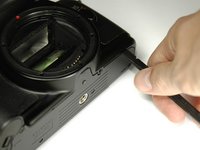
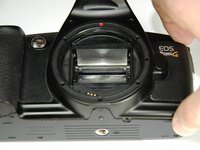
    • Using the flat end of a spudger, loosen the connection between the front panel and the device.

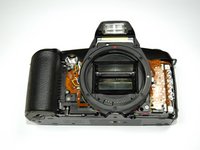
    • Remove the front panel using your hands.

    Ask FixBot
  4. Canon EOS Rebel G Logic Board Replacement, Top Panel: step 4, image 1 of 1
    • Turn Camera over.

    • Using a #00 Phillips screw driver, unscrew the two 4.9 mm Phillips screws located on either side of the viewfinder.

    Ask FixBot
  5. Canon EOS Rebel G Logic Board Replacement: step 5, image 1 of 1
    • Using a #00 Phillips screw driver, unscrew the one 5.7 mm Phillips screw located next to the LCD screen.

    Ask FixBot
  6. Canon EOS Rebel G Logic Board Replacement: step 6, image 1 of 1
    • Lay the camera on its back.

    • Unsolder the flash connection from the motherboard as noted by the blue circle.

    Ask FixBot
  7. Canon EOS Rebel G Logic Board Replacement: step 7, image 1 of 3 Canon EOS Rebel G Logic Board Replacement: step 7, image 2 of 3 Canon EOS Rebel G Logic Board Replacement: step 7, image 3 of 3
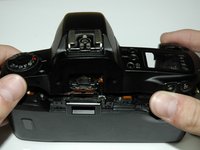
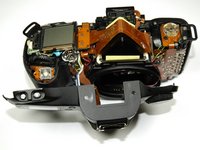
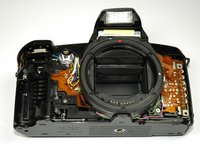
    • Remove the top panel by lifting it from the back, pushing it forward over the camera and letting it rotate down in front of the camera.

    Ask FixBot
  8. Canon EOS Rebel G Logic Board Replacement, Back Panel: step 8, image 1 of 1
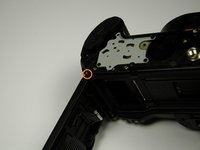
    • Using a #00 Philllips screw driver, unscrew the 6.8 mm Phillips screw that holds the strap anchor noted by the red circle.

    • Remove the strap anchor.

    Ask FixBot
  9. Canon EOS Rebel G Logic Board Replacement: step 9, image 1 of 1
    • Unlatch the back panel.

    • Using a #00 Phillips screw driver, unscrew the six screws on the bottom of the camera.

    • One 7.4 mm Phillips screw

    • Two 6.0 mm Phillips screws

    • Two 4.4 mm Phillips screws

    • One 3.9 mm Phillips screw

    Ask FixBot
  10. Canon EOS Rebel G Logic Board Replacement: step 10, image 1 of 3 Canon EOS Rebel G Logic Board Replacement: step 10, image 2 of 3 Canon EOS Rebel G Logic Board Replacement: step 10, image 3 of 3
    Tool used on this step:
    Tweezers
    $4.99
    Buy
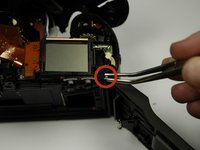
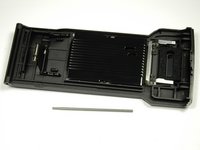
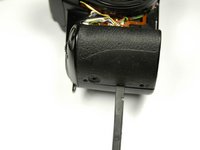
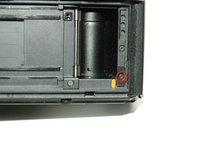
    • From the bottom of the camera push the hinge rod in with your finger.

    • Return the camera to its upright position.

    • Use pliers (or tweezers) to pull the rod out from the top.

    Ask FixBot
  11. Canon EOS Rebel G Logic Board Replacement, Grip: step 11, image 1 of 1
    • Using a 00 Phillips screw driver, unscrew the two 4.9 mm Phillips screws. on the inside of the camera.

    Ask FixBot
  12. Canon EOS Rebel G Logic Board Replacement: step 12, image 1 of 1
    • Using a 00 Phillips screw driver, unscrew the two 4.3 mm Phillips screws on the side of the camera.

    • Use your fingers to pull out the plug that is located between the screw holes.

    Ask FixBot
  13. Canon EOS Rebel G Logic Board Replacement: step 13, image 1 of 2 Canon EOS Rebel G Logic Board Replacement: step 13, image 2 of 2
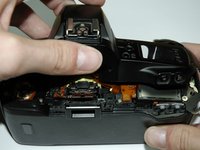
    • Use the flat end of a spudger to pop the grip off and remove grip.

    Ask FixBot
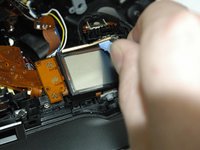
  14. Canon EOS Rebel G Logic Board Replacement, LCD Screen: step 14, image 1 of 2 Canon EOS Rebel G Logic Board Replacement, LCD Screen: step 14, image 2 of 2
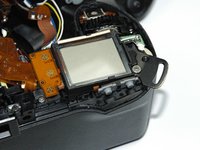
    • Pry off the small metal brace holding the LCD screen. (Push forward and slide toward the center)

    Ask FixBot
  15. Canon EOS Rebel G Logic Board Replacement: step 15, image 1 of 1
    • Lift out the LCD screen.

    Ask FixBot
  16. Canon EOS Rebel G Logic Board Replacement, Logic Board: step 16, image 1 of 1
    • Using a 00 Phillips screw driver, unscrew the 7.4 mm Phillips screw on the top of the camera.

    • Using a 00 Phillips screw driver, unscrew the 4.9 mm Phillips screw on the top of the camera.

    Ask FixBot
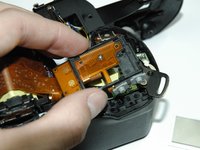
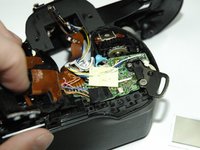
  17. Canon EOS Rebel G Logic Board Replacement: step 17, image 1 of 2 Canon EOS Rebel G Logic Board Replacement: step 17, image 2 of 2
    • Lift the LCD mount to reveal the logic board.

    Ask FixBot
  18. Canon EOS Rebel G Logic Board Replacement: step 18, image 1 of 2 Canon EOS Rebel G Logic Board Replacement: step 18, image 2 of 2
    • Using a 00 Phillips screw driver, unscrew the 4.9 mm Phillips screw on the back of the camera.

    • Using a 00 Phillips screw driver, unscrew the 5.8 mm Phillips screw on the top of the camera.

    Ask FixBot
  19. Canon EOS Rebel G Logic Board Replacement: step 19, image 1 of 2 Canon EOS Rebel G Logic Board Replacement: step 19, image 2 of 2
    • Use an Exacto knife to cut the white calking on the side of the side panel

    • Pull the side panel away from the camera.

    Ask FixBot
  20. Canon EOS Rebel G Logic Board Replacement: step 20, image 1 of 2 Canon EOS Rebel G Logic Board Replacement: step 20, image 2 of 2
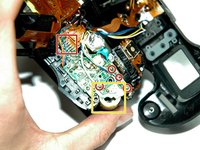
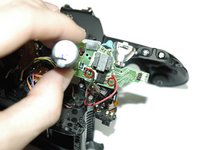
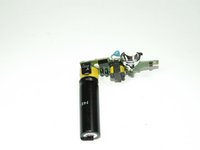
    • The large cylindrical object on the right side of the board is the flash capacitor.

    • WARNING: The flash capacitor may carry high voltage, that may persist for hours or even days after the camera has been switched off and/or the battery has been removed.

    • Touching the circuit board while the capacitor still holds its charge may result in a painful electric shock that you will long remember.

    • To make the board safe to work on, short out the two marked terminals with a capacitor discharge tool or the blade of a screwdriver or similar implement (with an insulated handle!) You might have to use moderate pressure to punch through the white goop that covers one of the terminals.

    • There might be little sparks and/or an audible pop. Be careful not to short other solder connections nearby.

    • Use a multimeter to check that dangerous voltage is no longer present before you proceed.

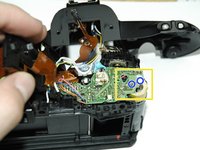
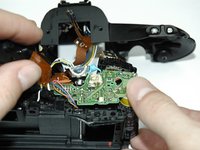
    • Unsolder all of the wires on the top of the logic board.

    Ask FixBot
  21. Canon EOS Rebel G Logic Board Replacement: step 21, image 1 of 3 Canon EOS Rebel G Logic Board Replacement: step 21, image 2 of 3 Canon EOS Rebel G Logic Board Replacement: step 21, image 3 of 3
    • Lift up on the board and pull towards the grip.

    Ask FixBot
  22. Canon EOS Rebel G Logic Board Replacement: step 22, image 1 of 3 Canon EOS Rebel G Logic Board Replacement: step 22, image 2 of 3 Canon EOS Rebel G Logic Board Replacement: step 22, image 3 of 3
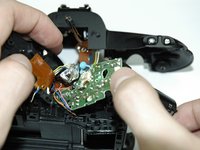
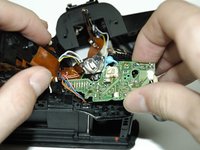
    • Flip the board over.

    • Unsolder the two wires on the bottom of the board.

    Ask FixBot
Conclusion

To reassemble your device, follow these instructions in reverse order.

Zach

Member since: 04/04/12

46 Reputation

8 Guides authored

Team

Cal Poly, Team 14-9, Forte Spring 2012 Member of Cal Poly, Team 14-9, Forte Spring 2012

CPSU-FORTE-S12S14G9

5 Members

36 Guides authored

0 Guide Comments

Add Comment

View Statistics:

Past 24 Hours: 1

Past 7 Days: 10

Past 30 Days: 107

All Time: 3,781