Free Shipping on Domestic Orders $75+

This teardown is not a repair guide. To repair your iClicker, use our service manual.

    1. iClicker Teardown, iClicker Teardown: step 1, image 1 of 1
      • Remove the battery cover

      Ask FixBot

      Add Comment

    2. iClicker Teardown: step 2, image 1 of 2 iClicker Teardown: step 2, image 2 of 2
      • Remove the two AAA batteries

      Ask FixBot

      Add Comment

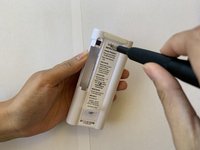
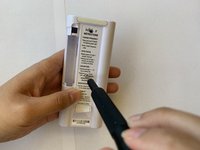
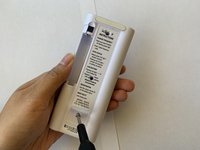
    3. iClicker Teardown: step 3, image 1 of 3 iClicker Teardown: step 3, image 2 of 3 iClicker Teardown: step 3, image 3 of 3
      • Remove the three screws using a screwdriver

      Ask FixBot

      Add Comment

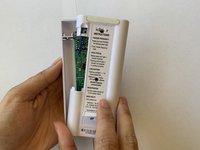
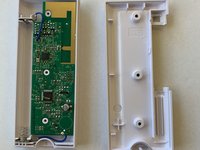
    4. iClicker Teardown: step 4, image 1 of 2 iClicker Teardown: step 4, image 2 of 2
      • Remove the back cover

      Ask FixBot

      Add Comment

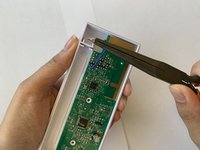
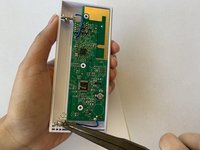
    5. iClicker Teardown: step 5, image 1 of 2 iClicker Teardown: step 5, image 2 of 2
      • Remove the positive and negative battery contacts using pliers

      Ask FixBot

      Add Comment

    6. iClicker Teardown: step 6, image 1 of 1
      • Remove the circuit board

      Ask FixBot

      Add Comment

    7. iClicker Teardown: step 7, image 1 of 1
      • Remove the soft touch buttons

      Ask FixBot

      Add Comment

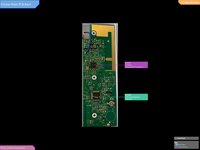
    8. iClicker Teardown: step 8, image 1 of 2 iClicker Teardown: step 8, image 2 of 2
      • Full IC Identification:

      • Predicted Block Diagram is on the 2nd image.

      • You may need to enlarge it to view the text.

      Ask FixBot

      Add Comment

    9. iClicker Teardown: step 9, image 1 of 1
      • You're done!

      Ask FixBot

      Add Comment

Vicente Rios

Member since: 01/25/17

708 Reputation

6 Guides authored

Team

Cal Poly, Team 9-4, Banghart Winter 2017 Member of Cal Poly, Team 9-4, Banghart Winter 2017

CPSU-BANGHART-W17S9G4

4 Members

72 Guides authored

0 Guide Comments

Add Comment

View Statistics:

Past 24 Hours: 1

Past 7 Days: 3

Past 30 Days: 23

All Time: 1,168