Free Shipping on Domestic Orders $75+

What you need

This teardown is not a repair guide. To repair your Xbox 360, use our service manual.

    1. Xbox 360 Teardown, Hard drive: step 1, image 1 of 1
      • Here you would usually have a hard drive, my xbox does not. To remove it you push down the button and lift it out

      Ask FixBot

      Add Comment

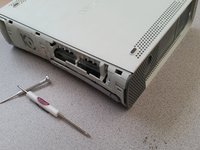
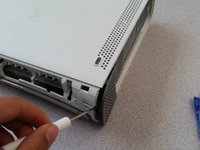
    2. Xbox 360 Teardown, Removing the front cover: step 2, image 1 of 3 Xbox 360 Teardown, Removing the front cover: step 2, image 2 of 3 Xbox 360 Teardown, Removing the front cover: step 2, image 3 of 3
      • You can put a flat head screw driver in between the plastic as shown and gently pry open the front

      • avoid metal objects; use soft plastic or wooden objects instead. This makes dismantling longer but with less risk of breakage.

      • You can alternatively grab inside the USB port and pull the cover off

      Ask FixBot

      Add Comment

    3. Xbox 360 Teardown, Removing the front cover carefully: step 3, image 1 of 1
      • Be careful during disassembly and mainly cleaning: the memory unit springs tend to jump. And there is no market for buying a replacement, so please be careful with yours. The image shows an example on the left, a unit without spring on the right, one with it.

      Ask FixBot

      Add Comment

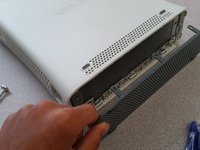
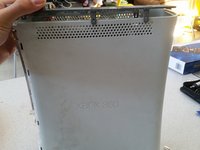
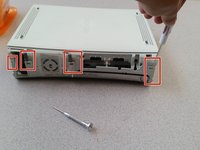
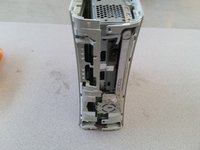
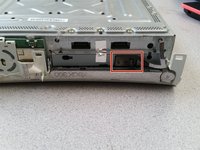
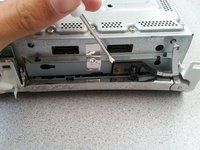
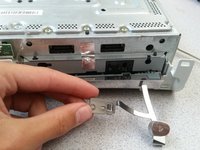
    4. Xbox 360 Teardown, Removing the bottom panel: step 4, image 1 of 3 Xbox 360 Teardown, Removing the bottom panel: step 4, image 2 of 3 Xbox 360 Teardown, Removing the bottom panel: step 4, image 3 of 3
      • Use a small tool to stick in and push these pins

      • For push the these pins it's more safe to use a wooden tool or a very flexible plastique tool, to not break the pins

      • Be sure to keep pressure pulling outwards for this to come out easily

      • Make sure that you pop out the pins on both sides

      Ask FixBot

      Add Comment

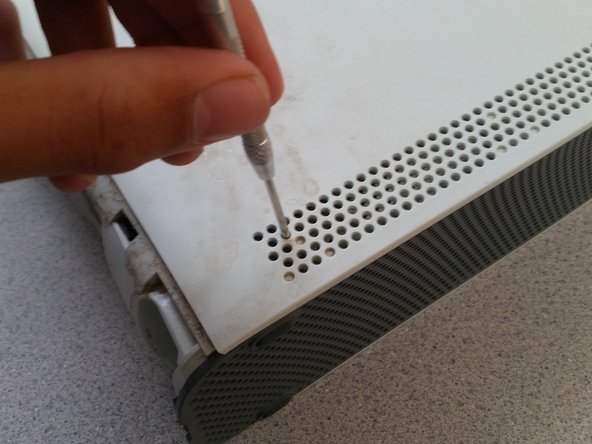
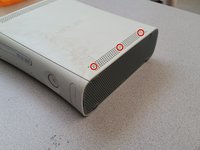
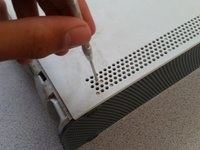
    5. Xbox 360 Teardown, Removing the top plate: step 5, image 1 of 3 Xbox 360 Teardown, Removing the top plate: step 5, image 2 of 3 Xbox 360 Teardown, Removing the top plate: step 5, image 3 of 3
      • Same as the bottom plate you want to push in the buttons holding this in

      • Note that there are six buttons holding this together in total so it is ok to accidentally break 1 or 2

      • It’s not okay to break pieces even if it’s not disastrous,but be careful and avoid metal objects; use soft plastic or wooden objects instead. This makes dismantling longer but with less risk of breakage.

      Ask FixBot

      Add Comment

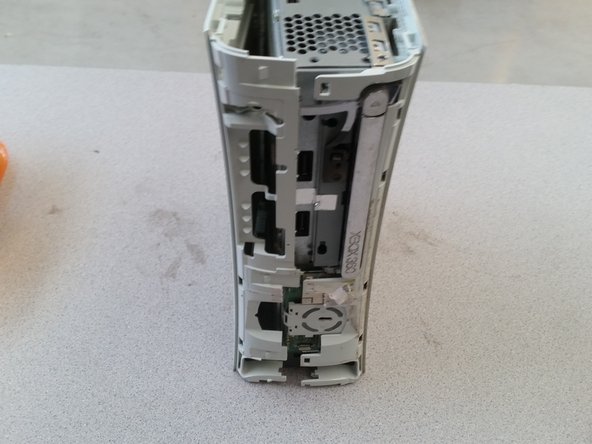
    6. Xbox 360 Teardown, The front case: step 6, image 1 of 2 Xbox 360 Teardown, The front case: step 6, image 2 of 2
      • You have to evenly disconnect all four of these connectors holding it together

      • I used flat head screw driver bits to hold the connectors open

      • Like the original author, you can use a flat head screw driver, but again, an object made of soft plastic or wood is slower (the first few times) but less risky.

      • You have to remove a warranty sticker to open the console. Be warned, this will void your warranty.

      Ask FixBot

      Add Comment

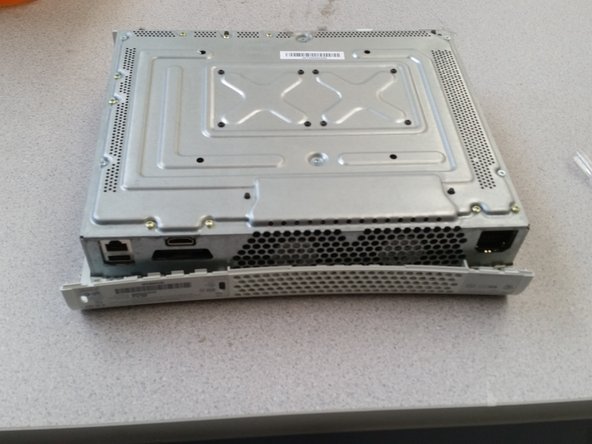
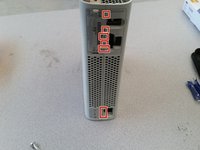
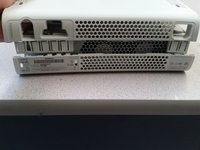
    7. Xbox 360 Teardown, Removing the back of the casing: step 7, image 1 of 3 Xbox 360 Teardown, Removing the back of the casing: step 7, image 2 of 3 Xbox 360 Teardown, Removing the back of the casing: step 7, image 3 of 3
      • You must push in these buttons (7 in total)

      • It is nearly impossible to not mess up the plastic using a screwdriver, i would recommend using an x-acto knife

      • That’s the reason why you didn’t use a flat screw, but soft plastic or wooden objects and why you had to take your time.

      • This was one of the harder steps, you must push the button in until it clicks and then go farther still

      • Make sure you keep pressure applied outwards so that the locks do not re-engage

      Ask FixBot

      Add Comment

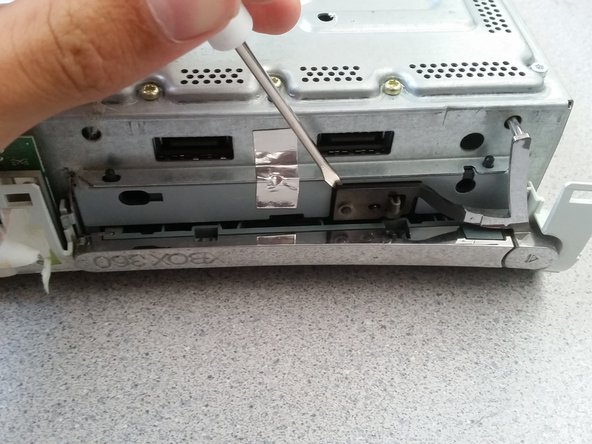
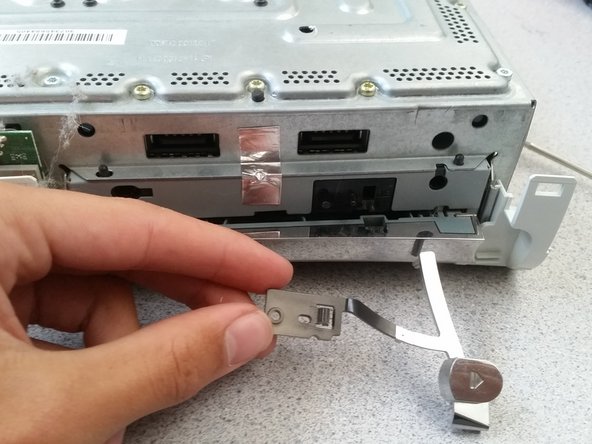
    8. Xbox 360 Teardown, Removing the disc drive button: step 8, image 1 of 3 Xbox 360 Teardown, Removing the disc drive button: step 8, image 2 of 3 Xbox 360 Teardown, Removing the disc drive button: step 8, image 3 of 3
      • To pop off this button, use the flat end of a spudger or flat-head screwdriver.

      Ask FixBot

      Add Comment

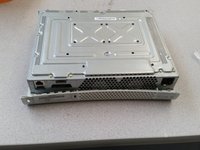
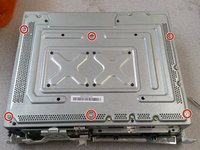
    9. Xbox 360 Teardown, Opening up to the motherboard: step 9, image 1 of 3 Xbox 360 Teardown, Opening up to the motherboard: step 9, image 2 of 3 Xbox 360 Teardown, Opening up to the motherboard: step 9, image 3 of 3
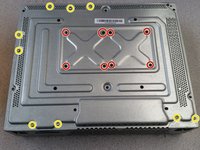
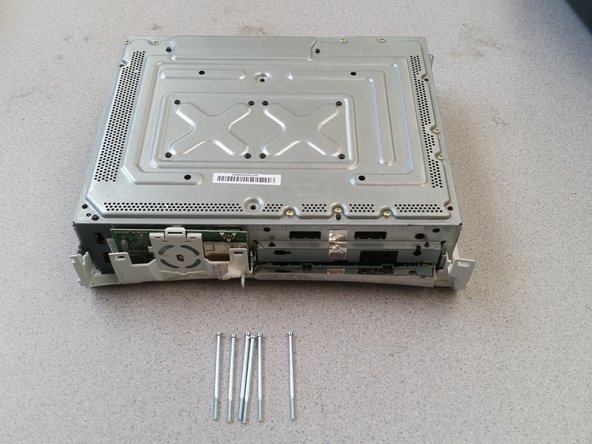
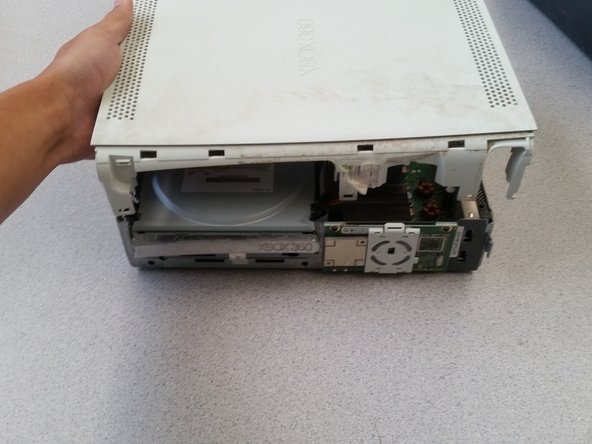
      • Remove the six silver screws (T10 Torx screw, 10mm, M2.5)

      • Flip over the whole Xbox holding both the plastic and the metal, then pull off the casing

      Ask FixBot

      Add Comment

    10. Xbox 360 Teardown, Removing the disc drive: step 10, image 1 of 3 Xbox 360 Teardown, Removing the disc drive: step 10, image 2 of 3 Xbox 360 Teardown, Removing the disc drive: step 10, image 3 of 3
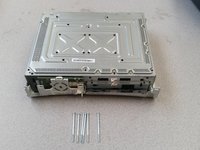
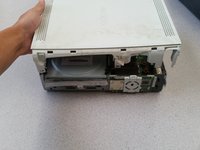
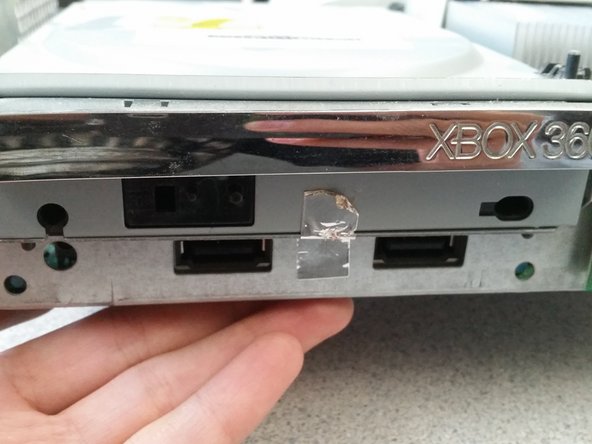
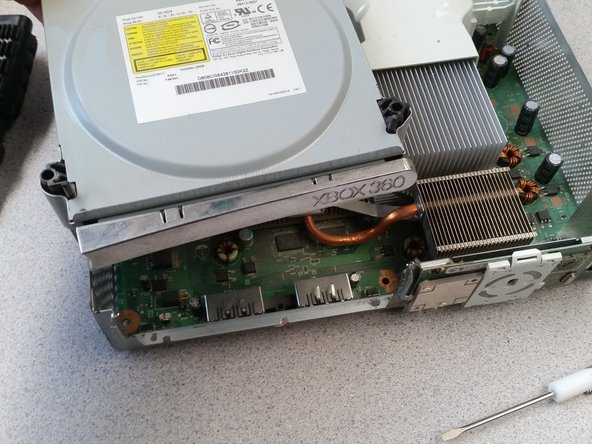
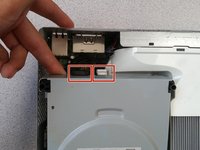
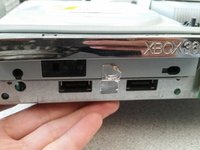
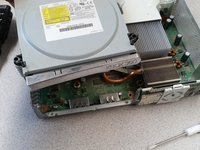
      • Carefully remove the two connectors

      • The disc drive may have some tape in the front holding it in place, simply remove this.

      Ask FixBot

      Add Comment

    11. Xbox 360 Teardown, Removing the disc drive carefully: step 11, image 1 of 1
      • When you remove the disk drive, pay attention on both sides; there are small pieces of metal that can easily fall from the metal shell. When reassembling, be careful to put them back in place.

      • Image of one of the pieces being put back in place and another to show what they look like

      Ask FixBot

      Add Comment

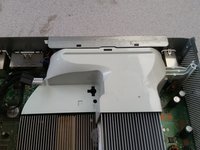
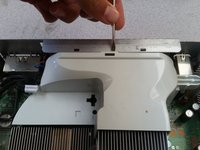
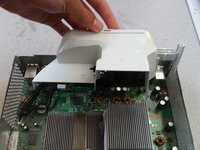
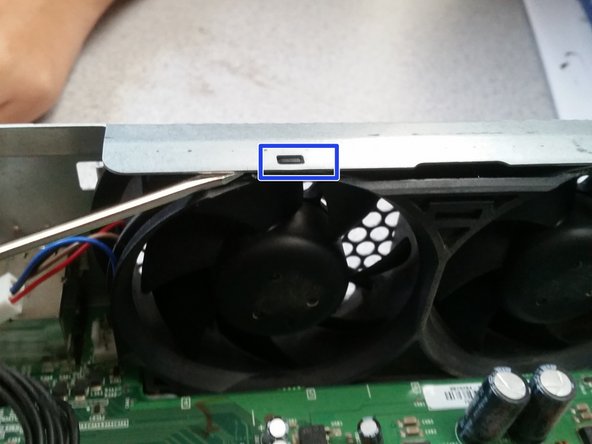
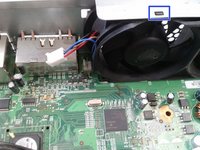
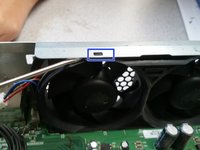
    12. Xbox 360 Teardown, Opening up the fans: step 12, image 1 of 3 Xbox 360 Teardown, Opening up the fans: step 12, image 2 of 3 Xbox 360 Teardown, Opening up the fans: step 12, image 3 of 3
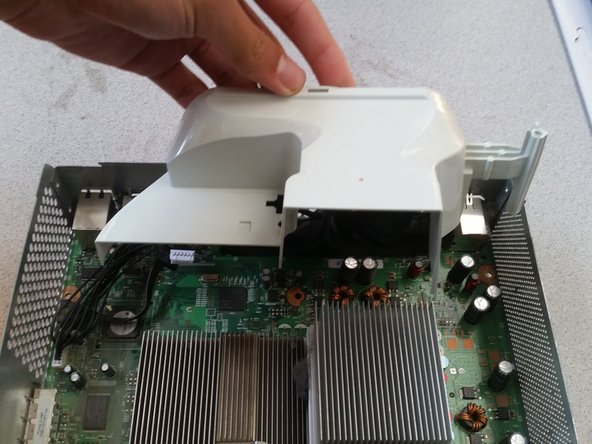
      • To remove the fan covering, use a flat head screw driver as shown to gently pry it off

      Ask FixBot

      Add Comment

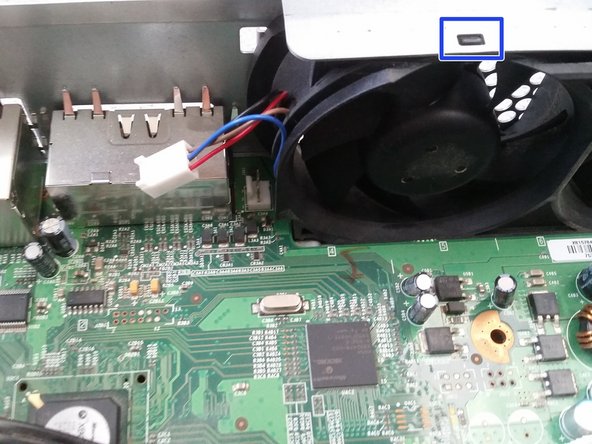
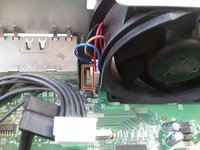
    13. Xbox 360 Teardown, Removing the fans: step 13, image 1 of 3 Xbox 360 Teardown, Removing the fans: step 13, image 2 of 3 Xbox 360 Teardown, Removing the fans: step 13, image 3 of 3
      • Use a small flat head screw driver to open this locking mechanism and then gently remove the fan connector

      • Use a screw driver or spludger to pry out the fan from the casing

      Ask FixBot

      Add Comment

    14. Xbox 360 Teardown, Removing the power button: step 14, image 1 of 3 Xbox 360 Teardown, Removing the power button: step 14, image 2 of 3 Xbox 360 Teardown, Removing the power button: step 14, image 3 of 3
      • To remove the "On" button simply disconnect the plastic clip

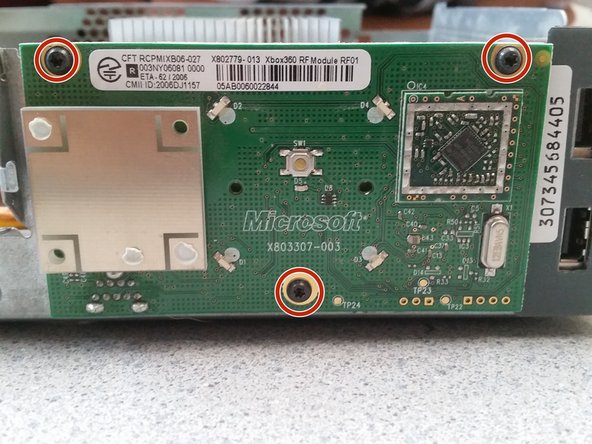
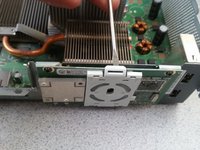
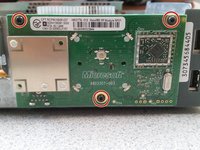
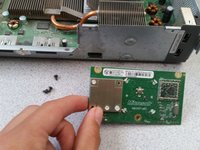
      • Remove the three black screws(T8 Torx Screw, 5mm, T2.5) and pull the chip directly outwards so you do not damage the connector

      Ask FixBot

      Add Comment

    15. Xbox 360 Teardown, Removing the mother board: step 15, image 1 of 2 Xbox 360 Teardown, Removing the mother board: step 15, image 2 of 2
      • Remove the 9 gold screws (T10 Torx Screw, 10mm, T2.5)

      • Remove the 8 black screws (T8 Torx Srew, 5mm, T2.5)

      • Carefully pull out the mother board and make sure that you do not damage any connectors

      Ask FixBot

      Add Comment

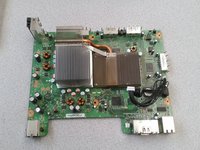
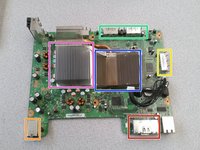
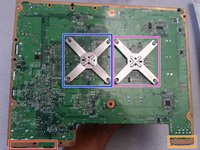
    16. Xbox 360 Teardown, Displaying the main components.: step 16, image 1 of 2 Xbox 360 Teardown, Displaying the main components.: step 16, image 2 of 2
      • Memory card ports

      • Custom ATi Graphics Processor with 10Mb of Ram

      • 3 IBM PowerPC Cores Each Running At 3.2Ghz with 512Mb of System Ram

      • Hard drive port

      • Power port

      • HDMI and Video ports

      Ask FixBot

      Add Comment

    17. Xbox 360 Teardown, You’re finished!: step 17, image 1 of 1
      • This is it. Follow these steps in reverse to re-assemble your Xbox 360 system!

      Ask FixBot

      Add Comment

Michael

Member since: 10/23/16

519 Reputation

1 Guide authored

13 Guide Comments

Please comment if you have any suggestions or help so that I can be sure to update this, or do a better job in the future.

Michael - Reply Share
Your method is very offensive and not recommended when you wont damage the case of your Xbox 360.

TheSupport - Reply Share
Up yours it obviously helped 3.1 thousand people. Being as you have zero guides and close to no reputation, maybe you should try it. But your input is valued, so thank you.

Michael - Reply Share

@ahs_michael_c I confirm the fact that I would not recommend anyone disassembling an Xbox 360 with a flat screwdriver. And that it’s not at all okay to mention in a guide that it’s no big deal to break pieces of the plastic shell, at least not in the words said in step 5, accidents happen. This is a forum for repair; you have to set your ego aside and politely ask the person who questions the guide which part bothers them. And if you weren’t capable of that. I question your guide like @thesupport, and check my profile, I have more reputation points than you and I am the main contributor to a Troubleshooting that helps 500 people per month on average. So what?

Nothing - Reply Share

$@$*-hot reply - like it!!!

lawsewilliams - Reply Share

Add Comment

View Statistics:

Past 24 Hours: 10

Past 7 Days: 128

Past 30 Days: 588

All Time: 41,545