Introduction
Welcome to the WebScreen Teardown, where we take apart our compact, customizable secondary display and dive deep into its hardware. WebScreen is built on open-source principles, designed to keep you informed without distractions while giving you full control over its functionality. Whether you're here out of curiosity, to repair a unit, or to explore ways to modify and extend WebScreen, this teardown is for you.
At HW Lab, we strongly believe in the Right to Repair. We advocate for hardware that is accessible, hackable, and repairable, ensuring that users have the freedom to fix, upgrade, and customize their devices without unnecessary barriers. That’s why WebScreen is open-source to its core, making it easy for anyone to take apart, understand, and improve.
What to Expect in This Guide
In this teardown, we’ll break down each hardware component, explaining how everything fits together to create this versatile tool. You’ll find step-by-step disassembly instructions, insights into its internal structure, and detailed photos to help you navigate the process.
Important Notes Before You Start
🔹 Take it slow! Avoid excessive force on clips and connectors.
🔹 Check connections before reassembly. Make sure everything is properly seated.
🔹 Orientation matters! If a component doesn’t fit, double-check its alignment.
What you need
Video Overview
Featured Document

-
-
-
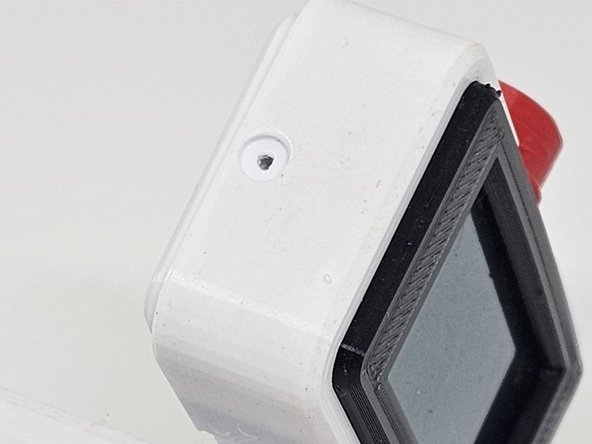
Description: The side screw secures the enclosure and must be removed first.
-
Action: Use a precision screwdriver to remove the M1.5 side screw.
 Ask FixBot
-
-
-
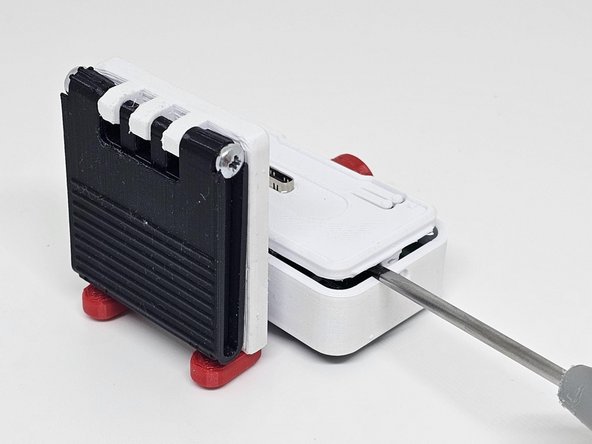
Description: Removing the bottom cover provides access to the interior of the WebScreen.
-
Action: ○ Carefully slide off the bottom cover. ○ Pay special attention to the power button, ensuring it is not lost if it becomes detached.
-
-
-
Description: The main PCB must be lifted carefully to avoid damaging the flexible connectors.
-
Action: Hold the edges of the PCB and gently lift it.
-
-
-
-
Description: An M1.5 screw secures the upper enclosure and must be removed to release the display.
-
Action: ○ Locate and remove the M1.5 screw. ○ Ensure that the display is completely free.
-
-
-
Description: With both elements removed, the PCB connected to the display is now accessible.
-
Action: ● Separate the enclosure pieces. ● Check the orientation of the PCB and display connectors.
-
-
-
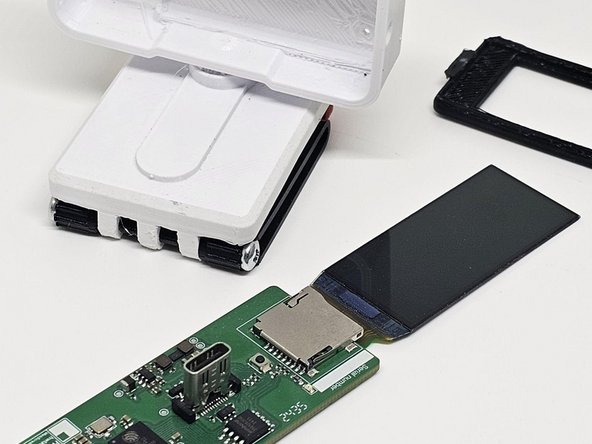
Description: With the enclosure disassembled, the PCB along with the display can be removed as a single unit.
-
Action: ● Carefully hold the PCB and display, ensuring there are no forced connections. ● Slowly lift both components at the same time.
-
-
-
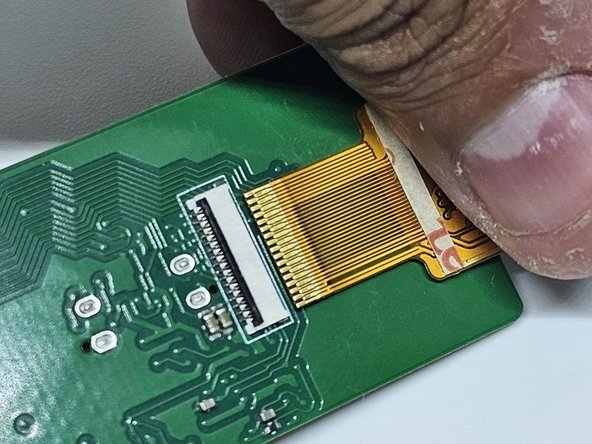
Description: With the PCB removed from the enclosure, the display can now be disconnected.
-
Action: ● Use anti-static tweezers to gently disconnect the display’s flex cable. ● Ensure there are no active connections before fully removing it.
-
-