
Free Shipping on Domestic Orders $75+

What you need

This teardown is not a repair guide. To repair your Breville BTA720, use our service manual.

  1. Toaster Teardown, Remove screws and pedestal: step 1, image 1 of 1
    • Remove Breville bread toaster base screws -- 14 places.

  2. Toaster Teardown, Cut wires and remove the shell: step 2, image 1 of 2 Toaster Teardown, Cut wires and remove the shell: step 2, image 2 of 2
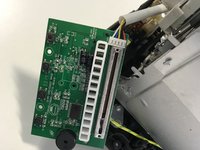
    • With a scissor cut the wires connecting the base and the shell.

  3. Toaster Teardown, Remove the wire sheet: step 3, image 1 of 2 Toaster Teardown, Remove the wire sheet: step 3, image 2 of 2
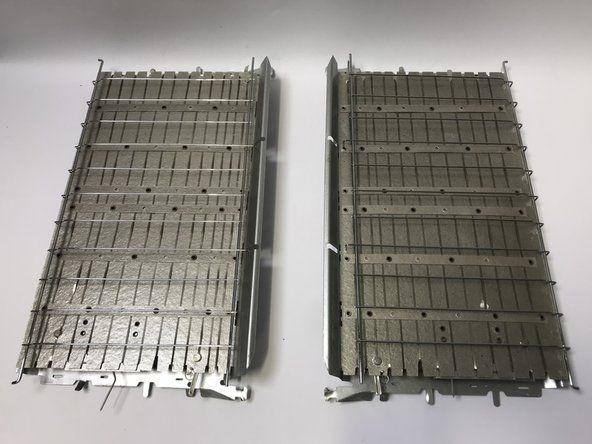
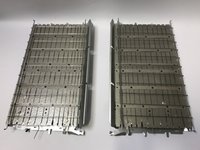
    • Break up the inner shell of toaster and the wire sheet.
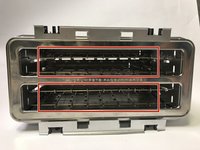
  4. Toaster Teardown, Remove each parts: step 4, image 1 of 2 Toaster Teardown, Remove each parts: step 4, image 2 of 2
    • Remove all the parts of shell and base.

  5. Toaster Teardown, Identifying parts: step 5, image 1 of 1
    • Shell

    • Base

    • Heater element -Nickel chrome wire

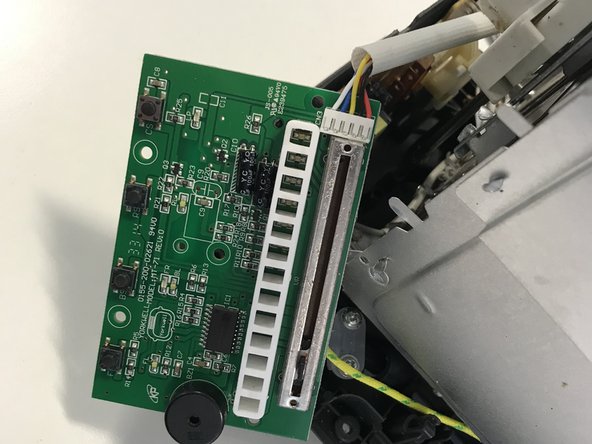
    • Switch assembly - ABS injection moulding

    • Circuit board

    • Wires

    • Screws

Shuman C

Member since: 10/16/18

130 Reputation

1 Guide authored

1 Guide Comment

Errors:
Step 1. There are 18 screws. The 4 corner screws hold in the feet. The feet must be removed to reveal 4 more screws under each rubber foot.

Step 2. The green earth wire is welded onto the cover, but can be unscrewed at the toaster end rather than cutting the wire.

MrMilf - Reply Share

Add Comment

View Statistics:

Past 24 Hours: 1

Past 7 Days: 8

Past 30 Days: 50

All Time: 919