Introduction
The Steam Controller (2nd Generation) is Valve's attempt at producing a Steam Deck without the screen. While the internals of the controller is well documented, given it's designed for easy repair, the internals of the puck are practically undocumented.
The puck is easy to disassemble, however you may need to reapply some adhesive to reassemble the puck.
What you need
-
-
The Steam Controller Puck is both a charging dock, and wireless receiver for the controller. The front exposes 3 pogo pins for charging the controller. The Puck attaches magnetically to the bottom of the controller.
-
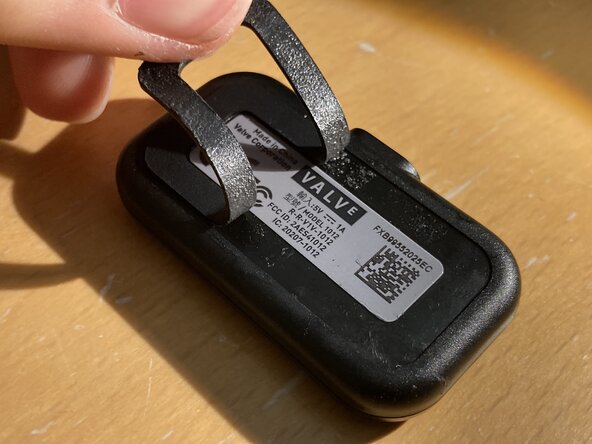
The underside consists of a sticker, and a rubber foot. No screws are hidden under the rubber foot, so no need to remove it.
 Ask FixBot
-
-
-
Disassembling the puck is surprisingly easy, first insert a spudger on the underside of the USB-C port.
-
Push in the spudger until the plastic shell splits. The puck contains no plastic clips to break, so keep pushing until there's space to insert a pick on the right side (when turned upside down).
-
-
-
Run the pick along the right edge of the puck to break the adhesive. Make sure to stay within the area marked in red on photo 1, as this is where the PCB antenna is located, meaning no surface mount components to hit.
-
-
-
-
You should now be able to pry off the bottom shell of the puck. It's held together by magnets and the adhesive on the left side, so give it a good tug.
-
-
-
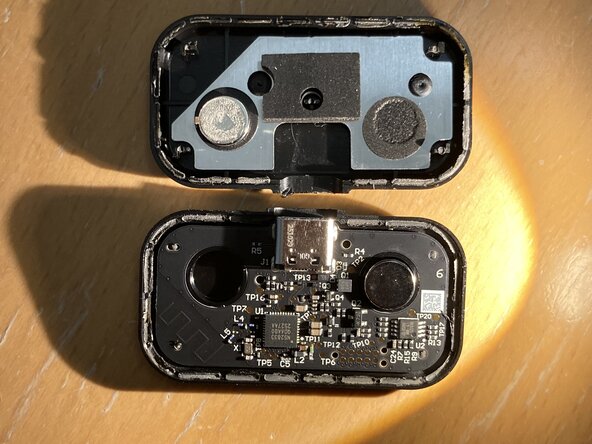
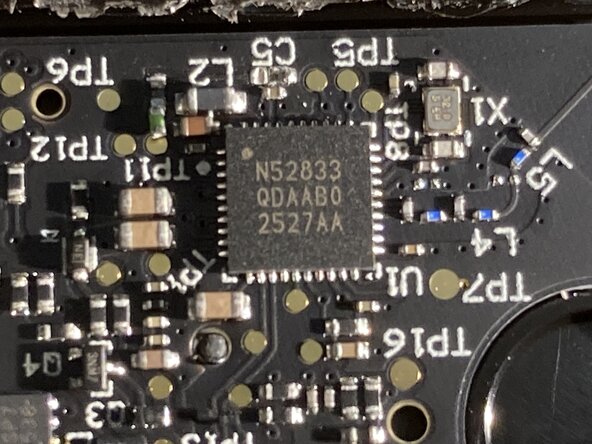
Here's a few photos i took of the internals. The processor is an nRF52833.
-
In the second photo you can see a green capacitor I knocked loose while opening the puck (top left, right above TP11). I tried to solder it back onto the board, but couldn't do it because it's incredibly small. Luckily, the puck still works fine.
-
Photo 3 shows the capacitor on the end of ceramic tweezers next to the assembled puck.
-
-
-
Photo 1 shows a AS393MM-G1, dual voltage comparator. No idea what it's used for
-
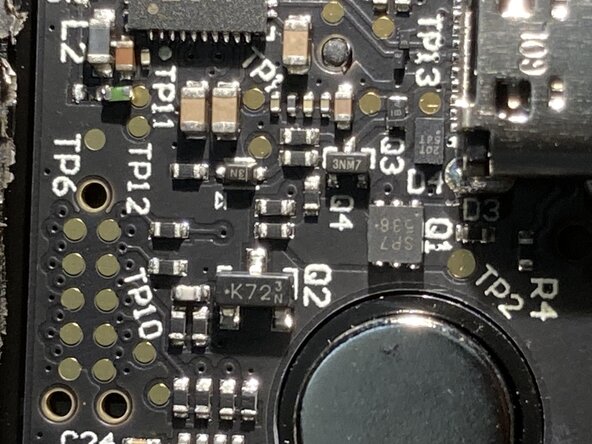
Photo 2 is a close-up of the rest of the components on the board
-
-
-
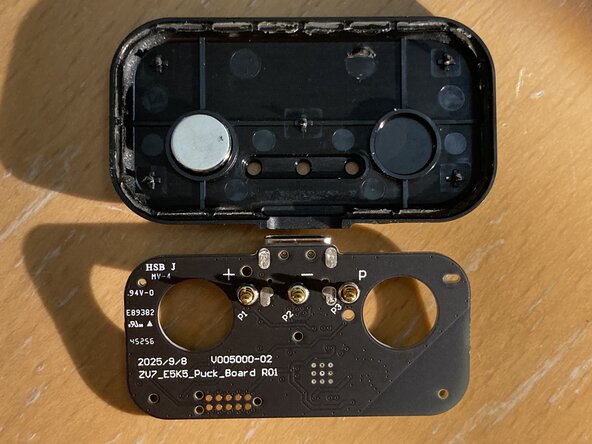
The back of the PCB is mostly bare, except for the pogo pins that connect the puck to the steam controller.
-
The text on the back tells us, that this PCB revision was designed 8. September 2025. Assuming the number 45256 is a date code, with format WWYYD, we get week 45 of 2025 weekday 6, which is the 8. November, 2025. This means my puck's PCB was produced almost 6 months before the controller released. Neat!
-
-
-
Photo 2 shows before regluing the magnet, without glue the shell slightly splits apart. Photo 3 shows after regluing the magnets, the Puck now looks untouched.
-