Introduction
A brief teardown of a small, inexpensive, digital camera
-
-
-
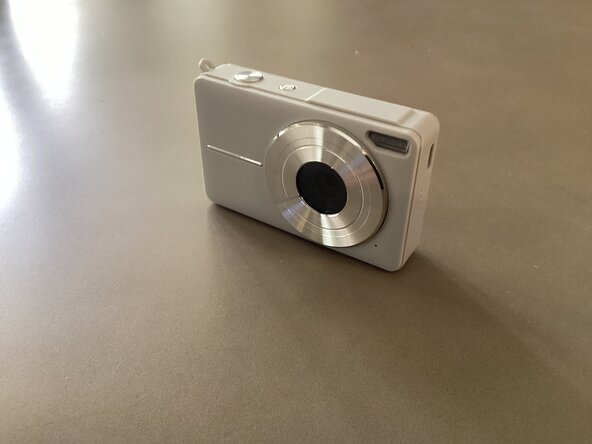
This is a digital camera I bought from a thrift store for $10. It has a very small 0.3 megapixel camera sensor and a depressing low resolution screen .
-
The camera is very light, weighing significantly less than an ounce.
-
The battery keeps dying after charging almost instantly, so it is time to put an end to this thing.
 Ask FixBot
-
-
-
For Step One, use a Philips screwdriver to remove the 2 screws on the right side of the camera.
-
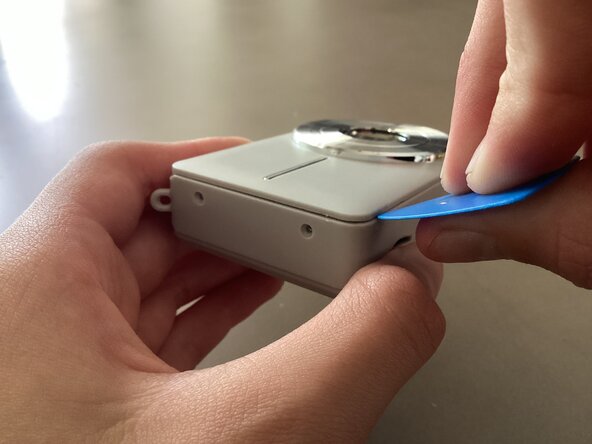
Once the screws have been removed, use a Flathead screwdriver or an opening pick to unclip the plastic tabs holding the outside case together.
-
Be careful of any ribbon cables that may be under the front plastic case, as a screwdriver or opening pick may damage one of the cables, if any.
-
-
-
-
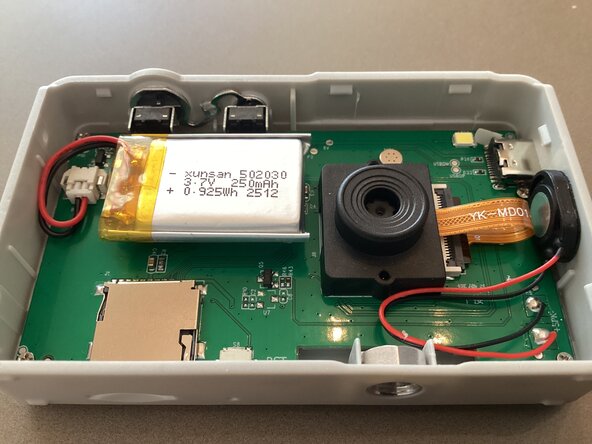
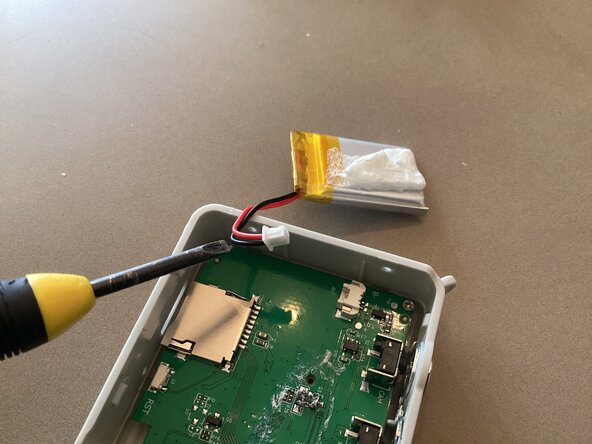
Once the front plastic case is removed, disconnect the battery.
-
Do not puncture the battery. You will have a hard time with the battery entering thermal runaway, eventually putting out poisonous gasses, and flames…
-
(Please use an opening pick, and not a flathead to pry out the battery. You will be happy…)
-
-
-
Unscrew the four screws holding the PCB in place by using a Philips head screwdriver.
-
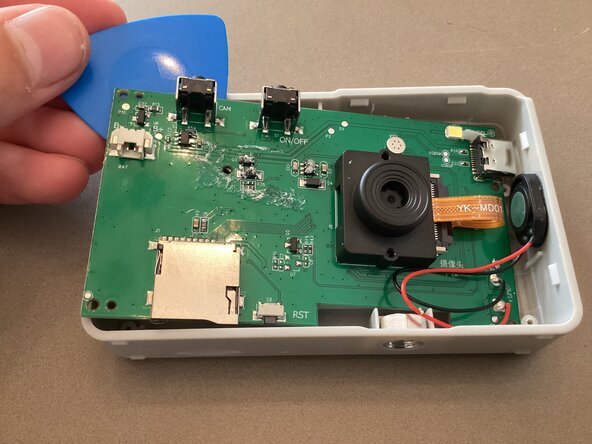
Use an opening pick or flathead to pry the board out.
-
To get the board out, you must remove the SD card from the card slot. (I already removed it before I even started this teardown.)
-
-
-
The PCB is quite uneventful, as only one major chip exists. I can’t find any information on the main chip, but it is a quad-flat package from “JR” integrated circuits.
-
You can remove the screen by un-fastening the clip holding the ribbon cable in place. Just use your finger.
-
Other components on the board include another small IC, a quartz crystal/oscillator, and a couple of capacitors and resistors.
-
-
-
Here’s the tiny 0.3 megapixel camera module. This thing’s video and picture quality is very sad, but at least it works…
-
Thank you for your support in viewing this teardown! I hope it was helpful or informatively interesting.
-
-