Free Shipping on Domestic Orders $75+

What you need

This teardown is not a repair guide. To repair your Computer Hardware, use our service manual.

    1. Razer Hyperflux Teardown, Removing the grip: step 1, image 1 of 1
      • Turn the mousepad over and peel off the grip with the white plastic layer.

      • The white plastic layer is glued to the device only on it's edges so if you're using the ifixit head pad you only need to put it on the edges.

      • Be sure to peel the grip + the white plastic layer. Removing just the grip and then the plastic layer will result in a very tedious process of trying to align the grip properly.

      Ask FixBot

      Add Comment

    2. Razer Hyperflux Teardown, Removing the PCB shield: step 2, image 1 of 1
      • Unscrew the 3 screws with a phillips head screwdriver

      Ask FixBot

      Add Comment

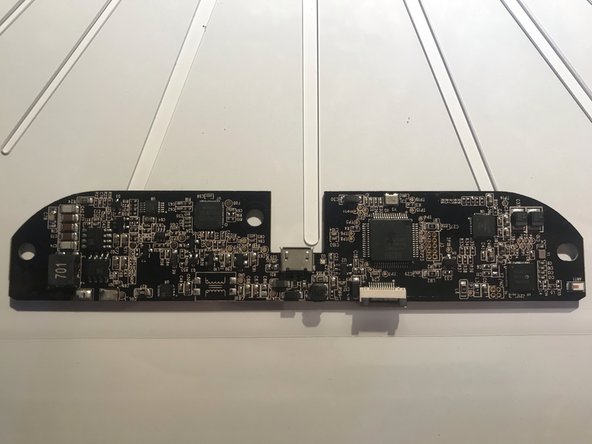
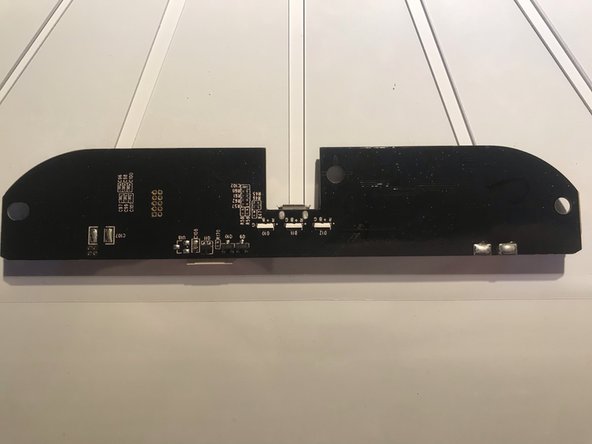
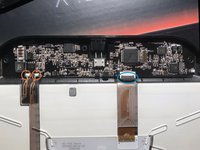
    3. Razer Hyperflux Teardown, Removing the PCB: step 3, image 1 of 3 Razer Hyperflux Teardown, Removing the PCB: step 3, image 2 of 3 Razer Hyperflux Teardown, Removing the PCB: step 3, image 3 of 3
      • Desolder the copper leads (red circle) and open the gate of the connector (blue circle)

      • You can now safely take out the pcb

      • For reassembly simply follow the steps in reverse

      Ask FixBot

      Add Comment

SgtBlade

Member since: 05/23/19

109 Reputation

1 Guide authored

0 Guide Comments

Add Comment

View Statistics:

Past 24 Hours: 1

Past 7 Days: 13

Past 30 Days: 67

All Time: 2,162