Introduction
Teardown of official Raspberry Pi USB mouse.
-
-
-
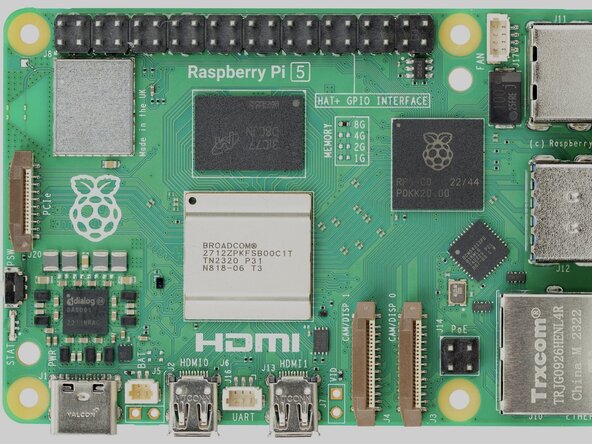
Before I start my Teardown, I would like to explain for those who don’t know what Raspberry Pi is. Raspberry Pi is a UK-based computer company that officially started in 2012 to make computer education affordable.
-
They launched a line of credit-card-sized computer boards that could run a version of Linux, and be used for anything ranging from retro game consoles, desktop computers, robots, and more. Raspberry Pi currently has the Pi5, which is the main computer, along with the Pi Zero series of smaller Linux boards and the Pi Pico series, a microcontroller.
-
Raspberry Pi also makes many accessories, like keyboards, cases, HATs for board expansion, cameras, and computer mice. They even make the Pi 400 and Pi 500, A Raspberry Pi computer inside a tiny keyboard!
-
This teardown is covering the internals of the Raspberry Pi official USB Mouse. (And yes, it works with other computers too, not just raspberry pi.)
 Ask FixBot
-
-
-
To begin disassembly of your Raspberry Pi computer mouse, flip the mouse over, and locate the bottom gray sticker. This sticker covers a hidden screw.
-
-
-
-
Once you have removed the single Philips head screw from the case, use your hands or a flathead/opening pick to separate the two halves of the plastic case. This will reveal a simple, easy to understand PCB layout, along with what appears to be a weight to make the mouse feel heavier… Raspberry Pi? Is this to cheap out on the mouse…
-
-
-
Next, you can unscrew the main PCB. It is held in place with two Philips head screws.
-
You can also remove the 4 wire USB to PCB cable connector if it helps clear out space for removing the PCB.
-
-
-
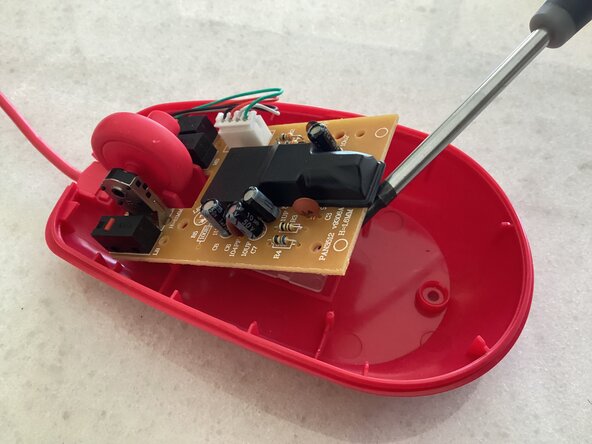
Next, gently lift or pull out the small PCB. I also removed the small plastic cover covering the mouse’s CMOS sensor integrated with a small ASIC control integrated circuit. All you have to do is just gently pull up on it to remove it.
-
-
-
The PCB is simple, and is also sparse. The bottom side of the PCB contains no components, as it is just traces connecting components together. Everything is soldered to the PCB through small holes instead of surface mount components. This makes reverse-engineering the board incredibly easy.
-
The main components on the board include several resistors and capacitors, along with an LED, and some switches. The main component is the sensor though, with the silicon integrated circuit controlling the device and sending signals to the computer all inside a tiny package, with the CMOS sensor too.
-
-





1 Guide Comment
Thanks, really good guide! Really helped me tighten the weight!
