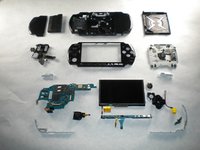
This teardown guide shows step-by-step how to take apart your PSP 3000
This teardown is not a repair guide. To repair your PSP 300x, use our service manual .
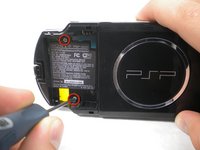
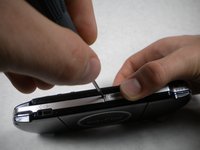
Using a spudger or fingernail (spudger set available at iFixit) http://www.ifixit.com/Tools/Metal-Spudge... peel back the warranty sticker that was behind the battery.
Using a Phillips #0 screwdriver (screwdriver available at iFixit Tools ), Unscrew all four screws from the back of the PSP.
Two from behind the battery.
And two on the right side of the PSP.
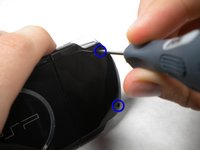
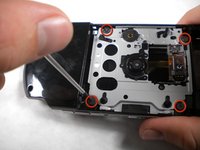
Unscrew two screws from the top of the PSP.
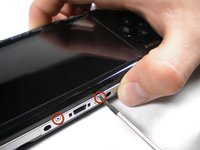
Turn the PSP around, and unscrew a single screw from the bottom edge.
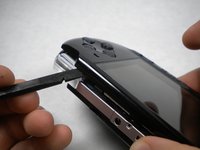
Starting from the 'R' trigger, slide the spudger in between the outer casing the the PSP, and gently pry off the casing.
Remove the outer casing completely.
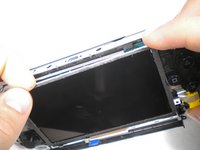
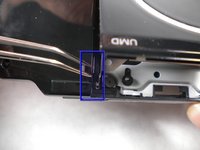
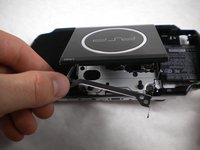
Push the homebar to the right to release the tab on the right side of the LCD screen.
DO NOT completely remove the homebar, as it is still connected by ribbon cables.
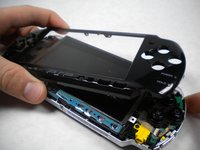
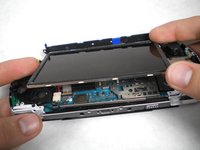
Slowly begin to lift the LCD screen off the PSP from the top edge.
Again, the LCD screen is attached by ribbon cables, so do not remove it completely.
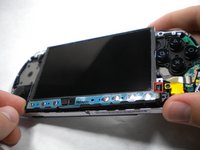
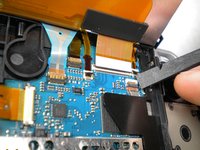
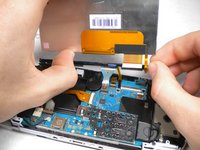
Using a spudger or fingernail, flip the small brown locks on the four ribbon cable connectors up.
WARNING! Be carefull removing the small ribbion from the LCD connector, it is very delicate. Using a spudger lift the black plastic up, NOT the white part on the connector!
Pull all four ribbon cables out, and remove the LCD screen and homebar from the PSP.
Unscrew the the screw securing 'L' trigger.
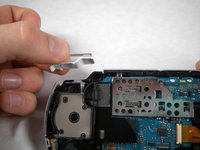
Remove the white plastic piece that holds the 'L' trigger in place.
Remove the 'L' trigger from the PSP.
Remove the screw from the bottom left edge.
Being careful not to break the ribbon cable, use the spudger, to carefully peel the adhesive button from below the 'L' trigger.
Using the spudger or fingernail, flip up the brown lock on the ribbon cable.
Remove the cable from the connector and remove the entire black piece from the PSP.
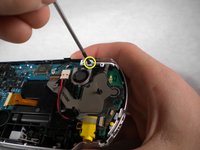
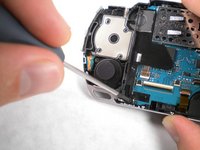
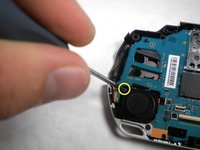
Remove the screw from the analog stick.
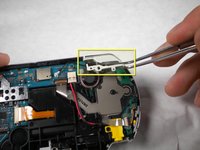
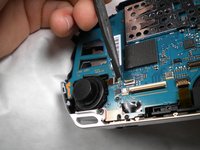
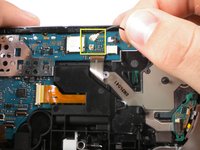
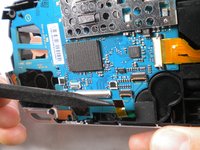
Unlock and remove the ribbon cable from the power switch on the right side of the PSP.
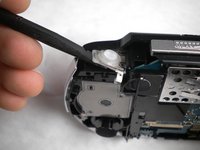
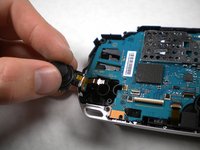
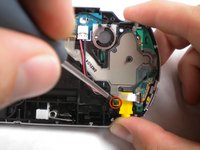
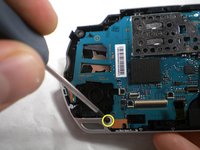
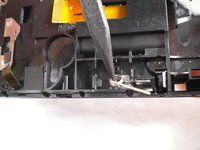
Unscrew and remove the screw from the yellow power jack.
Carefully bend back the black tab holding the power jack in place and start pulling the plug up to release it from this clip.
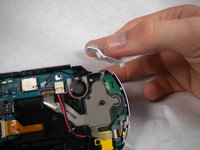
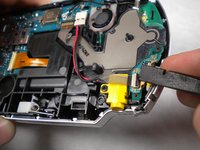
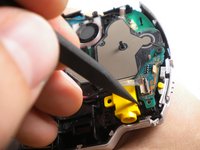
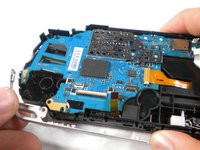
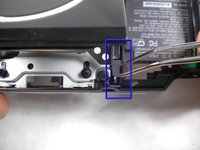
Push the black tab at the bottom of the speaker over.
The speaker should pop out of place, and you should be able to remove it easily.
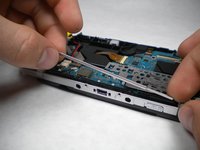
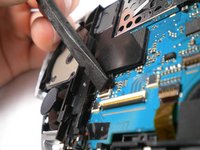
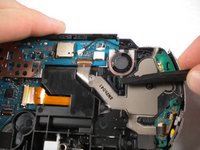
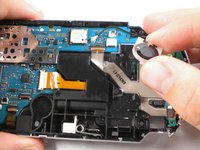
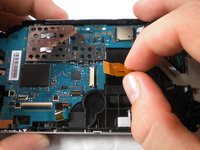
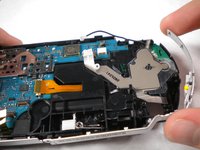
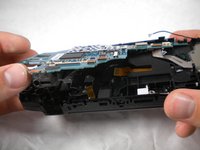
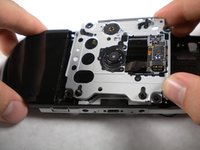
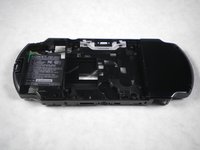
Lift the motherboard up slowly starting from the bottom of the PSP, being careful not to damage the port on top.
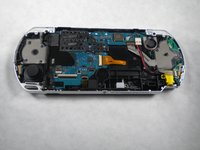
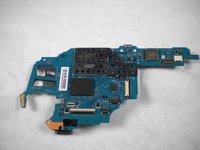
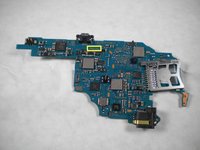
Pull the motherboard out and remove it from the PSP.
The specific motherboard model of this PSP-3000 is TA-090
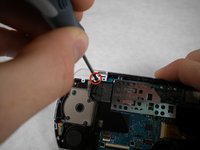
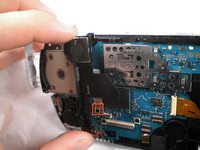
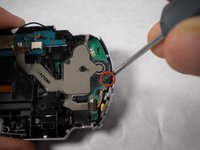
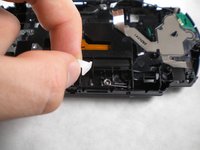
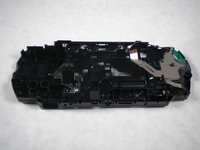
On the top of the back of the PSP, pull the white plastic piece out.
Pull the spring out and remove it from the PSP.
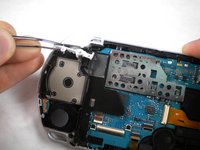
Remove the metal piece from the drive.
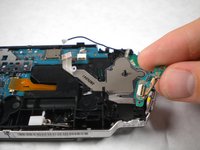
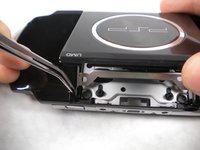
Grabbing the PSP with both hands, gently pinch the UMD lid towards the right side (the side without the battery).
Pull up and the the left side carefully to remove the lid from the PSP. (The casing may have to flex a little bit to allow this)
Embed this guide
Choose a size and copy the code below to embed this guide as a small widget on your site / forum.
Single Step
Full Guide
Small - 600px
Medium - 800px
Large - 1200px
Preview