Introduction
This guide will show how to teardown the GameCube Controller so that you may replace certain parts.
What you need
-
-
-
Remove the six phillips head screws from the underside of the controller.
-
After these screws are removed, you can separate the bottom from the top of the controller.
 Ask FixBot
-
-
-
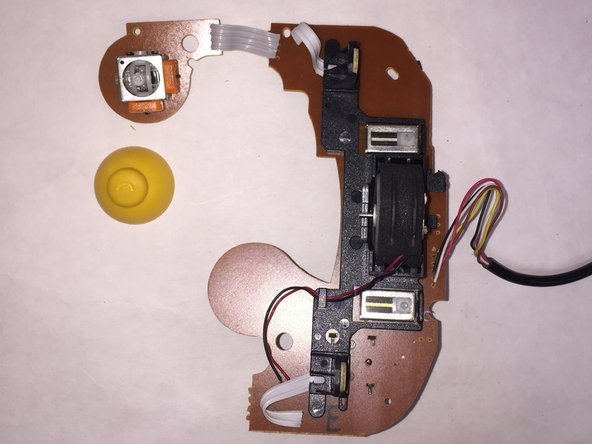
After removing the back of the controller, you can lift the circuit board out of the plastic shell.
-
With the circuit board removed, you can access the main buttons and remove them if desired.
-
-
-
-
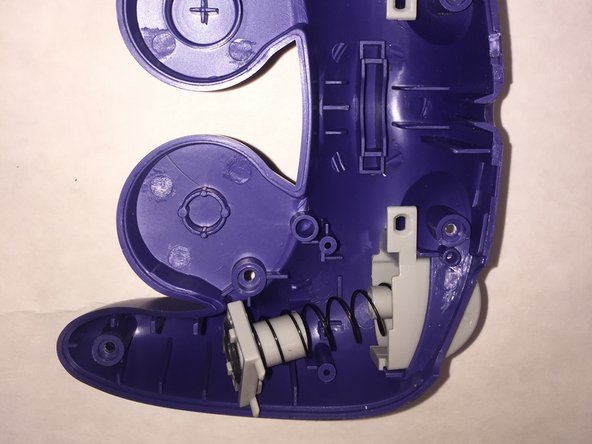
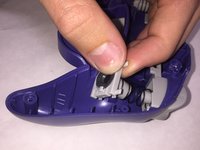
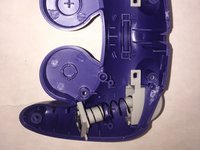
To remove the left and right bumpers from the bottom of the controller, pull up on the square base that keeps the button in place and then pull the button through the shell.
-
-
-
These are the parts that should come out of the remote; not regarding the control panel.
-
-
-
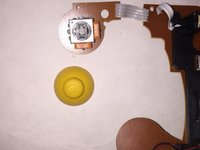
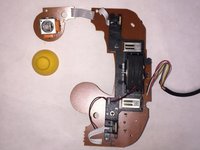
Once the control panel is removed from the controller the c-stick can be easily, but carefully, removed.
-
-





5 Guide Comments
So uh... This isn't an official GameCube controller. The official ones have Nintendo branding above the start button as well as a differently colored mainboard and tri-wing screws instead of Phillips. There are other slight differences in some components too. Do you mind someone else redoing this teardown with an official controller?
That would be awesome! Please do! =)
i will gladly do so in the next few weeks
so is this with the official controllers now or has it still not been updated yet?
This is pretty close to the official controller. I’ve submitted a separate guide for the official controller teardown.
