Introduction
NeXT Computer was founded in October of 1985 when Steve Jobs was forced out of Apple by John Scully. He started NeXT as a high-end computer company targeted at the University/Scientist/Computing Industry. NeXT only ever released , the NeXTStation, and The NeXTCube, in different variations. NeXT computers were high-end workstation computers, and only a few thousand were ever sold. The NeXTStation featured a, though the Turbo NeXTStation featured a68040. There were color and non-color variations of the NeXTStation. The world's first web server was created by Tim Berners-Lee, at CERN on a NeXTCube. NeXT computers were used to make games like Doom, and Wolfenstein. This is my&W NeXTStation. Mac OS X Is based off of NeXTStep, the NeXT OS.
What you need
-
-
-
The NeXTStation, this is a great addition to any computer collection.
 Ask FixBot
-
-
-
Turn the NeXTStation around, and remove this screw:
-
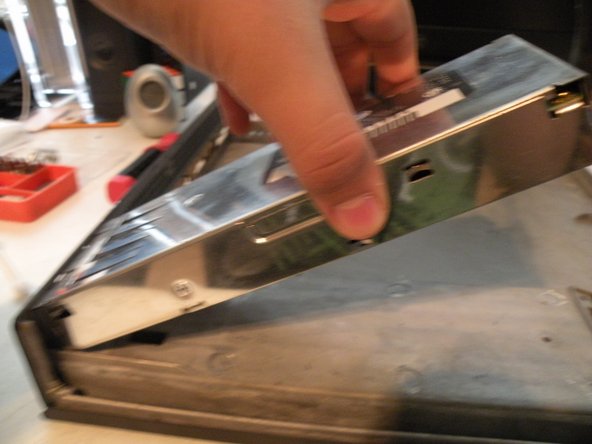
Then, lift the top cover of the computer. This will reveal the guts.
-
The ports from left to right: SCSI2, Keyboard & Mouse, DSP Port, DB-19(MegaPixel Display), DB-9(Serial), RJ-45(Ethernet), Coaxial (10b2 Ethernet), Power
-
I find notes in everything!
-
-
-
Removing the hard drive:
-
The NeXTStation uses a 50-Pin SCSI Hard Drive up to 4GB.
-
Remove all of the cables from the logic board.
-
-
-
Then remove this screw.
-
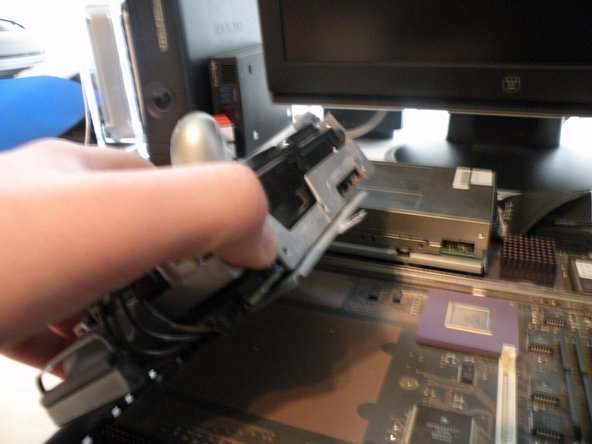
Once the screw is removed, pivot the drive up on a 45 Degree angle, then slide it out.
-
-
-
-
Removing the floppy disk drive:
-
The NeXTStation uses a non-standard 2.88MB 3.5" floppy drive, though it uses the standard floppy connector.
-
Remove the floppy cable.
-
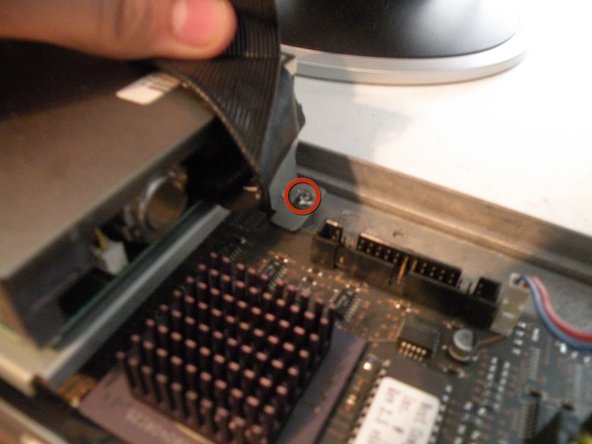
Then, remove this screw.
-
-
-
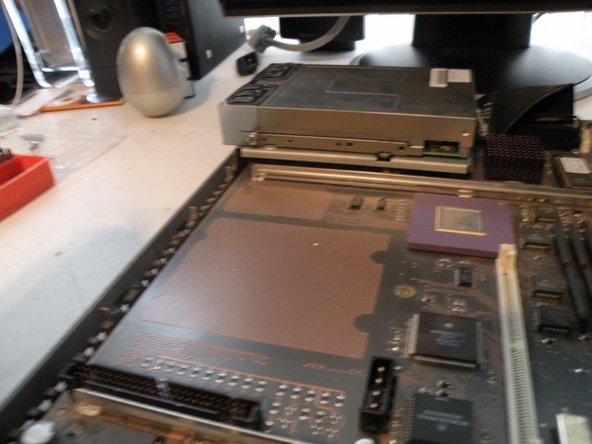
Then, just like the hard drive, pivot the drive up 45 degrees, and pull it out.
-
-
-
Removing the fan:
-
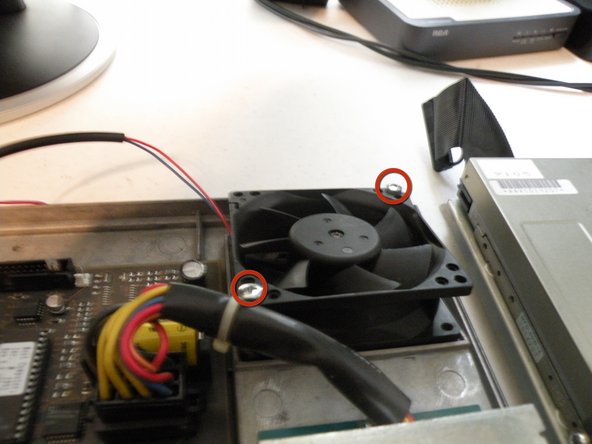
Remove this connector.
-
Remove these screws.
-
Remove the fan.
-
-
-
Removing the logic board:
-
Remove the power supply connector. Just lift it straight up, and it should come free.
-
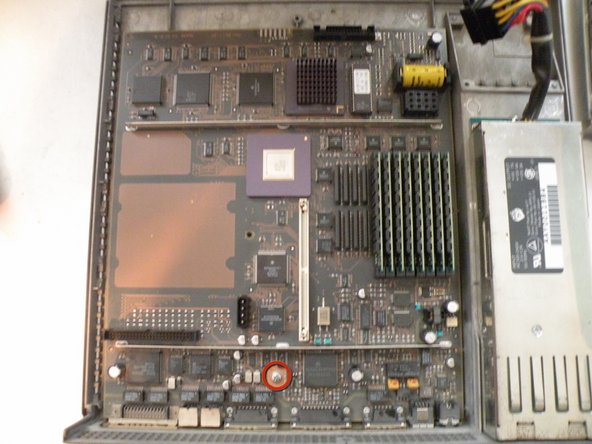
Remove this screw.
-
-
-
Lift the end of the logic board(away from the ports), and slide it away from the ports.
-
Now, set the board aside.
-
-
-
The Logic Board Overview:
-
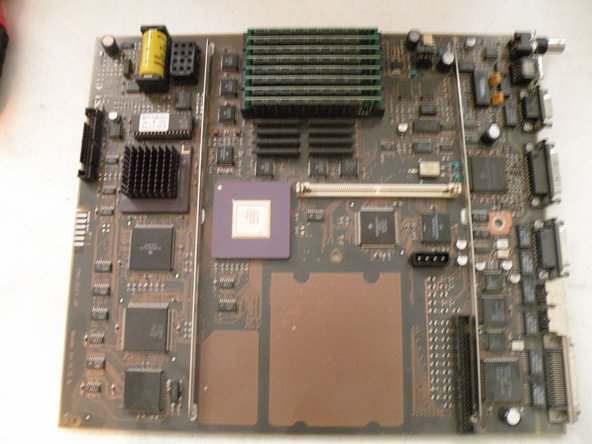
The Board has a 25Mhz Motorola 68040 CPU, This board features a ton of chips for something made nearly 20 years ago.
-
The CPU: Motorola XC68040RC25
-
The Co-Procesor: MB610313
-
Motorola Chips
-
Intel Chips
-
AMD Chips (Intel and AMD In the same computer?)
-
Fujitsu Chips
-
-
-
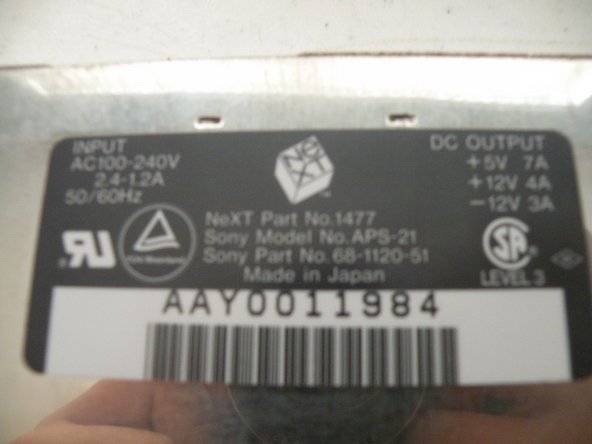
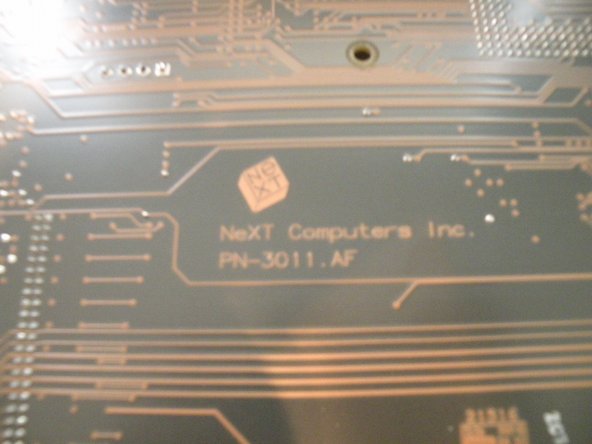
Made in the USA, you don't see this anymore.
-
The Serial #
-
Looks like my NeXTStation came from WilTel.
-
It is model # N1100
-
-




















Team

3 Guide Comments
http://www.youtube.com/watch?v=jhfUKEu7s...
The Machine to Build the Machines:
Watch NeXT's revolutionary computer controlled (NeXT Cubes - no less) assembly line in action!
Quote from Juddy:
http://www.youtube.com/watch?v=jhfUKEu7s... The Machine to Build the Machines: Watch NeXT's revolutionary computer controlled (NeXT Cubes - no less) assembly line in action!
Amazing!
MB610313 - ICP (Integrated Channel Processor). Basically DMA on steroids for almost all of the main sub components of the system. I believe that the cube, or at least the 25Mhz 030/040 cubes, had two of these.
