Free Shipping on Domestic Orders $75+

Introduction

Go to step 1 ↓

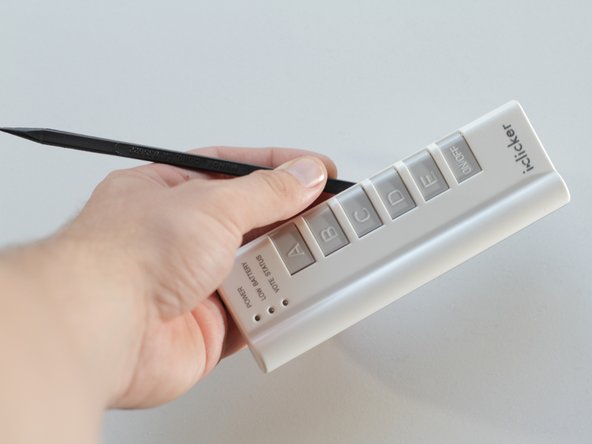
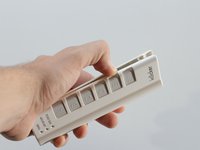
Behold the iClicker. This learning device is used in some college classrooms to help make the learning process more interactive. Course instructors can ask multiple choice questions and students can respond by pressing the button that corresponds to the answer they desire.

What you need

Tools

  • Phillips #00 Screwdriver
    4.9
  • Spudger
    4.9

This teardown is not a repair guide. To repair your iClicker, use our service manual.

    1. Disassembling iClicker Device, Disassembling iClicker Device: step 1, image 1 of 1
      • Behold the iclicker in all its interactive and educational beauty.

      Ask FixBot

      Add Comment

    2. Disassembling iClicker Device: step 2, image 1 of 1
      • Place the device on a flat surface, buttons facing down.

      • Remove the battery cover and the three batteries within.

      Ask FixBot

      Add Comment

    3. Disassembling iClicker Device: step 3, image 1 of 2 Disassembling iClicker Device: step 3, image 2 of 2
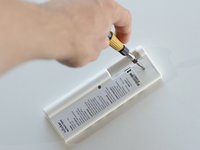
      • Remove the two visible screws using a #00 Phillips screwdriver.

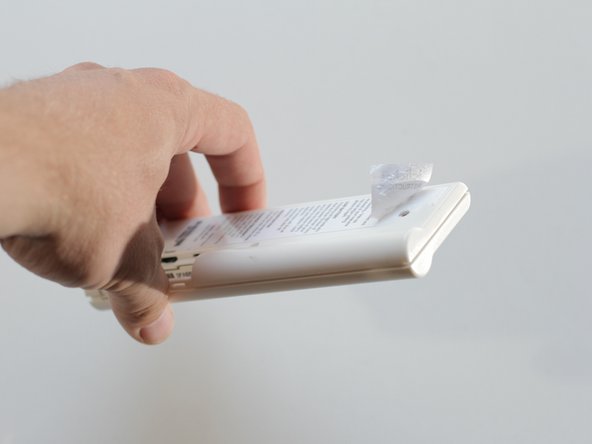
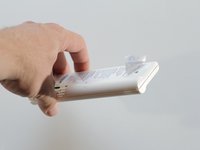
      • Oops! Don't forget a hidden third screw beneath the factory label.

      • Peel back the corner of the label to reveal the hidden screw.

      • If you wish to maintain the integrity of the label, a blowdryer may be used to soften the adhesive on the label before removal.

      Ask FixBot

      Add Comment

    4. Disassembling iClicker Device: step 4, image 1 of 2 Disassembling iClicker Device: step 4, image 2 of 2
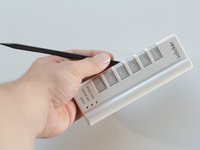
      • Depending on how much abuse your iclicker has endured, you might be able to separate the front and rear panels of the iclicker with your fingers.

      • For the more resistent iclickers, a spudger may be employed to separate the pieces.

      Ask FixBot

      Add Comment

    5. Disassembling iClicker Device: step 5, image 1 of 1
      • Your iclicker is now exposed for all its worth.

      • The back panel can be set aisde, as the remaining components are housed in the front panel.

      Ask FixBot

      Add Comment

    6. Disassembling iClicker Device: step 6, image 1 of 2 Disassembling iClicker Device: step 6, image 2 of 2
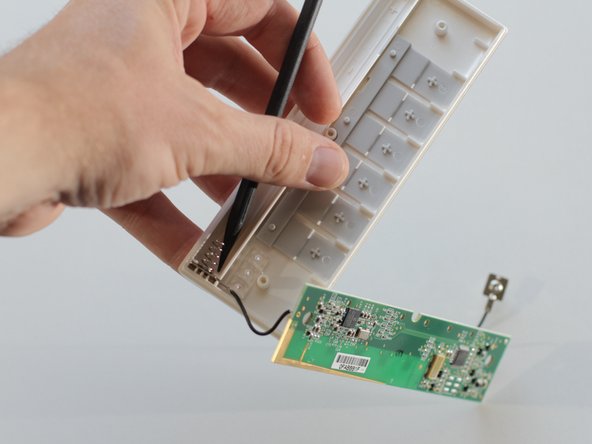
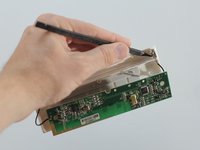
      • Using a spudger, gently pry the battery connectors from the front panel.

      Ask FixBot

      Add Comment

    7. Disassembling iClicker Device: step 7, image 1 of 1
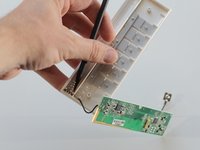
      • If your circuit board is stuck in the front panel, use a spudger to lift the circuit board from the front panel.

      Ask FixBot

      Add Comment

    8. Disassembling iClicker Device: step 8, image 1 of 1
      • The buttons can be easily removed from the front assembly sans spudger.

      Ask FixBot

      Add Comment

    9. Disassembling iClicker Device: step 9, image 1 of 1
      • Don't lose the small LED cover sitting precariously in the front panel.

      Ask FixBot

      Add Comment

    10. Disassembling iClicker Device: step 10, image 1 of 1
      • Your iclicker is now disassembled.

      Ask FixBot

      Add Comment

1 Guide Comment

What is an iClicker ?

furbies - Reply Share

Add Comment

View Statistics:

Past 24 Hours: 1

Past 7 Days: 9

Past 30 Days: 58

All Time: 8,308