This translation was generated by a machine and has not been reviewed by a person yet. Speak this language? Review it.

why! W670SZQ1 Replacement SSD Disk

Felice Suglia and 2 other contributors
Last updated on Sep 2, 2026
Views: 526
View statistics:
- Past 24 Hours:
- 2
- Past 7 Days:
- 19
- Past 30 Days:
- 81
- All Time:
- 526
Comments: 0
No one has left comments on this guide. Will you be first?
Go to guide commentsCompleted: 0 1
No one has marked this guide "completed." Will you be the first?
1 person has marked this guide "completed." It's you — great job!
Favorites: 0 1
No one has favorited (and subscribed to) this guide. Will you be the first?
1 person has favorited (and subscribed to) this guide — and that's you!
Community-Contributed Guide
An awesome member of our community made this guide. It was not created by iFixit staff.
Missing Details
Some of this guide's details are missing. Help users by adding tools, difficulty, or time.
Introduction
Go to step 1 ↓This guide shows you how to replace the SSD disk on a why! W670SZQ1 laptop.
What you need


-
-
-
Unlock the lock latch on the left.
-
Unlock the lock latch on the right.
-
Remove the battery while holding the lock latch unlocked.
 Ask FixBot
-
-
-
-
-
-
Using the Philips # 0 screwdriver, unscrew the 2 screws from the bottom cover.
-
Lift the bottom right cover with the iFixit Opening Tool.
-
Lift the lower left cover with the iFixit Opening Tool.
-
Finally clear the bottom cover completely to access the main components.
-
-
-
-
-
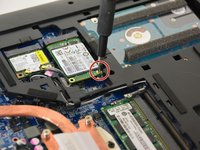
Unscrew the SSD fixing screw using the Philips # 0 screwdriver.
-
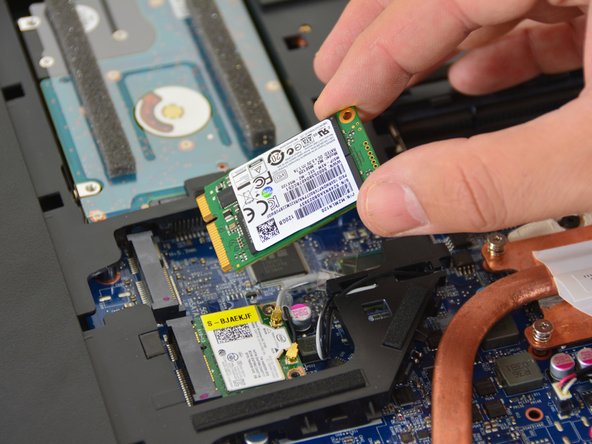
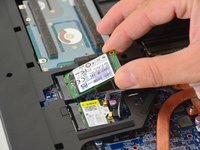
Lift the SSD.
-
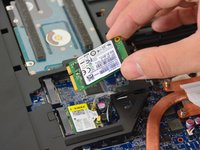
Remove the SSD from its connector.
-
-


To reassemble your device, follow the instructions in reverse order.
Special thanks to these translators:
100%

Israel is helping us fix the world! Want to contribute?
Start translating ›

