Free Shipping on Domestic Orders $75+

why! W650SZ Motherboard Replacement

What you need

  1. why! W650SZ Motherboard Replacement, Battery: step 1, image 1 of 3 why! W650SZ Motherboard Replacement, Battery: step 1, image 2 of 3 why! W650SZ Motherboard Replacement, Battery: step 1, image 3 of 3
    • Slide the latch on the right to the unlocked position.

    • Slide the latch on the left to the unlocked position.

    • Remove the battery pack from the slot.

    Ask FixBot

    Add Comment

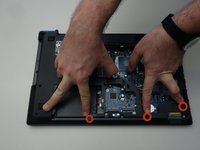
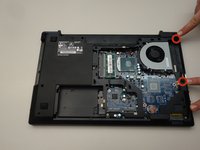
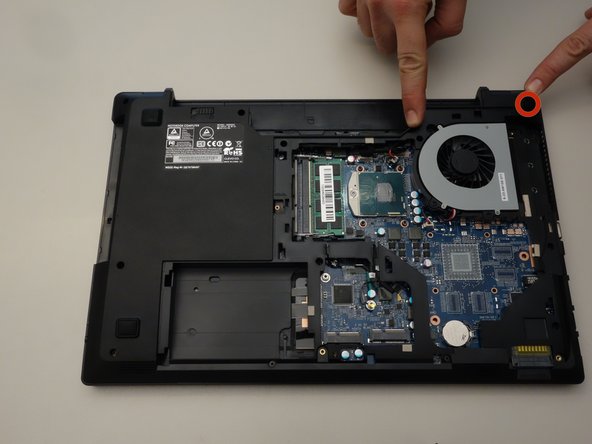
  2. why! W650SZ Motherboard Replacement, why! W650SZ Bottom Cover Replacement: step 2, image 1 of 3 why! W650SZ Motherboard Replacement, why! W650SZ Bottom Cover Replacement: step 2, image 2 of 3 why! W650SZ Motherboard Replacement, why! W650SZ Bottom Cover Replacement: step 2, image 3 of 3
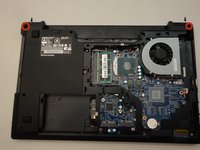
    • With your #0 Philips screwdriver remove the 2 screws from the bottom panel.

    • Now you can remove the bottom cover.

    Ask FixBot

    Add Comment

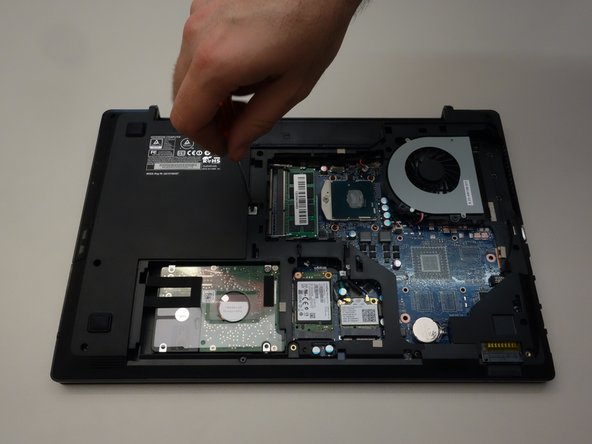
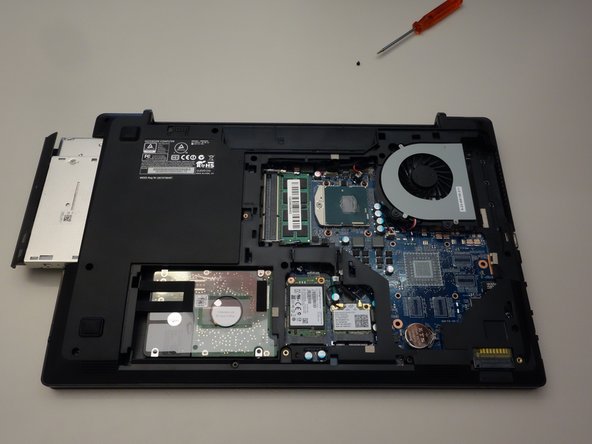
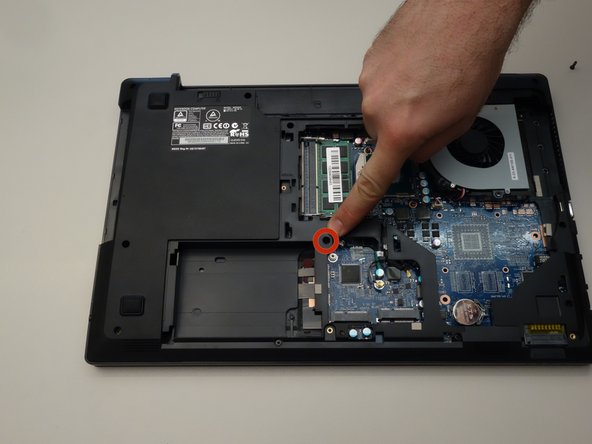
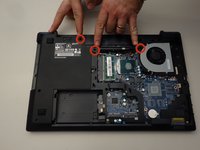
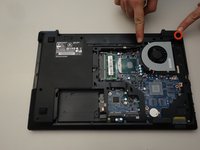
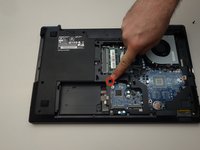
  3. why! W650SZ Motherboard Replacement, Remove the CD/DVD Drive: step 3, image 1 of 3 why! W650SZ Motherboard Replacement, Remove the CD/DVD Drive: step 3, image 2 of 3 why! W650SZ Motherboard Replacement, Remove the CD/DVD Drive: step 3, image 3 of 3
    • Locate the screw securing the CD/DVD drive.

    • Remove the Phillips screw securing the drive.

    • Remove the CD/DVD drive by simply sliding it out from the chassis.

    Ask FixBot

    Add Comment

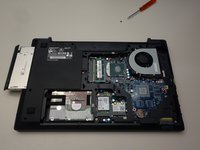
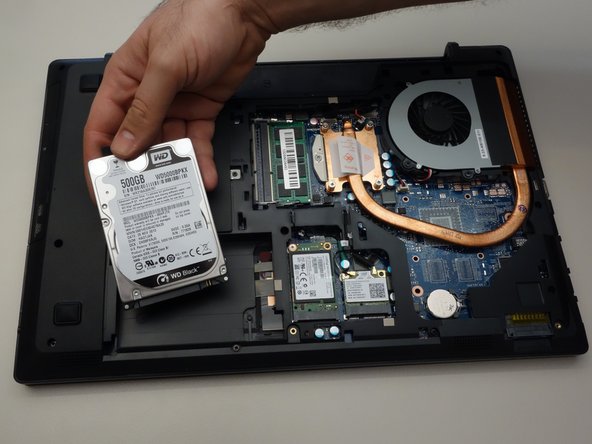
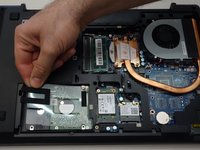
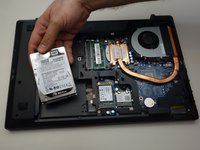
  4. why! W650SZ Motherboard Replacement, Remove the Hard Drive: step 4, image 1 of 2 why! W650SZ Motherboard Replacement, Remove the Hard Drive: step 4, image 2 of 2
    • Lift out the plastic tab (including the rubber part that holds the HDD in its slot).

    • Slide the drive to the left to disengage the connector then lift to remove the HDD from its SATA3 port.

    Ask FixBot

    Add Comment

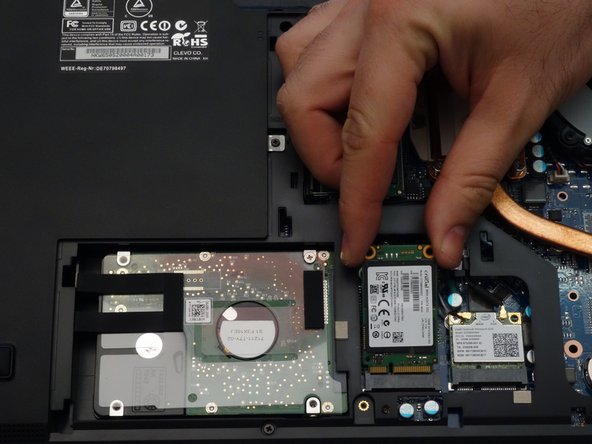
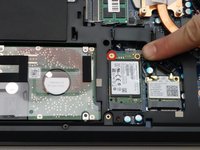
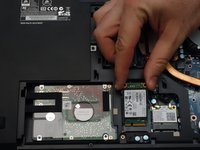
  5. why! W650SZ Motherboard Replacement, Remove the Solid State Drive (SSD): step 5, image 1 of 2 why! W650SZ Motherboard Replacement, Remove the Solid State Drive (SSD): step 5, image 2 of 2
    • Using a Philips screwdriver #0, remove the screw securing the SSD.

    • Lift the end of the SSD slightly and pull it straight out to remove it.

    Ask FixBot

    Add Comment

  6. why! W650SZ Motherboard Replacement, Remove the WiFi chipset: step 6, image 1 of 1
    • Carefully unplug the MAIN and AUX antennas.

    • Remove the retaining screw with a Phillips #0 screwdriver.

    • Lift the chipset slightly and remove it from the connector.

    Ask FixBot

    Add Comment

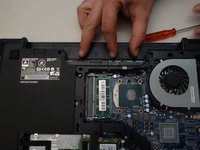
  7. why! W650SZ Motherboard Replacement, Remove the Random Access Memory (RAM): step 7, image 1 of 1
    • Locate and separate the blade springs that hold the memory module in place.

    • Remove the memory module (RAM).

    Ask FixBot

    Add Comment

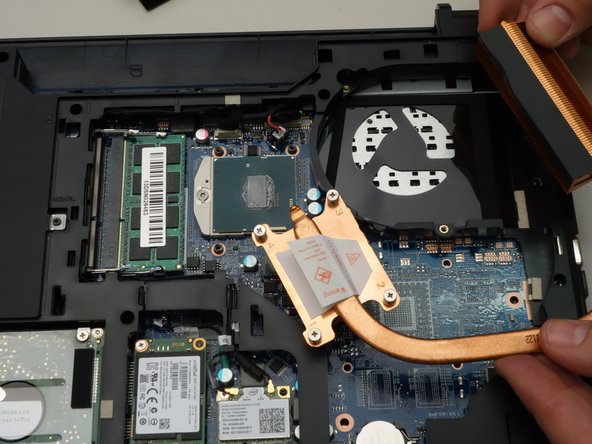
  8. why! W650SZ Motherboard Replacement, Remove the Heat Sink: step 8, image 1 of 3 why! W650SZ Motherboard Replacement, Remove the Heat Sink: step 8, image 2 of 3 why! W650SZ Motherboard Replacement, Remove the Heat Sink: step 8, image 3 of 3
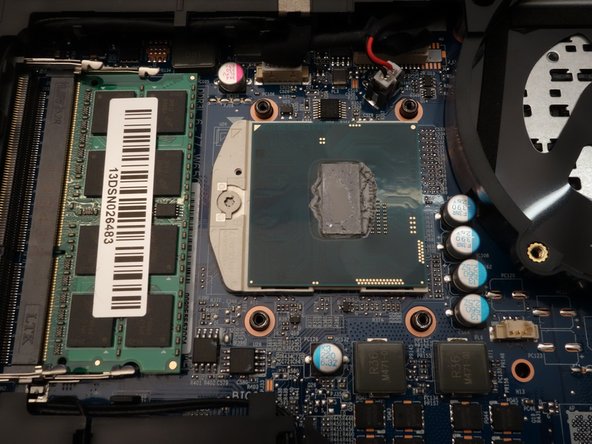
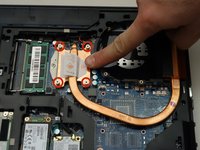
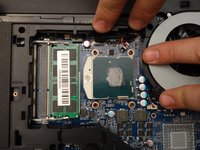
    • Using a Phillips screwdriver, unscrew the four captive screws securing the heatsink to the motherboard.

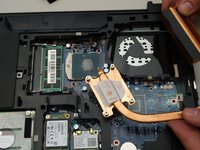
    • Remove the heatsink.

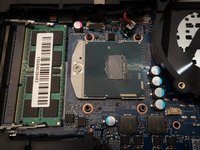
    • The processor and its retention mechanism are now visible.

    Ask FixBot

    Add Comment

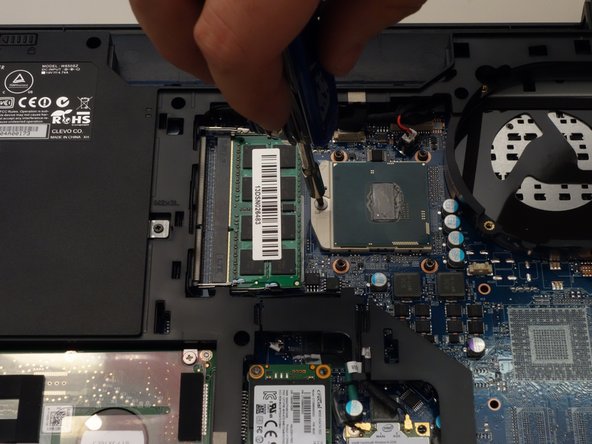
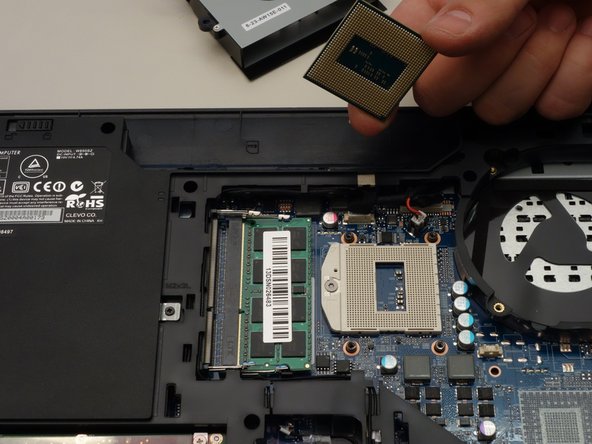
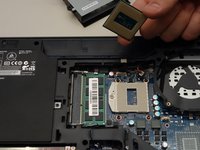
  9. why! W650SZ Motherboard Replacement, Remove the Processor: step 9, image 1 of 3 why! W650SZ Motherboard Replacement, Remove the Processor: step 9, image 2 of 3 why! W650SZ Motherboard Replacement, Remove the Processor: step 9, image 3 of 3
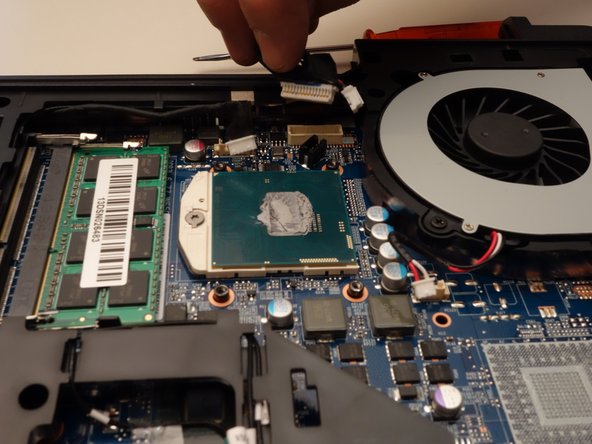
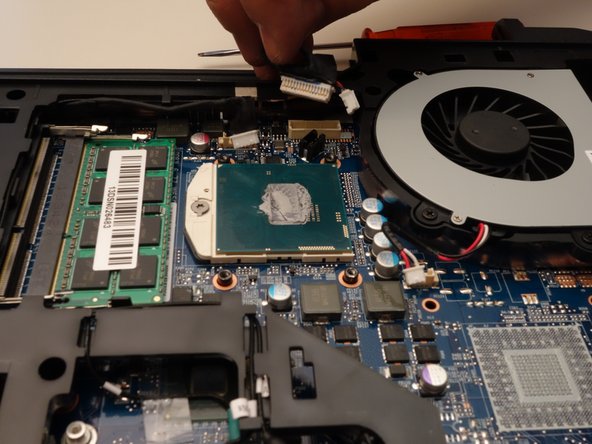
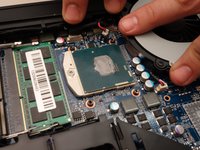
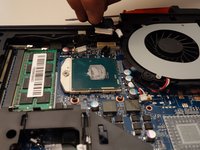
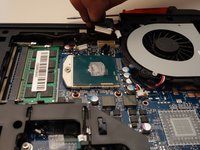
    • Unlock the processor using a small Torx screwdriver by turning the lock 180 degrees counterclockwise

    • Make sure the locking latch is pointing in the opposite direction.

    • You can now carefully remove the processor from its socket.

    Ask FixBot

    Add Comment

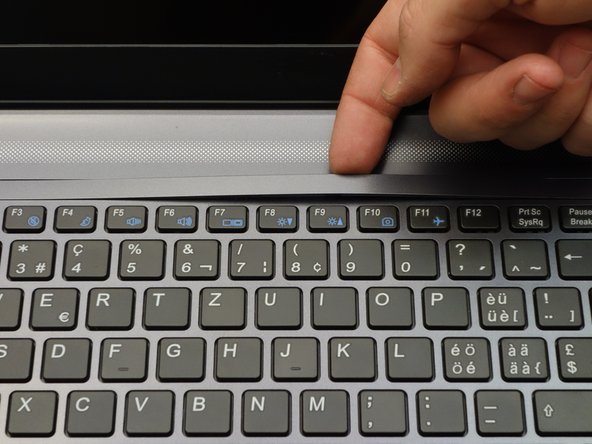
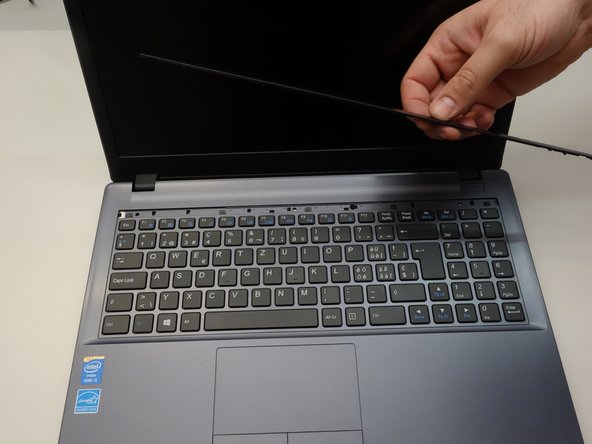
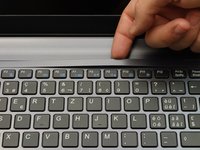
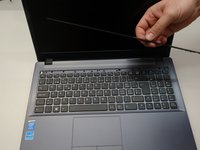
  10. why! W650SZ Motherboard Replacement, Remove the Keyboard: step 10, image 1 of 3 why! W650SZ Motherboard Replacement, Remove the Keyboard: step 10, image 2 of 3 why! W650SZ Motherboard Replacement, Remove the Keyboard: step 10, image 3 of 3
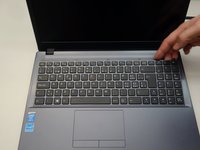
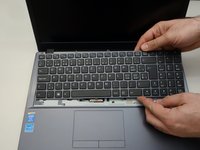
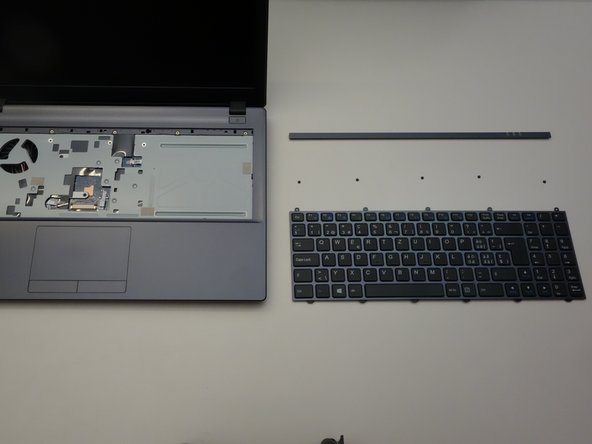
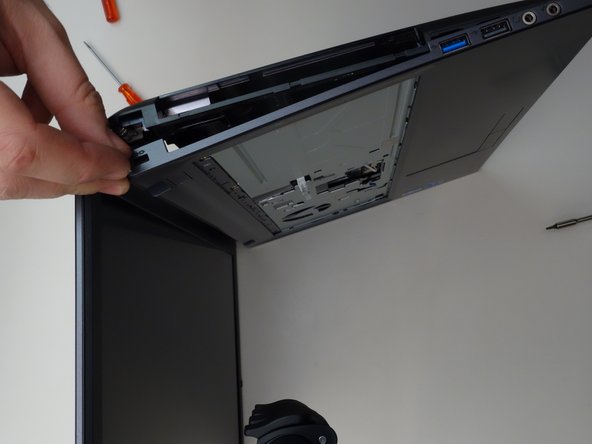
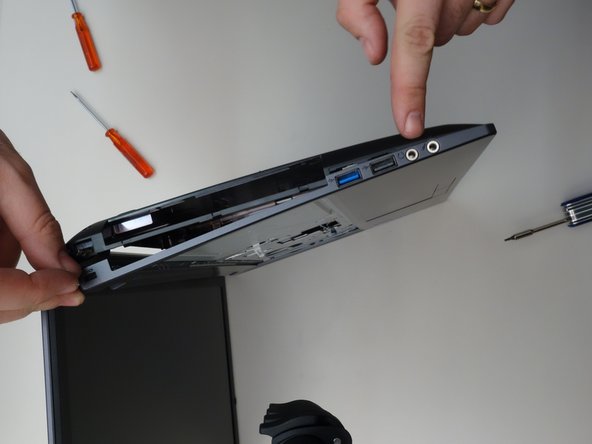
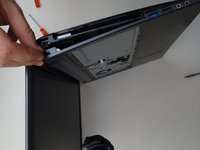
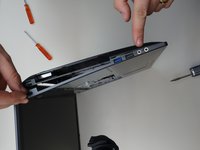
    • Press gently at the points indicated to release the LED cover strip.

    • Turn the laptop over, then lift the LED cover.

    • Remove the LED cover.

    Ask FixBot

    Add Comment

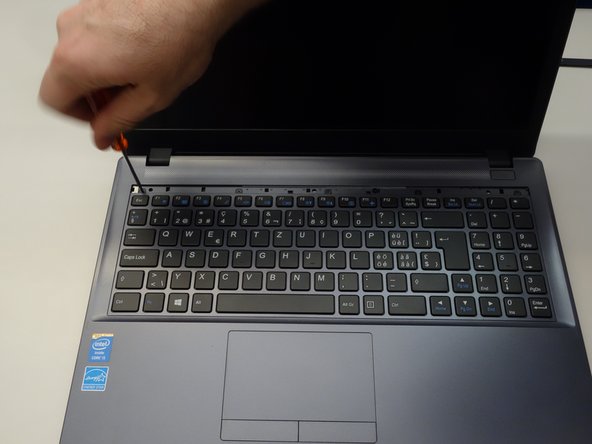
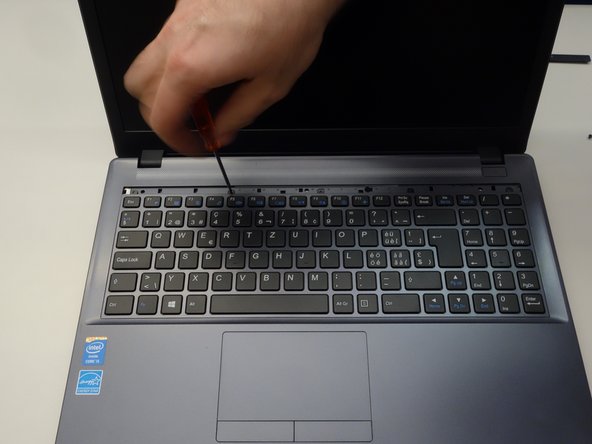
  11. why! W650SZ Motherboard Replacement, Remove Keyboard Screws: step 11, image 1 of 3 why! W650SZ Motherboard Replacement, Remove Keyboard Screws: step 11, image 2 of 3 why! W650SZ Motherboard Replacement, Remove Keyboard Screws: step 11, image 3 of 3
    • The five screws that anchor the keyboard are now visible.

    • Start by removing the first screw.

    • Remove the remaining screws (2-5).

    Ask FixBot

    Add Comment

  12. why! W650SZ Motherboard Replacement, Dismount the Keyboard: step 12, image 1 of 3 why! W650SZ Motherboard Replacement, Dismount the Keyboard: step 12, image 2 of 3 why! W650SZ Motherboard Replacement, Dismount the Keyboard: step 12, image 3 of 3
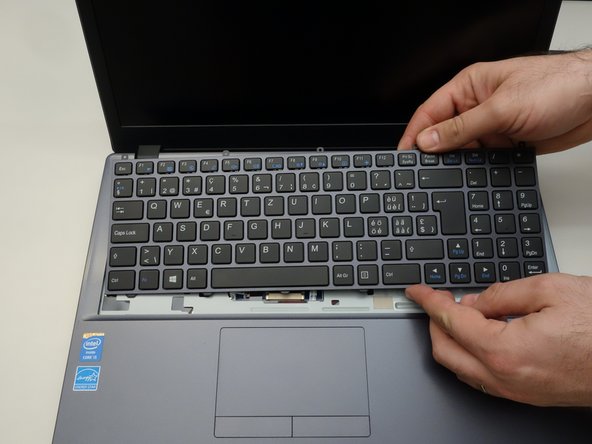
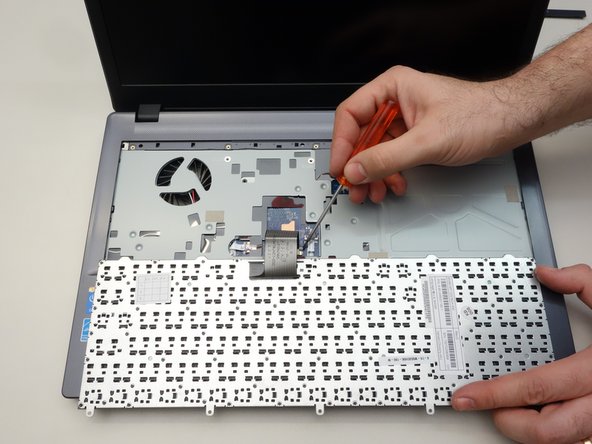
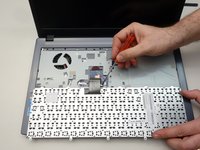
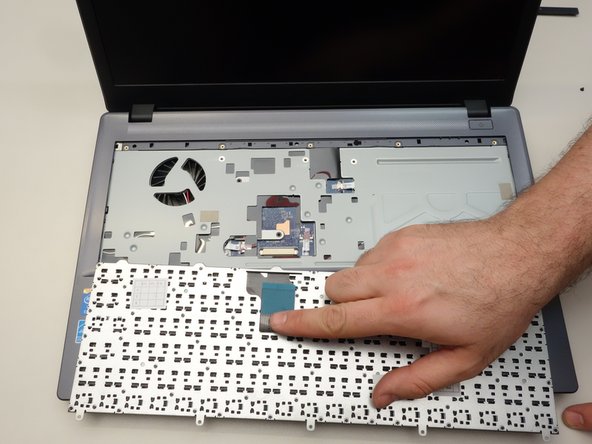
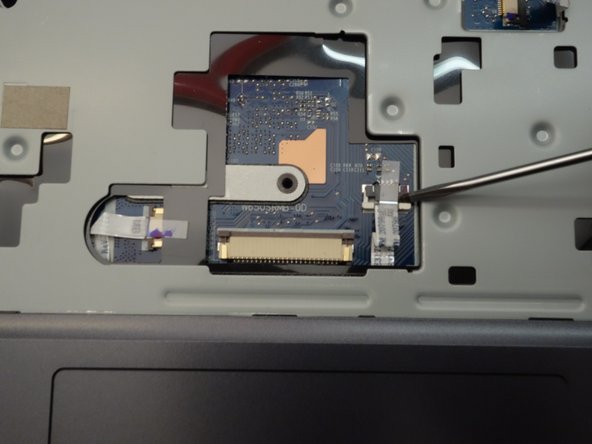
    • Dismount the keyboard from the chassis.

    • Flip the keyboard forward, taking care as it is still connected by a cable to the motherboard.

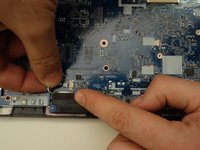
    • Release the cable latch on the right side of the motherboard connector with a small flat blade screwdriver.

    Ask FixBot

    Add Comment

  13. why! W650SZ Motherboard Replacement, Remove the Keyboard: step 13, image 1 of 3 why! W650SZ Motherboard Replacement, Remove the Keyboard: step 13, image 2 of 3 why! W650SZ Motherboard Replacement, Remove the Keyboard: step 13, image 3 of 3
    • Release the cable latch on the left side of the motherboard connector.

    • Slide the cable straight out from its connector.

    • Remove the keyboard.

    Ask FixBot

    Add Comment

  14. why! W650SZ Motherboard Replacement, Motherboard: step 14, image 1 of 3 why! W650SZ Motherboard Replacement, Motherboard: step 14, image 2 of 3 why! W650SZ Motherboard Replacement, Motherboard: step 14, image 3 of 3
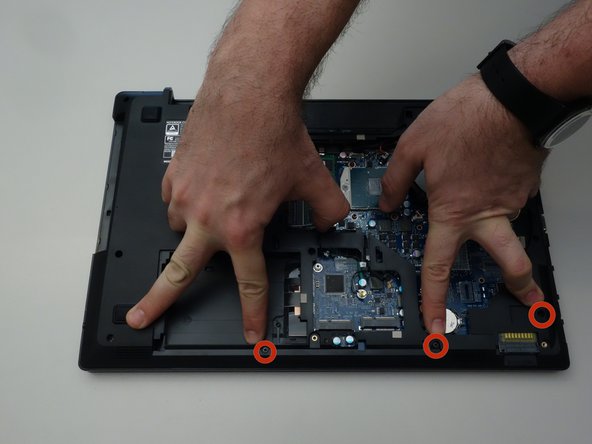
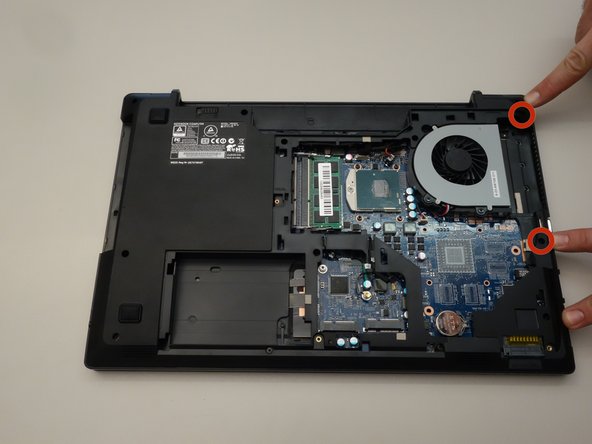
    • To access the motherboard first remove the three screws as shown in the first image of this step.

    • Remove the three screws as shown in the second image of this step.

    • Remove the two screws as shown in the third image of this step.

    Ask FixBot

    Add Comment

  15. why! W650SZ Motherboard Replacement, Remove Mounting Screws: step 15, image 1 of 3 why! W650SZ Motherboard Replacement, Remove Mounting Screws: step 15, image 2 of 3 why! W650SZ Motherboard Replacement, Remove Mounting Screws: step 15, image 3 of 3
    • Remove the three screws as shown in the first image of this step.

    • Remove the screw as shown in the second image of this step.

    • Remove the last screw as shown in the third image of this step.

    Ask FixBot

    Add Comment

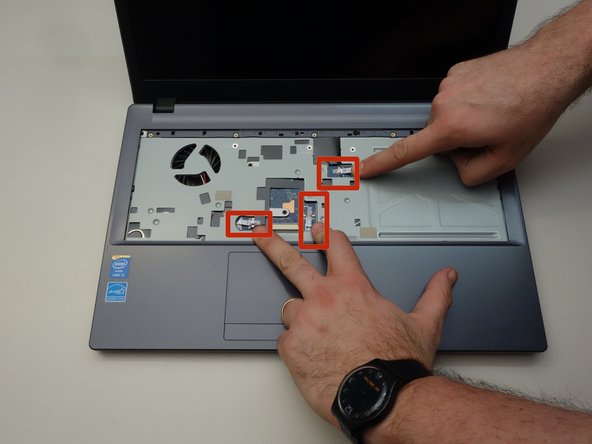
  16. why! W650SZ Motherboard Replacement, Motherboard (continued): step 16, image 1 of 3 why! W650SZ Motherboard Replacement, Motherboard (continued): step 16, image 2 of 3 why! W650SZ Motherboard Replacement, Motherboard (continued): step 16, image 3 of 3
    • Of all the screws you just removed the two screws that are longer than the others correspond to the locations shown in the first image of this step.

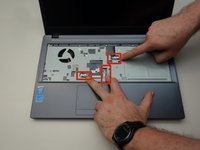
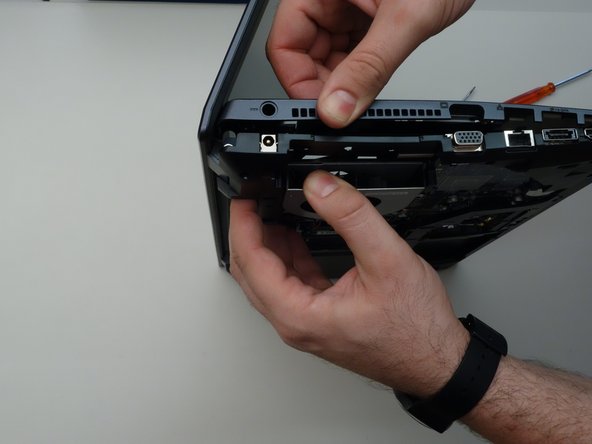
    • Flip the laptop over and locate the three connecting cables as shown in the second image of this step.

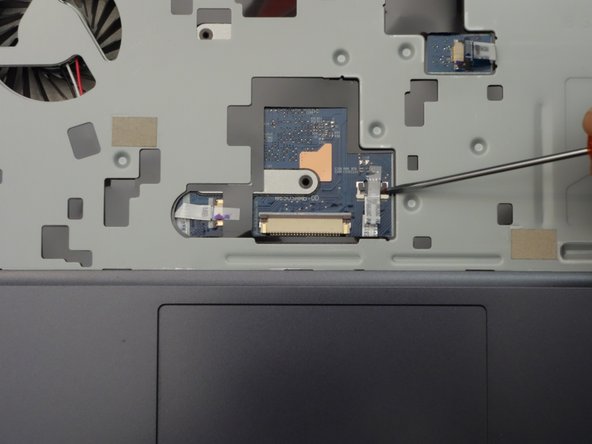
    • Use a small screwdriver to release the latch on the right of the flat cable.

    Ask FixBot

    Add Comment

  17. why! W650SZ Motherboard Replacement, Disconnect Cables: step 17, image 1 of 3 why! W650SZ Motherboard Replacement, Disconnect Cables: step 17, image 2 of 3 why! W650SZ Motherboard Replacement, Disconnect Cables: step 17, image 3 of 3
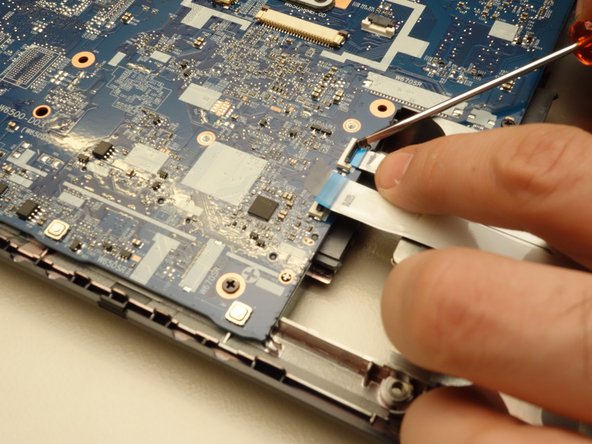
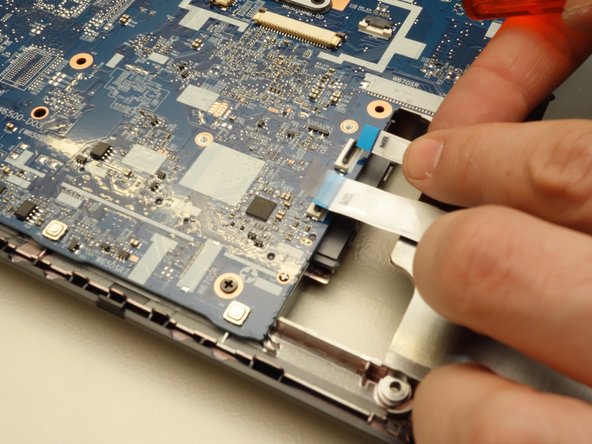
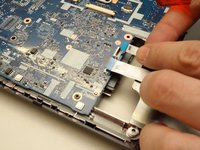
    • Release the lock on the left side of the ribbon cable.

    • Carefully remove the flat cable from its connector.

    • Repeat for the other two ribbon cables before you start removing the motherboard top cover.

    Ask FixBot

    Add Comment

  18. why! W650SZ Motherboard Replacement, Remove the Top Cover: step 18, image 1 of 3 why! W650SZ Motherboard Replacement, Remove the Top Cover: step 18, image 2 of 3 why! W650SZ Motherboard Replacement, Remove the Top Cover: step 18, image 3 of 3
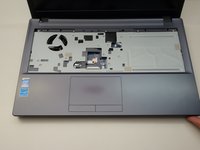
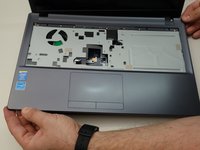
    • To remove the motherboard cover, follow the steps shown in the three images in this step.

    Ask FixBot

    Add Comment

  19. why! W650SZ Motherboard Replacement, Remove the Top Cover (continued): step 19, image 1 of 3 why! W650SZ Motherboard Replacement, Remove the Top Cover (continued): step 19, image 2 of 3 why! W650SZ Motherboard Replacement, Remove the Top Cover (continued): step 19, image 3 of 3
    • Follow the steps shown in the first two images in this step.

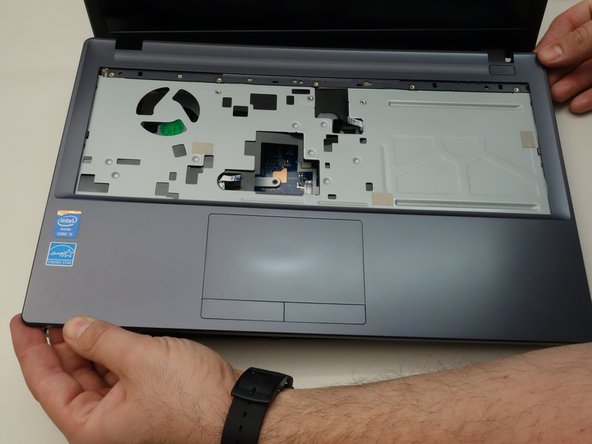
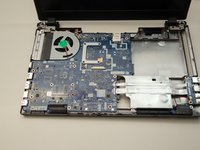
    • Once the top cover has been removed, you can now clearly see the motherboard.

    Ask FixBot

    Add Comment

  20. why! W650SZ Motherboard Replacement, Disconnect Ribbon Cables: step 20, image 1 of 3 why! W650SZ Motherboard Replacement, Disconnect Ribbon Cables: step 20, image 2 of 3 why! W650SZ Motherboard Replacement, Disconnect Ribbon Cables: step 20, image 3 of 3
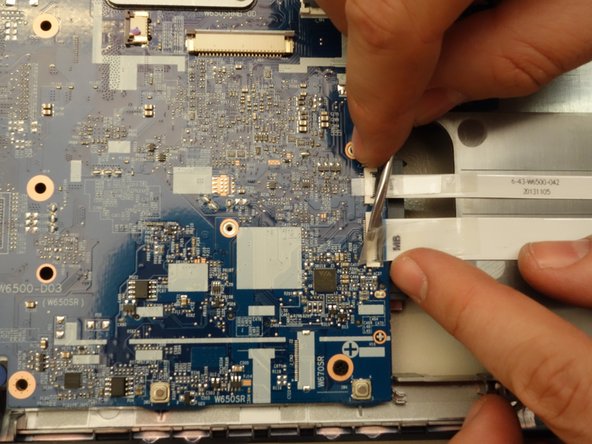
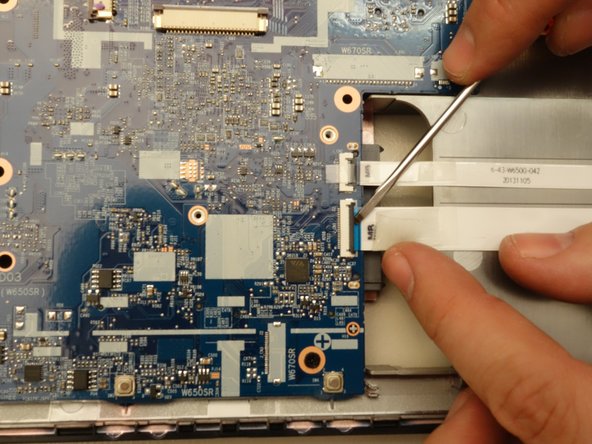
    • Locate the two ribbon cables as shown in the first image of this step. These two ribbon cables must be disconnected from the motherboard.

    • Release the latch on the first ribbon cable.

    • Once the latch is released,...

    Ask FixBot

    Add Comment

  21. why! W650SZ Motherboard Replacement, Disconnect Ribbon Cables (continued): step 21, image 1 of 3 why! W650SZ Motherboard Replacement, Disconnect Ribbon Cables (continued): step 21, image 2 of 3 why! W650SZ Motherboard Replacement, Disconnect Ribbon Cables (continued): step 21, image 3 of 3
    • ... carefully remove the ribbon cable.

    • Unlatch the second ribbon cable.

    • Remove it too.

    Ask FixBot

    Add Comment

  22. why! W650SZ Motherboard Replacement, Disconnect Cables (continued): step 22, image 1 of 3 why! W650SZ Motherboard Replacement, Disconnect Cables (continued): step 22, image 2 of 3 why! W650SZ Motherboard Replacement, Disconnect Cables (continued): step 22, image 3 of 3
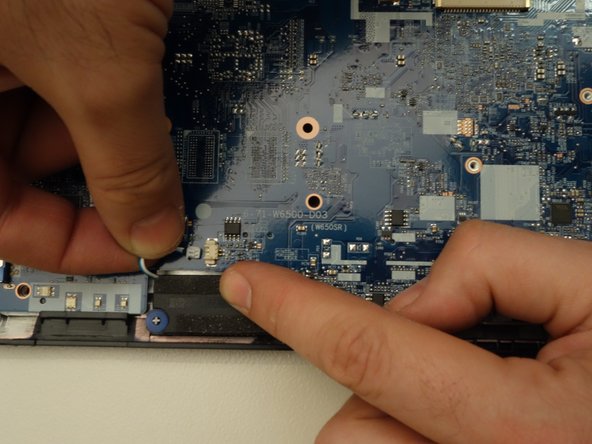
    • Locate the motherboard connector pointed to in the first image of this step.

    • Remove the connected cable.

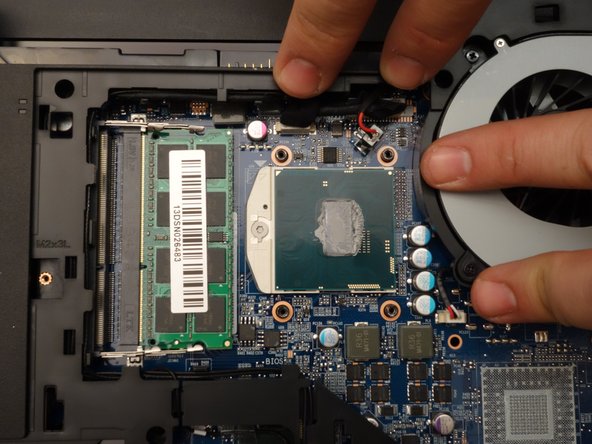
    • Locate the two motherboard connectors shown in the third image of this step.

    Ask FixBot

    Add Comment

  23. why! W650SZ Motherboard Replacement, Disconnect Cables (continued): step 23, image 1 of 3 why! W650SZ Motherboard Replacement, Disconnect Cables (continued): step 23, image 2 of 3 why! W650SZ Motherboard Replacement, Disconnect Cables (continued): step 23, image 3 of 3
    • Remove the first cable.

    • Remove the second cable.

    Ask FixBot

    Add Comment

  24. why! W650SZ Motherboard Replacement, Remove the Motherboard: step 24, image 1 of 3 why! W650SZ Motherboard Replacement, Remove the Motherboard: step 24, image 2 of 3 why! W650SZ Motherboard Replacement, Remove the Motherboard: step 24, image 3 of 3
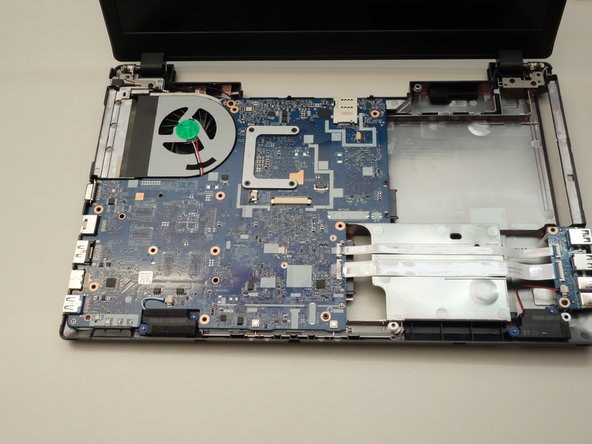
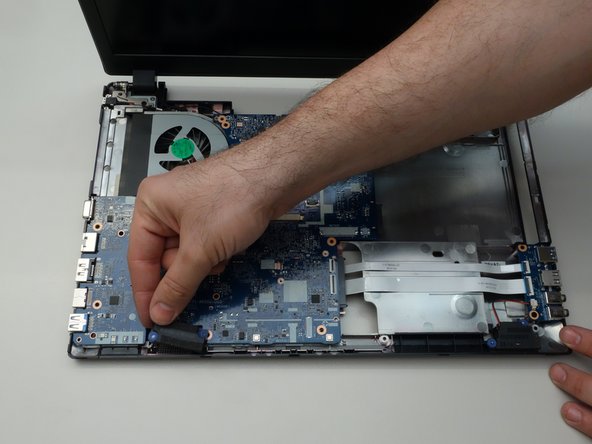
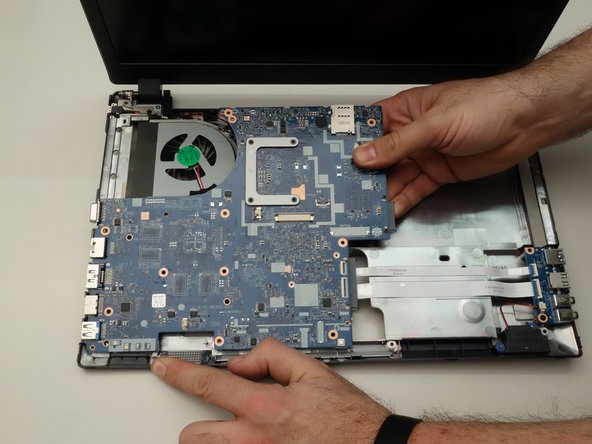
    • Locate and remove the two screws securing the motherboard.

    • Before lifting the motherboard, remove the speakers.

    • Carefully remove the motherboard.

    Ask FixBot

    Add Comment

Conclusion

To reassemble your device, follow these instructions in reverse order.

Cancel: I did not complete this guide.

Special thanks to these translators:

fr en

100%

Jerry Wheeler is helping us fix the world! Want to contribute?
Start translating ›

Felice Suglia

Member since: 06/15/13

33,589 Reputation

283 Guides authored

0 Guide Comments

Add Comment

View Statistics:

Past 24 Hours: 0

Past 7 Days: 4

Past 30 Days: 31

All Time: 516