This translation was generated by a machine and has not been reviewed by a person yet. Speak this language? Review it.

why! W650SZ Keyboard Replacement

Last updated on Sep 2, 2026
Views: 560
View statistics:
- Past 24 Hours:
- 1
- Past 7 Days:
- 13
- Past 30 Days:
- 65
- All Time:
- 560
Comments: 0
No one has left comments on this guide. Will you be first?
Go to guide commentsCompleted: 0 1
No one has marked this guide "completed." Will you be the first?
1 person has marked this guide "completed." It's you — great job!
Favorites: 0 1
No one has favorited (and subscribed to) this guide. Will you be the first?
1 person has favorited (and subscribed to) this guide — and that's you!
Community-Contributed Guide
An awesome member of our community made this guide. It was not created by iFixit staff.
Introduction
Go to step 1 ↓This guide shows you how to replace the keyboard on a why! W650SZ.

-
-
-
Slide the latch on the right to the unlocked position.
-
Slide the latch on the left to the unlocked position.
-
Remove the battery pack from the slot.
 Ask FixBot
-
-
-
-
-
With your #0 Philips screwdriver remove the 2 screws from the bottom panel.
-
Now you can remove the bottom cover.
-
-
-
-
-
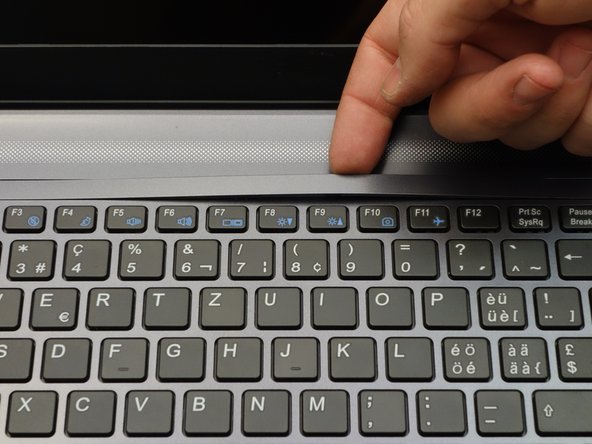
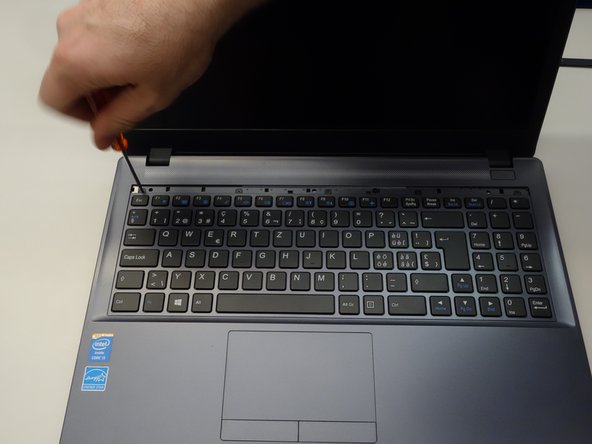
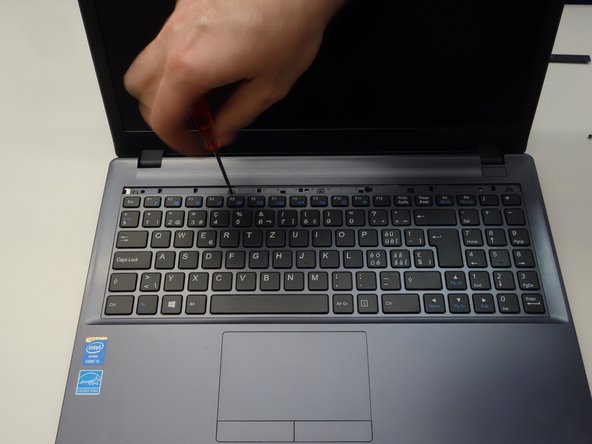
Press gently at the points indicated to release the LED cover strip.
-
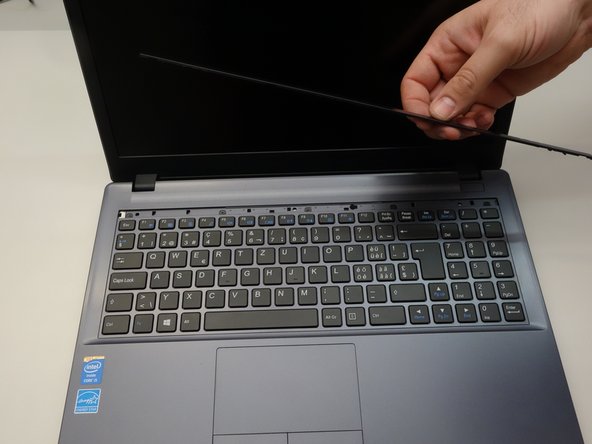
Turn the laptop over, then lift the LED cover.
-
Remove the LED cover.
-
-
-
The five screws that anchor the keyboard are now visible.
-
Start by removing the first screw.
-
Remove the remaining screws (2-5).
-
-
-
-
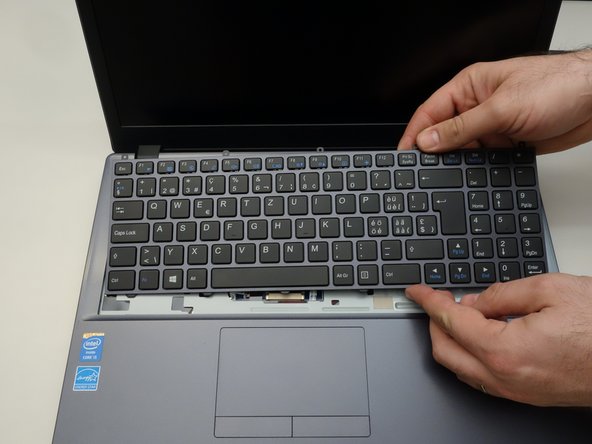
Dismount the keyboard from the chassis.
-
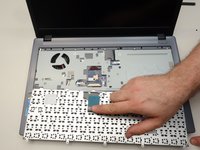
Flip the keyboard forward, taking care as it is still connected by a cable to the motherboard.
-
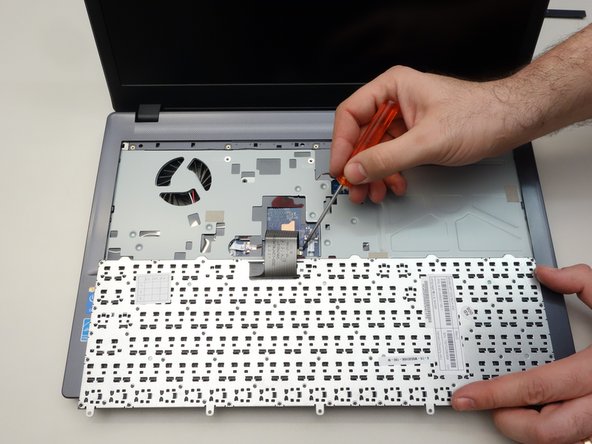
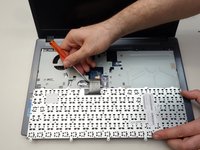
Release the cable latch on the right side of the motherboard connector with a small flat blade screwdriver.
-
-
-
Release the cable latch on the left side of the motherboard connector.
-
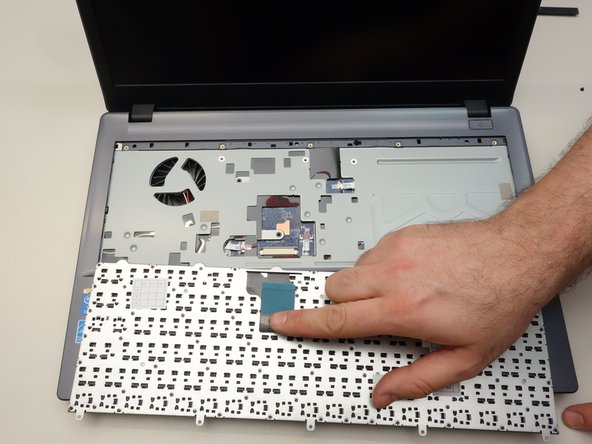
Slide the cable straight out from its connector.
-
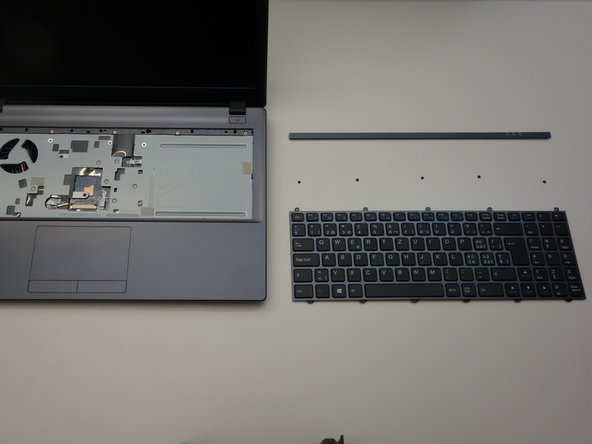
Remove the keyboard.
-
-










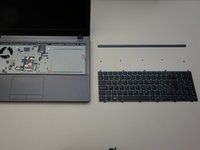
To reassemble your device, follow these instructions in reverse order.
Special thanks to these translators:
100%

Jerry Wheeler is helping us fix the world! Want to contribute?
Start translating ›

