Free Shipping on Domestic Orders $75+

why! W650SZ CD/DVD Drive Replacement

What you need

  1. why! W650SZ CD/DVD Drive Replacement, Battery: step 1, image 1 of 3 why! W650SZ CD/DVD Drive Replacement, Battery: step 1, image 2 of 3 why! W650SZ CD/DVD Drive Replacement, Battery: step 1, image 3 of 3
    • Slide the latch on the right to the unlocked position.

    • Slide the latch on the left to the unlocked position.

    • Remove the battery pack from the slot.

    Ask FixBot

    Add Comment

  2. why! W650SZ CD/DVD Drive Replacement, why! W650SZ Bottom Cover Replacement: step 2, image 1 of 3 why! W650SZ CD/DVD Drive Replacement, why! W650SZ Bottom Cover Replacement: step 2, image 2 of 3 why! W650SZ CD/DVD Drive Replacement, why! W650SZ Bottom Cover Replacement: step 2, image 3 of 3
    • With your #0 Philips screwdriver remove the 2 screws from the bottom panel.

    • Now you can remove the bottom cover.

    Ask FixBot

    Add Comment

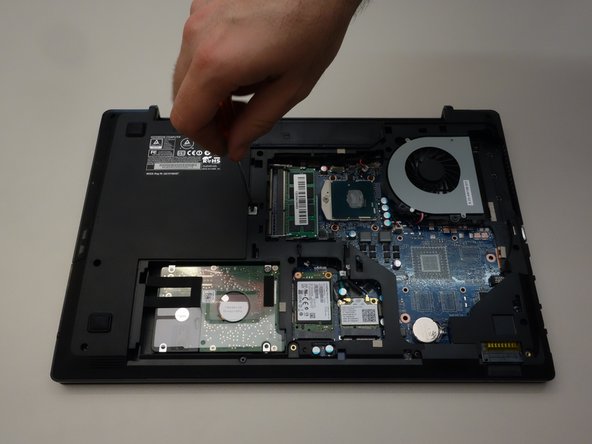
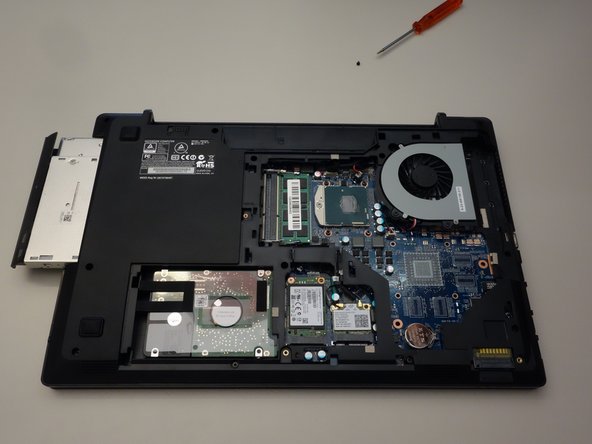
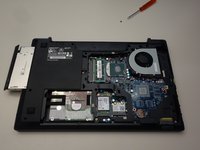
  3. why! W650SZ CD/DVD Drive Replacement, CD/DVD Drive: step 3, image 1 of 3 why! W650SZ CD/DVD Drive Replacement, CD/DVD Drive: step 3, image 2 of 3 why! W650SZ CD/DVD Drive Replacement, CD/DVD Drive: step 3, image 3 of 3
    • Locate the screw securing the CD/DVD drive.

    • Remove the Phillips screw securing the drive.

    • Remove the CD/DVD drive by simply sliding it out from the chassis.

    Ask FixBot

    Add Comment

Conclusion

To reassemble your device, follow these instructions in reverse order.

Cancel: I did not complete this guide.

Special thanks to these translators:

fr en

100%

Jerry Wheeler is helping us fix the world! Want to contribute?
Start translating ›

Felice Suglia

Member since: 06/15/13

33,589 Reputation

283 Guides authored

0 Guide Comments

Add Comment

View Statistics:

Past 24 Hours: 0

Past 7 Days: 2

Past 30 Days: 22

All Time: 302