This translation was generated by a machine and has not been reviewed by a person yet. Speak this language? Review it.

why! N240BU Replacing the LCD screen

Felice Suglia and one other contributor
Last updated on Sep 2, 2026
Views: 831
View statistics:
- Past 24 Hours:
- 1
- Past 7 Days:
- 20
- Past 30 Days:
- 85
- All Time:
- 831
Comments: 0
No one has left comments on this guide. Will you be first?
Go to guide commentsCompleted: 1 2
1 person has marked this guide "completed." Will you be next?
2 people have marked this guide "completed." Including you — great job!
Favorites: 0 1
No one has favorited (and subscribed to) this guide. Will you be the first?
1 person has favorited (and subscribed to) this guide — and that's you!
Community-Contributed Guide
An awesome member of our community made this guide. It was not created by iFixit staff.
Introduction
Go to step 1 ↓This guide shows you how to replace the LCD screen on a why! N240BU laptop, for example in the case of a cracked screen or a faulty one.
What you need
Parts
Tools

-
-
-
Start by unlocking the right locking latch.
-
Then, by simultaneously unlocking the left latch, lift the battery out of its socket.
 Ask FixBot
-
-
-
-
-
Begin by spotting the dummy memory card.
-
Then, remove it and put it on your workplan.
-
-
-
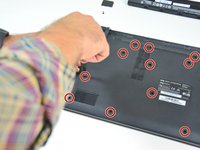
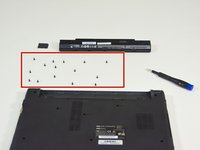
Locate the 15 screws that hold the bottom cover of the device in place.
-
Unscrew them and place them on your work surface.
-
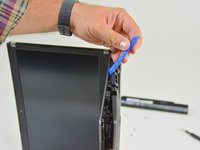
Then, un-clip the bottom cover, starting with the side shown in the third picture.
-
-
-
-
-
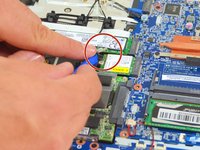
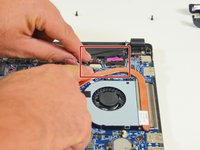
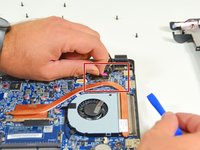
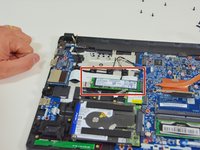
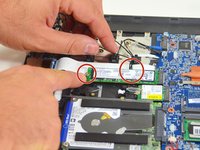
In order to remove the LCD screen, you must remove the connection cables from the Wi-Fi chipset.
-
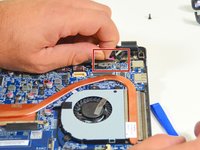
Then locate the two connectors on the LCD screen.
-
Disconnect the first connector.
-
-
-
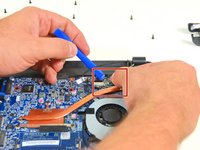
Peel off the tape from the second connector.
-
Then disconnect the second connector.
-
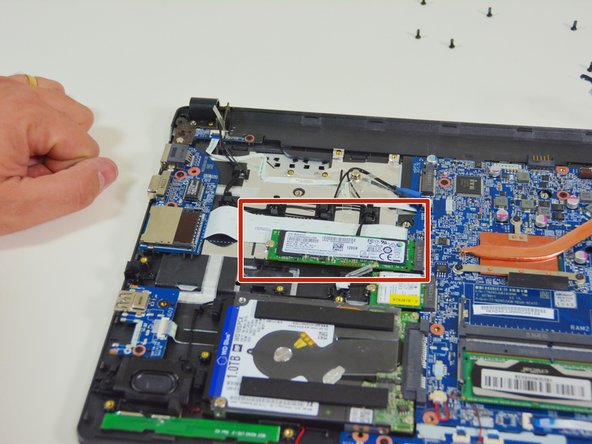
Locate the SSD M.2 drive.
-
-
-
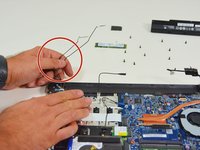
Then dismount this disk because it must release the connection cables of the Wi-Fi chipset.
-
Free Wi-Fi connection cables now
-
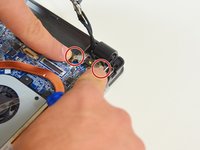
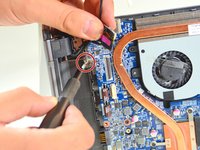
Now locate the two screws that secure the screen to the rest of the Laptop (fan side)
-
-
-
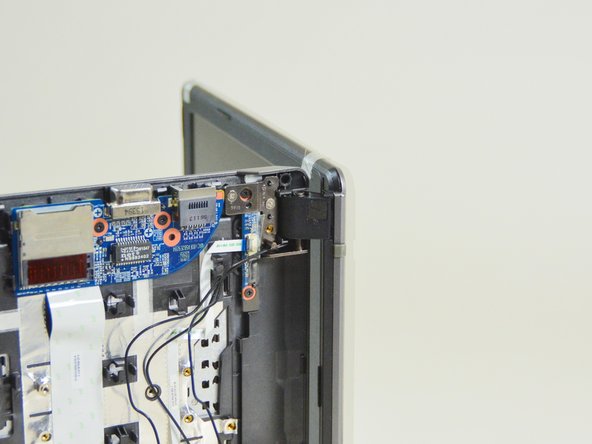
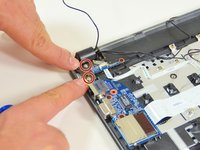
Now locate the two screws that secure the screen to the rest of the Laptop (the other side).
-
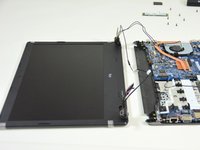
Then lift the Laptop as shown in the second image of this step.
-
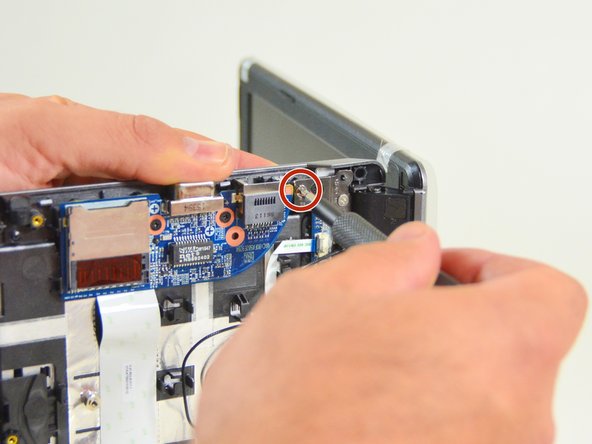
Unscrew the first screw.
-
-
-
Then unscrew the second screw.
-
Rest the Laptop as shown in the second image of this step and unscrew the third screw.
-
Then the fourth screw.
-
-
-
With the four screws unscrewed, separate the screen from the rest of the Laptop. Note that the hinge remains attached to the screen.
-
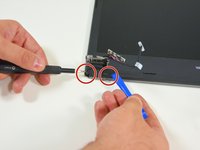
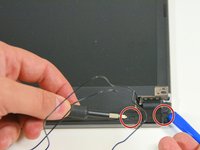
On the screen near the hinge now locate the two caches screws on the left.
-
Then look for those on the right.
-
-
-
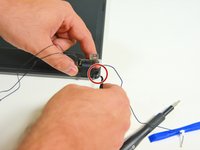
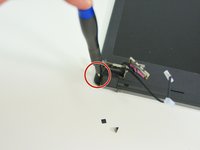
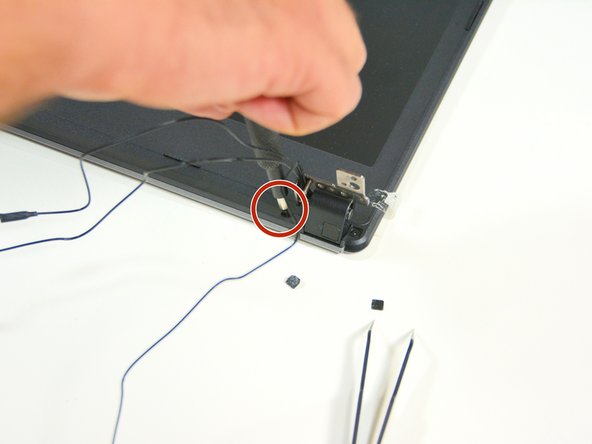
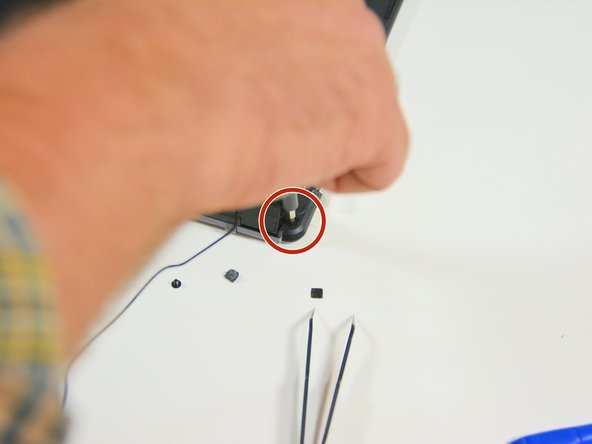
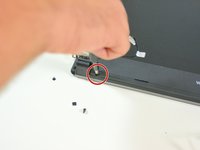
Now remove the screw covers near the left hinge.
-
first on the right side of the hinge.
-
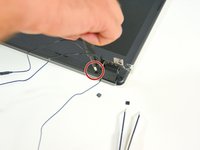
then on the left side.
-
-
-
Repeat near the right hinge
-
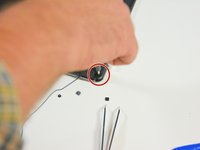
.Now return to the hinge on the left side and unscrew the outer screw.
-
-
-
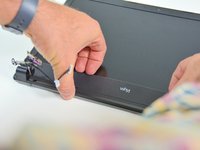
You can now gently unclip the screen cover.
-
Locate the left hinge screw cover.
-
Locate the right hinge screw cover.
-
-
-
-
Gently remove the screw cover on the left hinge.
-
Also remove the screw cover on the right hinge.
-
Once the screw caps are removed you will see the fixing screws.
-
-
-
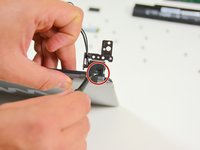
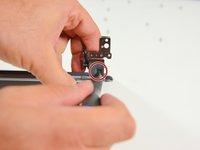
Now unscrew the screw on the left hinge.
-
Then unscrew the screw on the right hinge.
-
Once this is done you can now remove the hinge cover (left).
-
-
-
Left hinged cover removed.
-
Then remove the cover from the right hinge.
-
Right hinge cover removed.
-
-
-
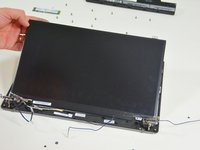
once these operations are done you see the LCD screen ready to be dismounted.
-
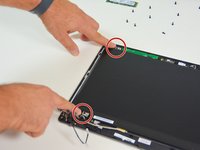
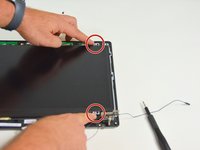
Now locate the screws that secure the LCD screen to the bracket and unscrew them. Two on the left.
-
Two on the right.
-
-
-
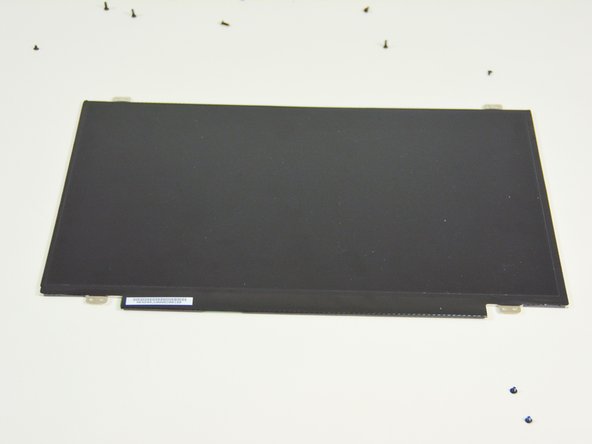
Once the screws are unscrewed, lift the LCD screen gently and flip it over.
-
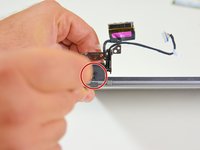
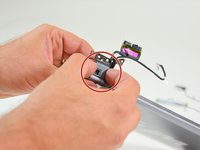
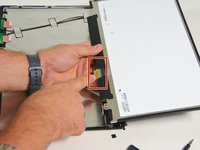
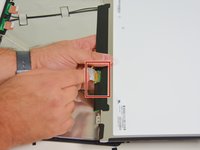
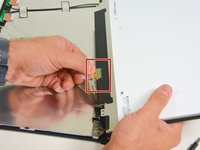
You will then see the connection cable of the screen.
-
Locate its connector.
-
-









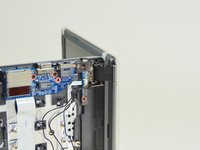
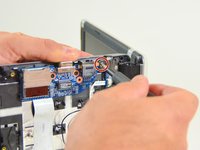


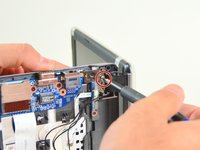
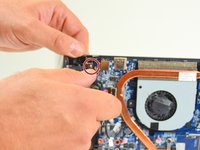




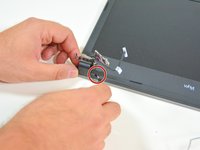
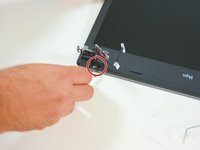
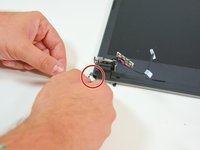


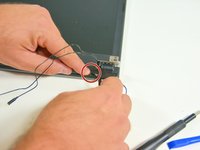



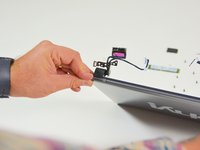
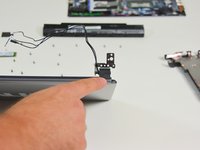


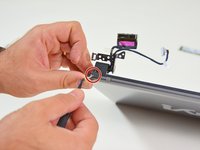
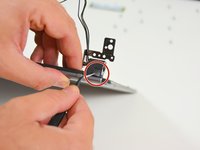




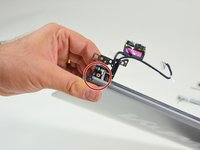
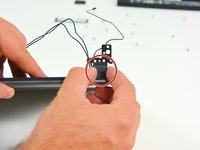
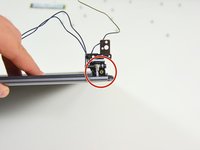


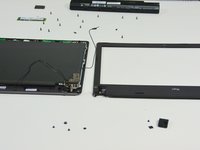



To reassemble your device, Follow these instructions in reverse order.
Cancel: I did not complete this guide.
One other person completed this guide.
Special thanks to these translators:
100%

irlanda is helping us fix the world! Want to contribute?
Start translating ›

