Free Shipping on Domestic Orders $75+

This translation was generated by a machine and has not been reviewed by a person yet. Speak this language? Review it.

why! N240BU Motherboard Replacement

Views: 1.1K

View statistics:

Past 24 Hours:
2
Past 7 Days:
19
Past 30 Days:
87
All Time:
1,125
Comments: 3

3 comments on steps.

Completed: 1

1 person has marked this guide "completed." Will you be next?

Favorites: 0

No one has favorited (and subscribed to) this guide. Will you be the first?

Time Required: 30 minutes
Difficulty: Moderate
Community-Contributed Guide

An awesome member of our community made this guide. It was not created by iFixit staff.

why! N240BU Motherboard Replacement
    1. why! N240BU Motherboard Replacement, Battery: step 1, image 1 of 2 why! N240BU Motherboard Replacement, Battery: step 1, image 2 of 2
      • Start by unlocking the right locking latch.

      • Then, by simultaneously unlocking the left latch, lift the battery out of its socket.

      Ask FixBot

      Add Comment

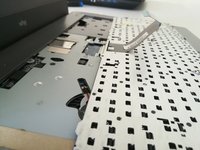
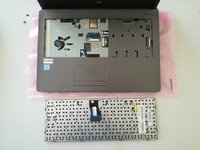
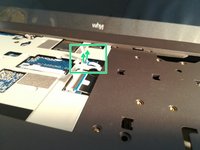
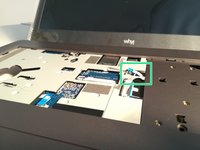
    1. why! N240BU Motherboard Replacement, The keyboard: step 2, image 1 of 3 why! N240BU Motherboard Replacement, The keyboard: step 2, image 2 of 3 why! N240BU Motherboard Replacement, The keyboard: step 2, image 3 of 3
      • Unscrew the circled screws in green and red

      • Put the computer in the position of the second image while pushing a paper clip into the hole of the screw circled in green until you hear a click

      • Lift the keyboard

      Ask FixBot

      Add Comment

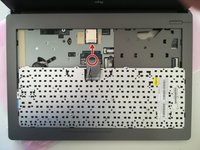
    2. why! N240BU Motherboard Replacement: step 3, image 1 of 3 why! N240BU Motherboard Replacement: step 3, image 2 of 3 why! N240BU Motherboard Replacement: step 3, image 3 of 3
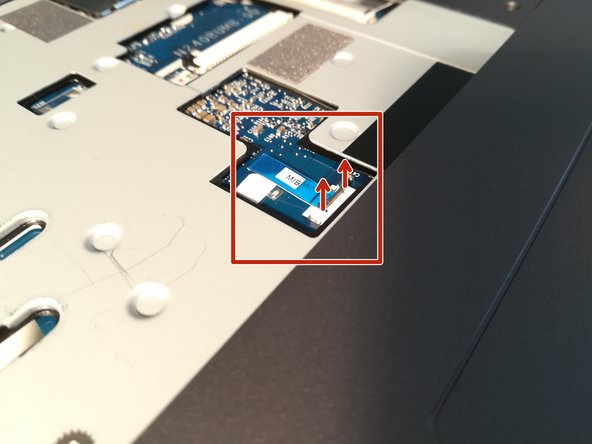
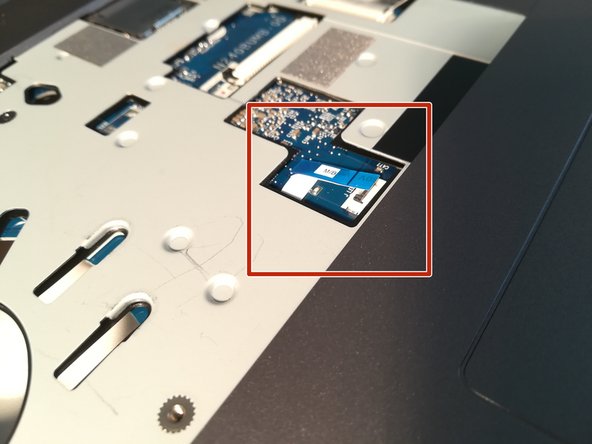
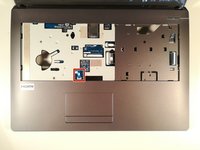
      • Disconnect the connector circled in red in the direction of the arrow

      Ask FixBot

      Add Comment

    1. why! N240BU Motherboard Replacement, Access to main components: step 4, image 1 of 2 why! N240BU Motherboard Replacement, Access to main components: step 4, image 2 of 2
      • Begin by spotting the dummy memory card.

      • Then, remove it and put it on your workplan.

      Ask FixBot

      Add Comment

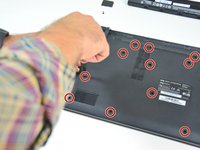
    2. why! N240BU Motherboard Replacement: step 5, image 1 of 3 why! N240BU Motherboard Replacement: step 5, image 2 of 3 why! N240BU Motherboard Replacement: step 5, image 3 of 3
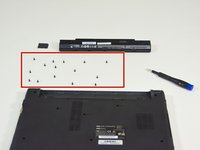
      • Locate the 15 screws that hold the bottom cover of the device in place.

      • Unscrew them and place them on your work surface.

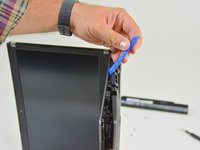
      • Then, un-clip the bottom cover, starting with the side shown in the third picture.

      Ask FixBot

      Add Comment

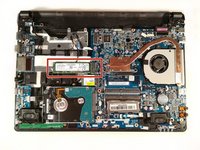
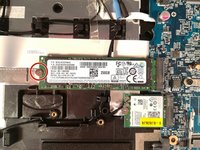
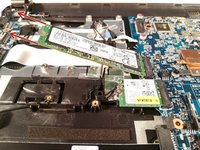
    1. why! N240BU Motherboard Replacement, SSD Hard Drive: step 6, image 1 of 3 why! N240BU Motherboard Replacement, SSD Hard Drive: step 6, image 2 of 3 why! N240BU Motherboard Replacement, SSD Hard Drive: step 6, image 3 of 3
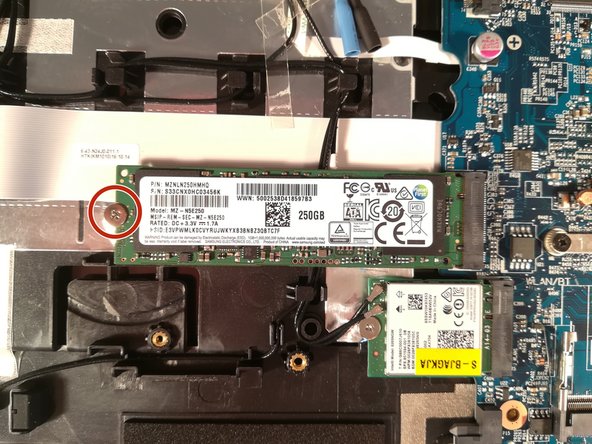
      • Unscrew the screw circled in red.

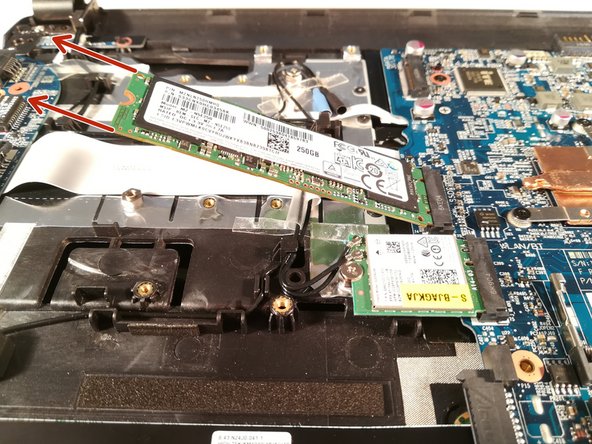
      • Pull out the M.2 SSD in the direction of the red arrows.

      Ask FixBot

      Add Comment

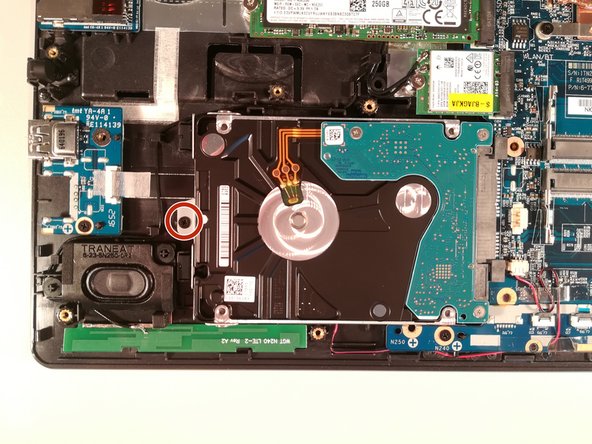
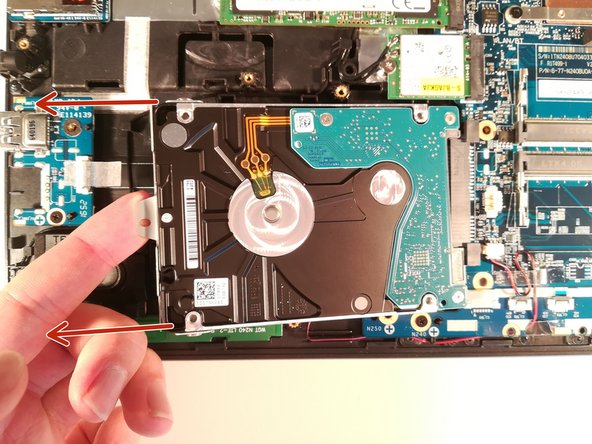
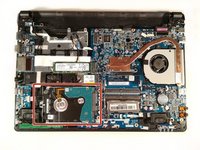
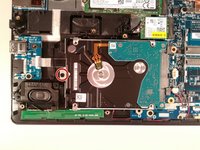
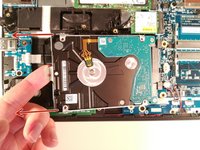
    1. why! N240BU Motherboard Replacement, Hard Drive (mass storage): step 7, image 1 of 3 why! N240BU Motherboard Replacement, Hard Drive (mass storage): step 7, image 2 of 3 why! N240BU Motherboard Replacement, Hard Drive (mass storage): step 7, image 3 of 3
      • Remove the screw circled in red.

      • Lift up the hard drive.

      • Remove the hard drive in the direction of the red arrows.

      Ask FixBot

      Add Comment

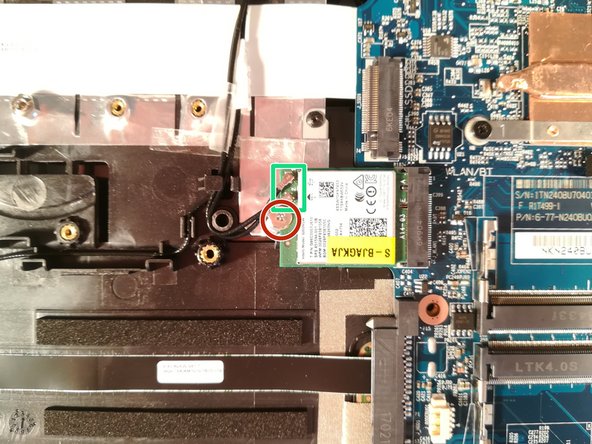
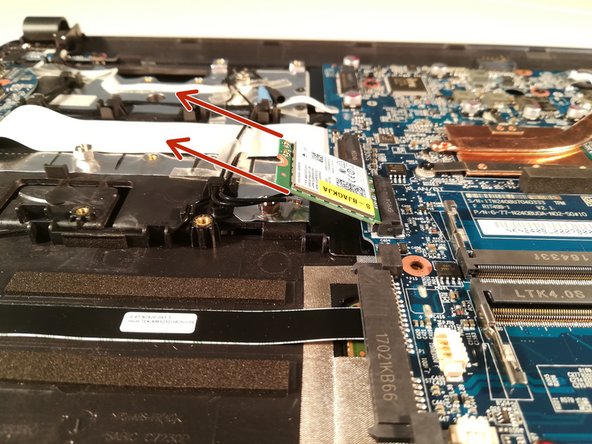
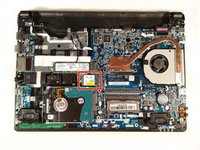
    1. why! N240BU Motherboard Replacement, WLAN Card: step 8, image 1 of 3 why! N240BU Motherboard Replacement, WLAN Card: step 8, image 2 of 3 why! N240BU Motherboard Replacement, WLAN Card: step 8, image 3 of 3
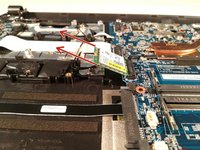
      • Remove the screw circled in red.

      • Disconnect the two connectors marked in green.

      • Remove the WLAN card.

      Ask FixBot

      Add Comment

    1. why! N240BU Motherboard Replacement, RAM: step 9, image 1 of 3 why! N240BU Motherboard Replacement, RAM: step 9, image 2 of 3 why! N240BU Motherboard Replacement, RAM: step 9, image 3 of 3
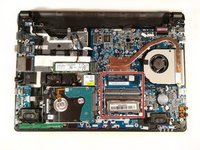
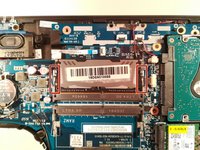
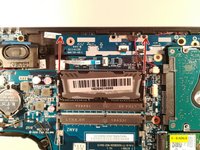
      • Press down on the two brackets boxed in red.

      • Remove the RAM stick in the direction of the red arrows.

      Ask FixBot

      Add Comment

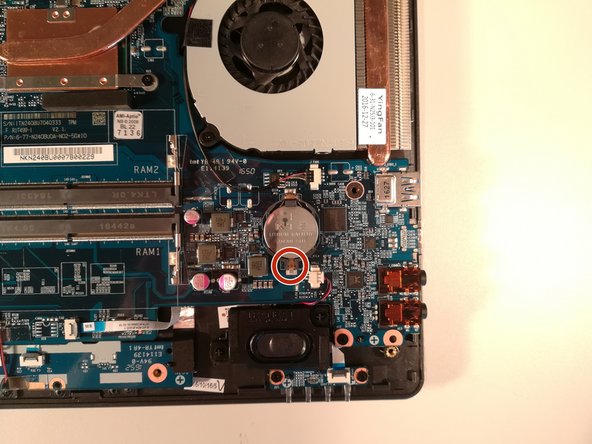
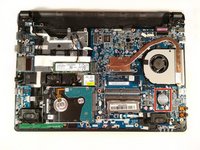
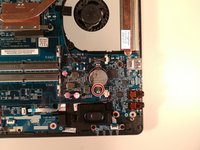
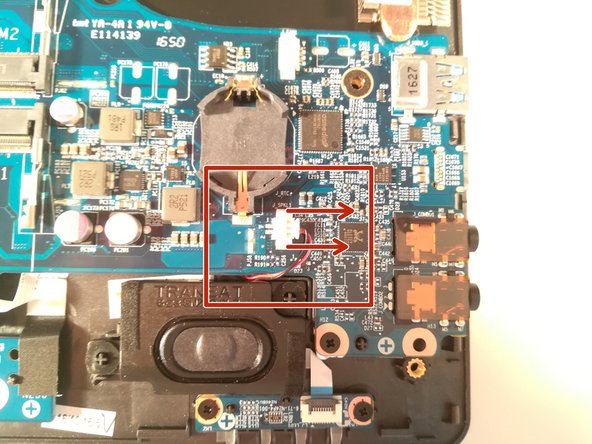
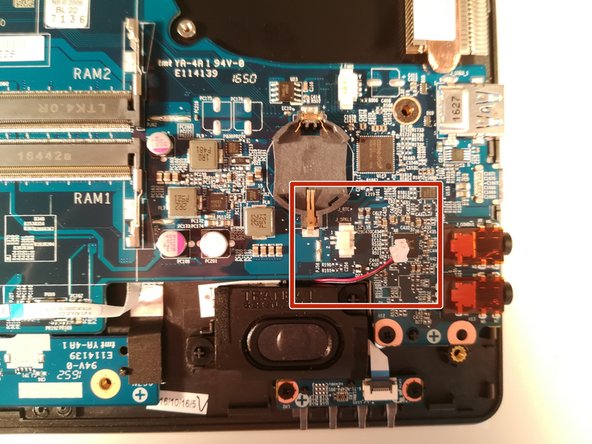
    1. why! N240BU Motherboard Replacement, CMOS Battery: step 10, image 1 of 2 why! N240BU Motherboard Replacement, CMOS Battery: step 10, image 2 of 2
      • Press with a screwdriver in the red circled area to spread the base of the battery

      • Remove the battery by holding the screwdriver down

      Ask FixBot

      Add Comment

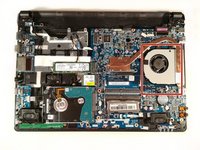
    1. why! N240BU Motherboard Replacement, Fan: step 11, image 1 of 2 why! N240BU Motherboard Replacement, Fan: step 11, image 2 of 2
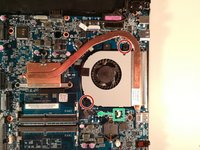
      • Remove the two screws circled in red.

      • Disconnect the connector boxed in green in the direction of the green arrow.

      • Remove the cooling fan by lifting it up.

      Ask FixBot

      Add Comment

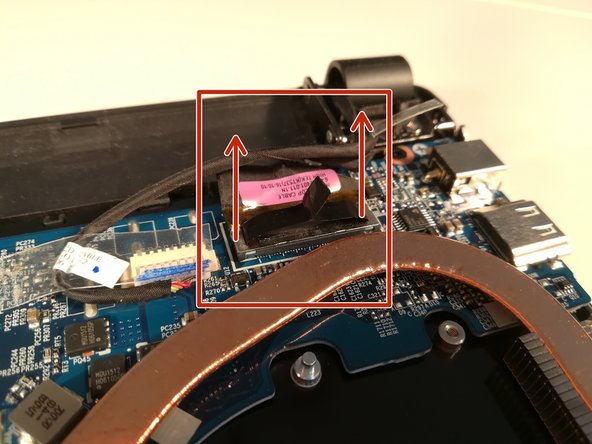
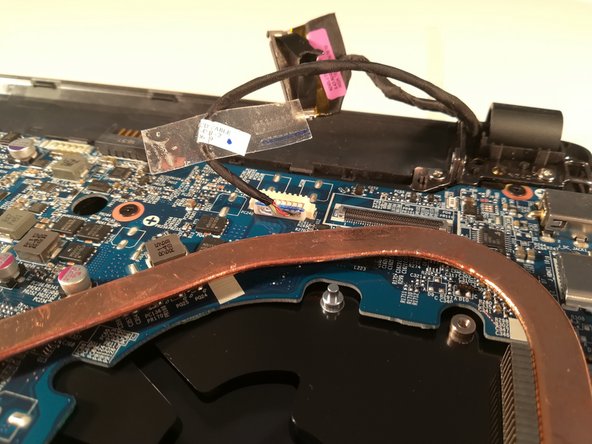
    1. why! N240BU Motherboard Replacement, Motherboard: step 12, image 1 of 3 why! N240BU Motherboard Replacement, Motherboard: step 12, image 2 of 3 why! N240BU Motherboard Replacement, Motherboard: step 12, image 3 of 3
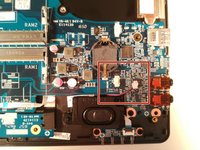
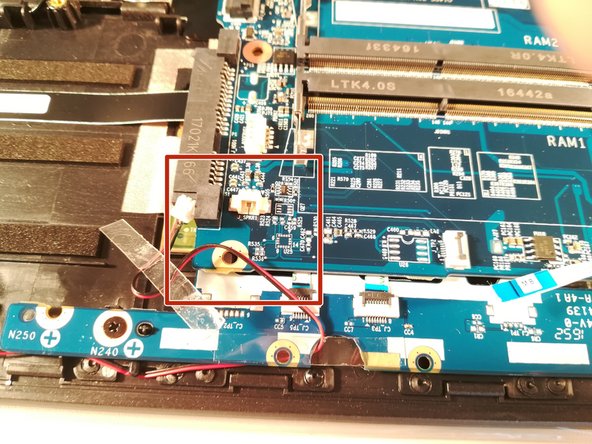
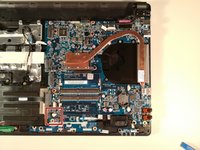
      • Lift the retaining flap off of the connector boxed in red.

      • Disconnect the connector boxed in red.

      Ask FixBot

      Add Comment

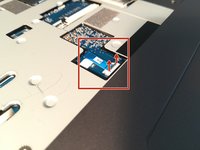
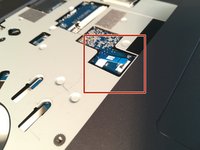
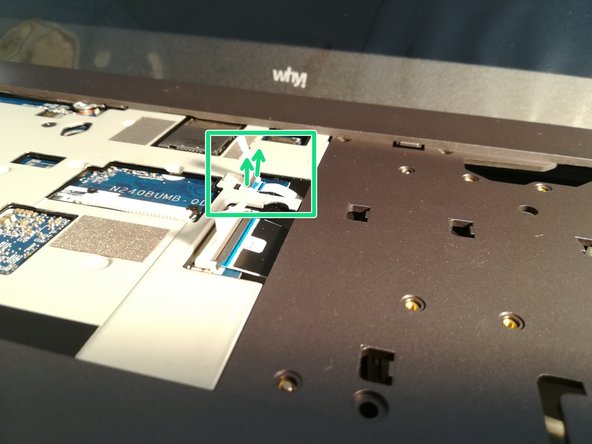
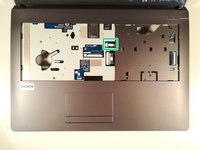
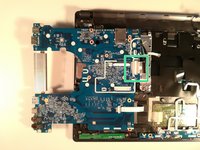
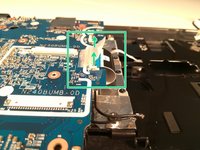
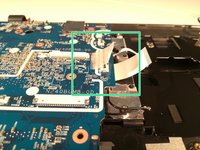
    2. why! N240BU Motherboard Replacement: step 13, image 1 of 3 why! N240BU Motherboard Replacement: step 13, image 2 of 3 why! N240BU Motherboard Replacement: step 13, image 3 of 3
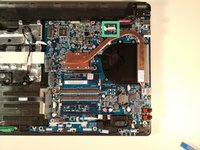
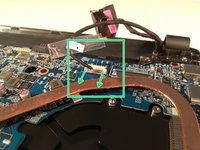
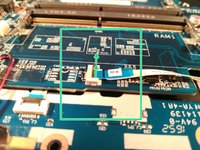
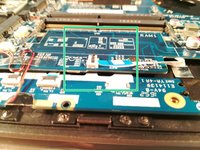
      • Lift the flap that holds the connector (framed in green).

      • Disconnect the connector (framed in green).

      Ask FixBot

      Add Comment

    3. why! N240BU Motherboard Replacement: step 14, image 1 of 3 why! N240BU Motherboard Replacement: step 14, image 2 of 3 why! N240BU Motherboard Replacement: step 14, image 3 of 3
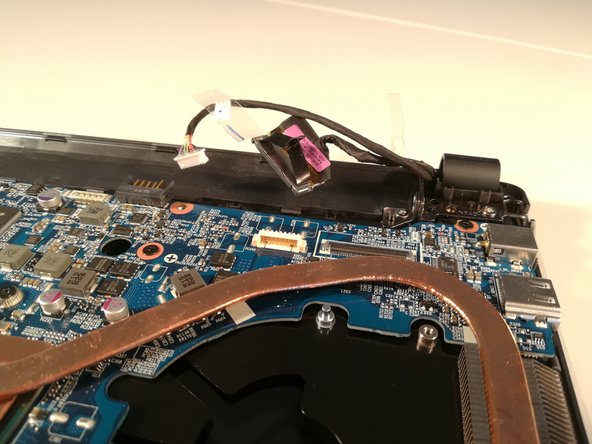
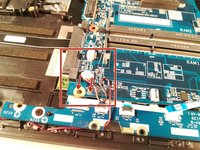
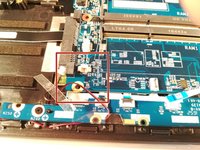
      • Disconnect the connector marked in red by lifting it up.

      Ask FixBot

      Add Comment

    4. why! N240BU Motherboard Replacement: step 15, image 1 of 3 why! N240BU Motherboard Replacement: step 15, image 2 of 3 why! N240BU Motherboard Replacement: step 15, image 3 of 3
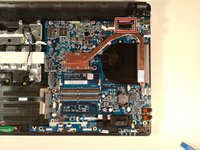
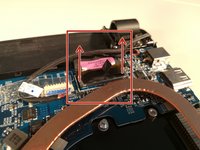
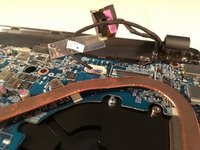
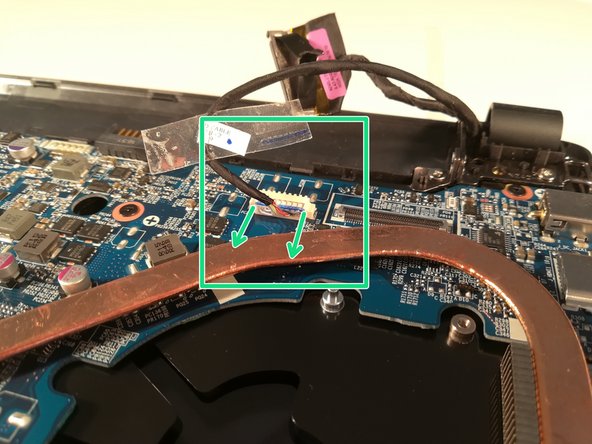
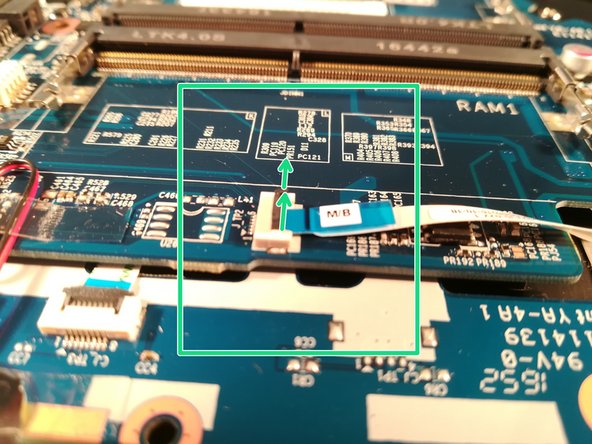
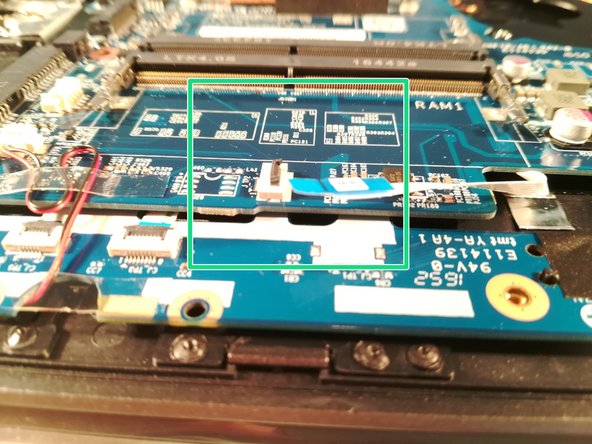
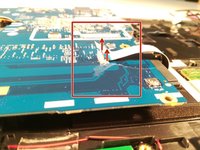
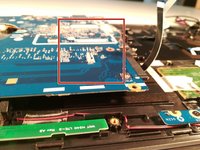
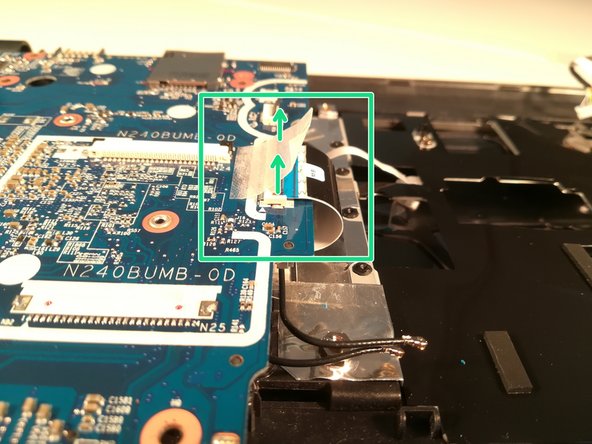
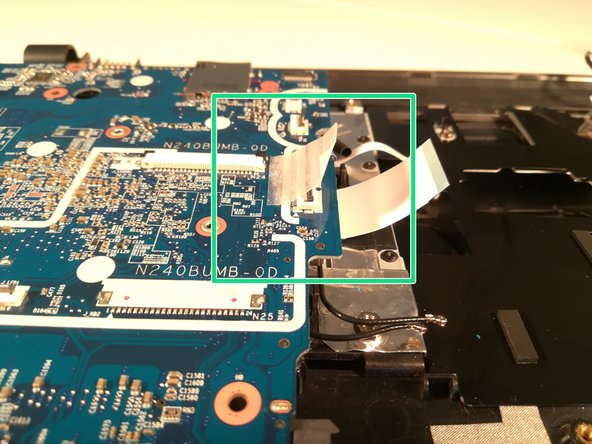
      • Disconnect the connector marked in green by pulling it in the direction of the green arrows.

      Ask FixBot

      Add Comment

    5. why! N240BU Motherboard Replacement: step 16, image 1 of 3 why! N240BU Motherboard Replacement: step 16, image 2 of 3 why! N240BU Motherboard Replacement: step 16, image 3 of 3
      • Disconnect the connector marked in red by pulling it in the direction of the red arrows.

      Ask FixBot

      Add Comment

    6. why! N240BU Motherboard Replacement: step 17, image 1 of 3 why! N240BU Motherboard Replacement: step 17, image 2 of 3 why! N240BU Motherboard Replacement: step 17, image 3 of 3
      • Lift the black retaining flap that holds the connector marked in green.

      • Disconnect the connector marked in green.

      Ask FixBot

      Add Comment

    7. why! N240BU Motherboard Replacement: step 18, image 1 of 3 why! N240BU Motherboard Replacement: step 18, image 2 of 3 why! N240BU Motherboard Replacement: step 18, image 3 of 3
      • Disconnect the connector marked in red by pulling it in the direction of the red arrows.

      Ask FixBot

      Add Comment

    8. why! N240BU Motherboard Replacement: step 19, image 1 of 3 why! N240BU Motherboard Replacement: step 19, image 2 of 3 why! N240BU Motherboard Replacement: step 19, image 3 of 3
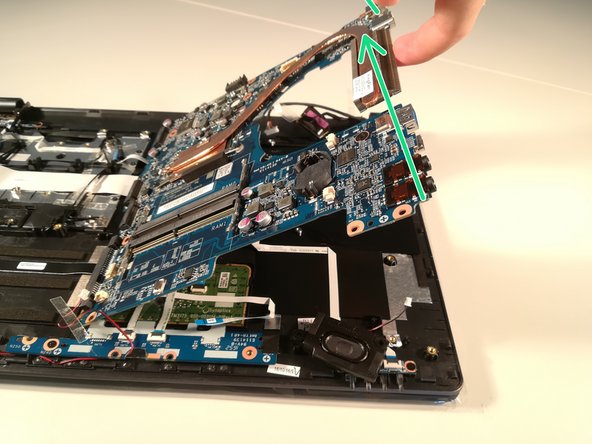
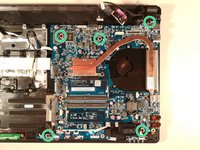
      • Unscrew the five screws circled in green.

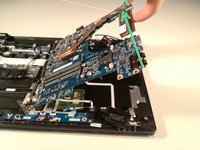
      • Lift the motherboard by taking it by the radiator, as in the second picture.

      Ask FixBot

      Add Comment

    9. why! N240BU Motherboard Replacement: step 20, image 1 of 3 why! N240BU Motherboard Replacement: step 20, image 2 of 3 why! N240BU Motherboard Replacement: step 20, image 3 of 3
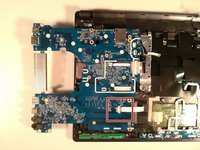
      • Lift the retaining flap that holds the connector marked in red.

      • Disconnect the connector marked in red.

      Ask FixBot

      Add Comment

    10. why! N240BU Motherboard Replacement: step 21, image 1 of 3 why! N240BU Motherboard Replacement: step 21, image 2 of 3 why! N240BU Motherboard Replacement: step 21, image 3 of 3
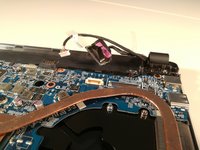
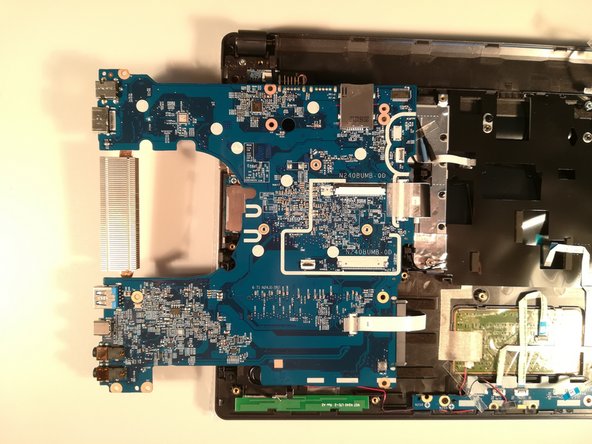
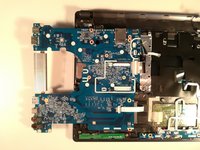
      • Lift the retaining flap that holds the connector framed in green.

      • Disconnect the connector framed in green.

      • Remove the motherboard from the housing.

      Ask FixBot

      Add Comment

Conclusion

To reassemble your device, follow these instructions in reverse order.

Cancel: I did not complete this guide.

One other person completed this guide.

Special thanks to these translators:

fr en

100%

These translators are helping us fix the world! Want to contribute?
Start translating ›

Felice Suglia

Member since: 06/15/13

33,634 Reputation

283 Guides authored

0 Guide Comments

Add Comment

View Statistics:

Past 24 Hours: 2

Past 7 Days: 19

Past 30 Days: 87

All Time: 1,125