scala rider Q2 multiSet battery replacement

oldturkey03 and 2 other contributors
Last updated on Mar 31, 2020
Views: 9.4K
View statistics:
- Past 24 Hours:
- 3
- Past 7 Days:
- 26
- Past 30 Days:
- 111
- All Time:
- 9,414
Comments: 5
2 comments on steps, 3 guide comments.
Go to guide commentsCompleted: 10 11
10 people have marked this guide "completed." Will you be next?
11 people have marked this guide "completed." Including you — great job!
Favorites: 0 1
No one has favorited (and subscribed to) this guide. Will you be the first?
1 person has favorited (and subscribed to) this guide — and that's you!
Community-Contributed Guide
An awesome member of our community made this guide. It was not created by iFixit staff.
Introduction
Go to step 1 ↓This bike-to-bike intercom system was given to me by a friend for repair. He is an avid bike rider and purchased this set a while ago but did not have time to ever use it. Once he did try to charge it it would not take a charge. I assumed that it was the batteries since they have never been charged. They may have been depleted below the threshold of where they would accept a charge. When he called the cardo support number he was told that "There is no out of warranty service for scala rider batteries." He would need to purchase a new scala rider headset in this case. Really? Lets check this myth about the "not user serviceable" battery.
What you need
Parts
Tools


-
-
-
scala rider Q2 bike-to-bike intercom. Retail price $379.99 and never used.
-
Individual unit with carrying pouch
-
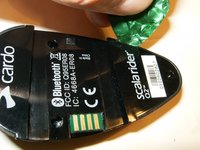
Back of the bluetooth intercom device
 Ask FixBot
-
-
-
The unit is held together by 4 T6 screws.
-
Using the proper driver makes the screw removal simple and quick
-
All screws have the same length, no need to separate them.
-
-
-
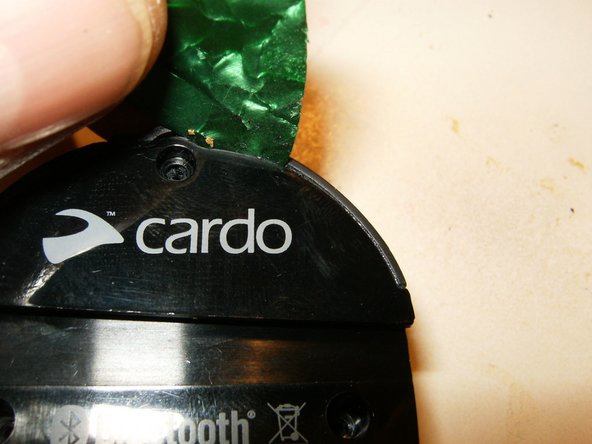
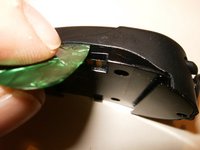
Insert a small guitar pick or similar tool to separate the individual halves. Start by the charging port end since this seems to be a better entry and not quite as tight.
-
Continue to use the pick left and right of the charging port. As the pick advances, one can feel the separation of the adhesive.
-
Multiple passes along the sides of the halves will be necesarry
-
-
-
-
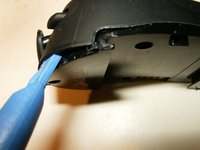
Continue to advance the tool around the joint. It will take multiple passes to loosen the adhesive.
-
Once the joint widens, a plastic opening tool can also be used.
-
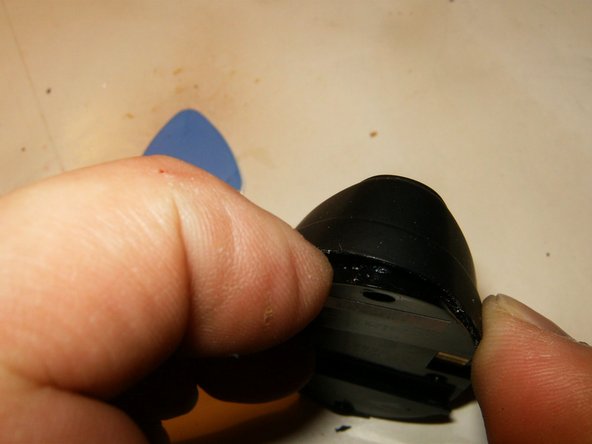
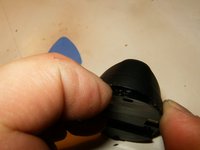
Once loosened enough, try to separate the parts manually.
-
-
-
Try to remove it carefully but with some force
-
Do not pry just pull and move along.
-
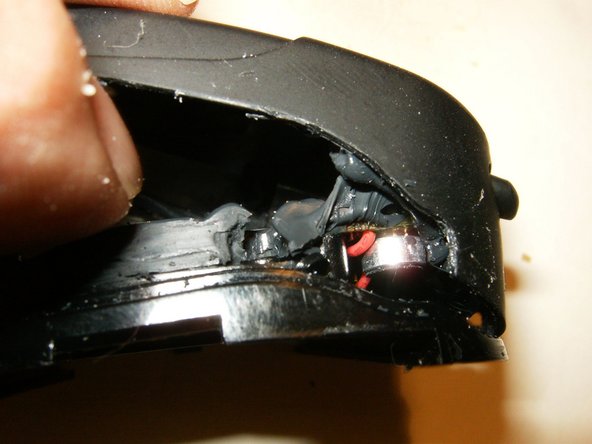
As the halves separate the vast amount of black silicone like adhesive becomes evident
-
-
-
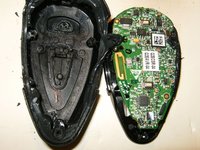
Finally opened and the silicone like adhesive is everywhere.
-
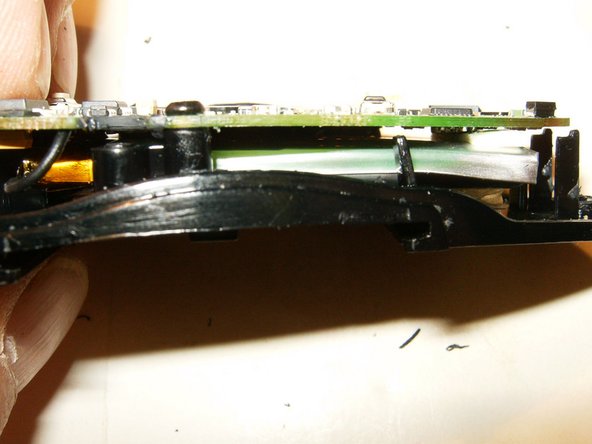
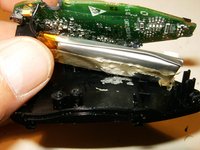
The battery is sandwiched between the logicboard and the bottom of the case.
-
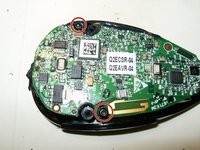
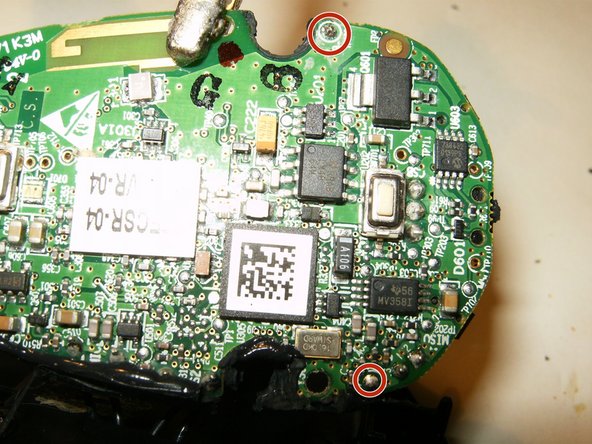
The logic board is fastened to the case by two T6 screws
-
-
-
Both screws are the same length.
-
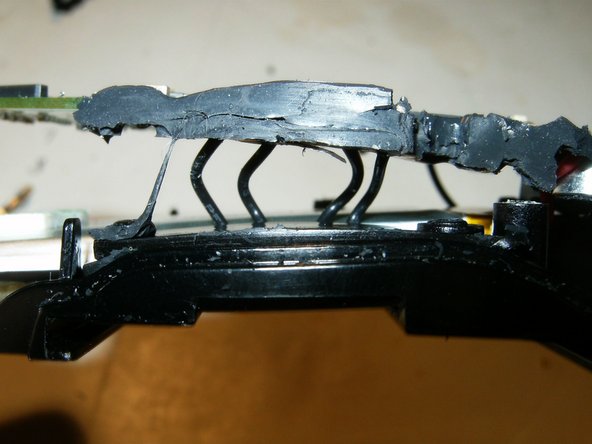
Lift the logic board gently of the case. Do not try to totally remove the board. There will be four wires that attach the board to the case as well as the battery cables.
-
With the board lifted remove the battery from the case. It is adhered with double sided tape and comes of relatively easy
-
-
-
Rotate the board with the battery to the side where the four cables attach to the case
-
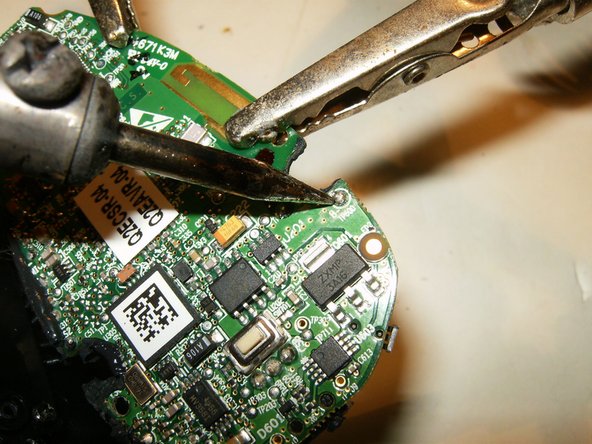
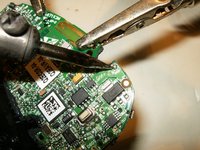
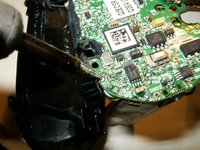
Identify the solder points for the battery cables
-
Unsolder one wire
-
-
-
Then the next
-
remove the battery
-
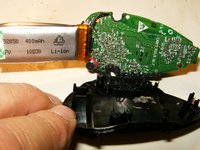
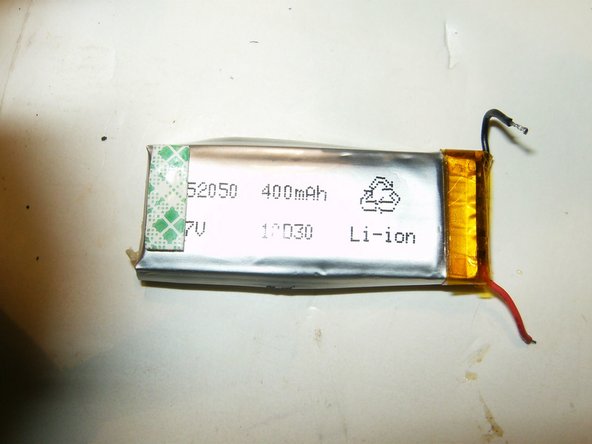
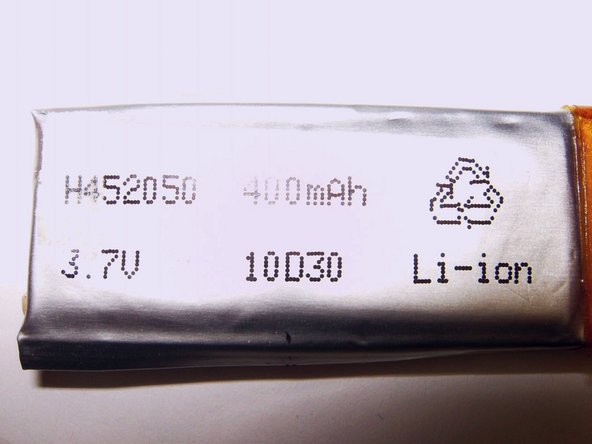
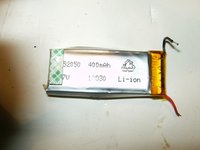
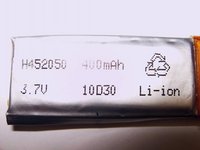
Here is the battery finally removed. Replacements are not readily available. The battery dimensions are 1.9" x 0.75" x 0.16" and it is a 3.7V 400mAh Li-Ion battery.
-
-













To reassemble your device, follow these instructions in reverse order.
Cancel: I did not complete this guide.
10 other people completed this guide.