Introduction
Is your ring Indoor Cam's camera malfunctioning, the image not showing clearly, or not showing at all? Then, you can use this guide as a walkthrough to replace the camera.
While replacing the camera you will need to detach small white leads from sockets on the motherboard, so make sure to handle them with care.
While doing so you'll need to make sure your Indoor Cam isn't connected to any electrical circuits and that you're using ESD-safe tools in order to avoid electrical injuries
What you need
-
-
-
Place the cam with the base facing towards you.
-
Loosen the 21.6 mm silver screw using a Phillips #1 screwdriver.
-
Remove the base from the rest of the camera.
 Ask FixBot
-
-
-
Place the cam with the top facing toward you.
-
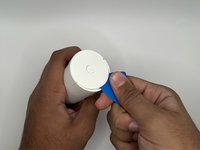
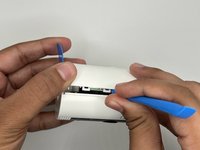
Insert the iFixit opening pick into the crease at the top of the camera.
-
Slide the pick along the crease until you can separate the top cover of the camera from the backing.
-
Leave the pick in the crease.
-
-
-
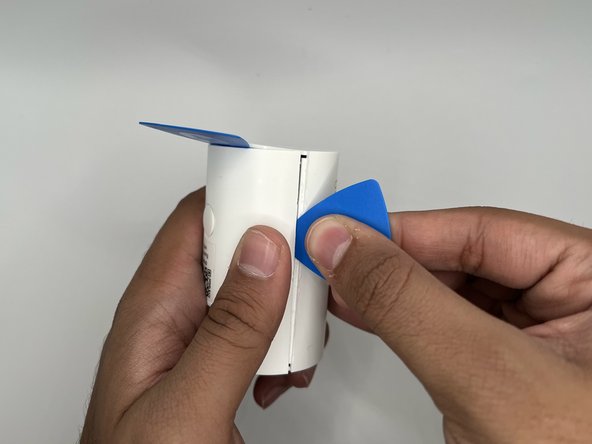
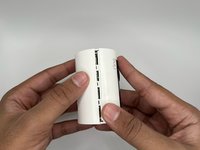
Place the camera on its side where the horizontal crease is facing you.
-
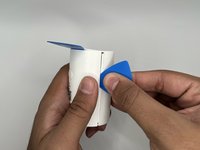
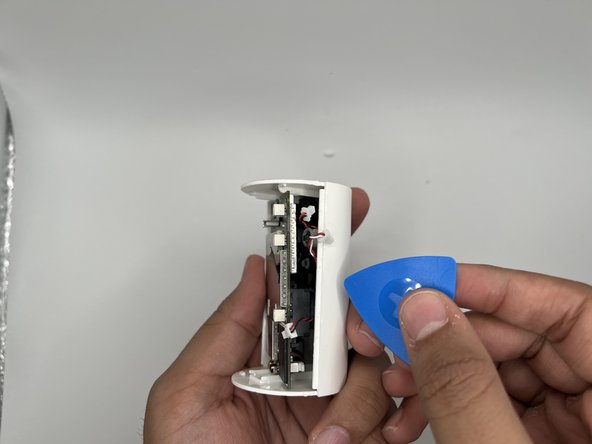
Insert another iFixit opening pick into the crease between the front and back portions of the camera.
-
-
-
-
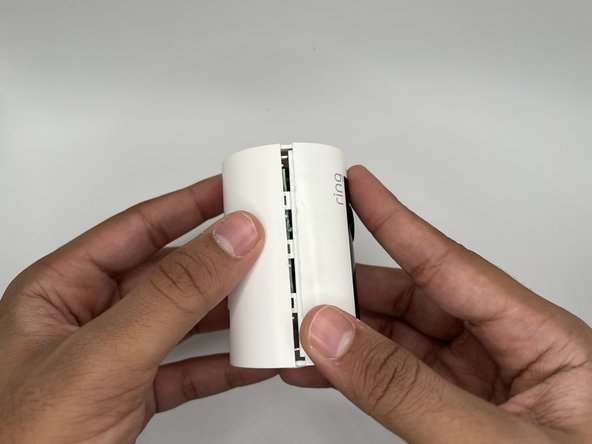
Slide the pick along the vertical crease until you can remove the back cover of the cam, using the opening tool to pry the portions apart.
-
-
-
-
-
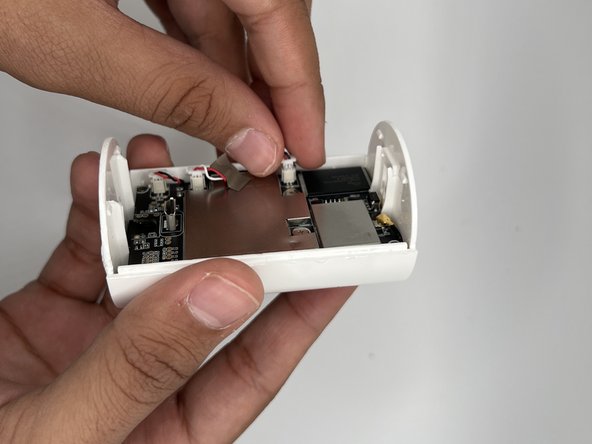
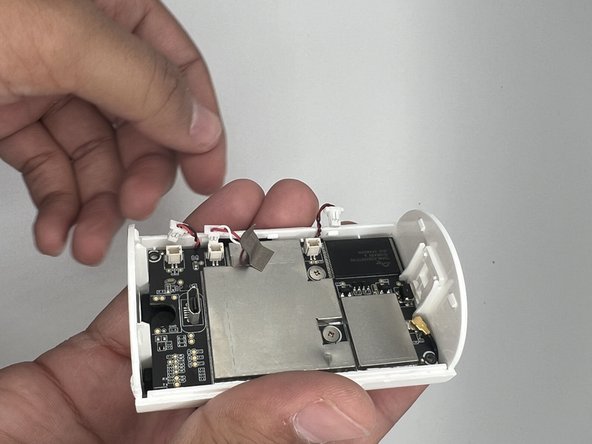
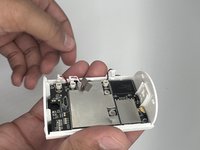
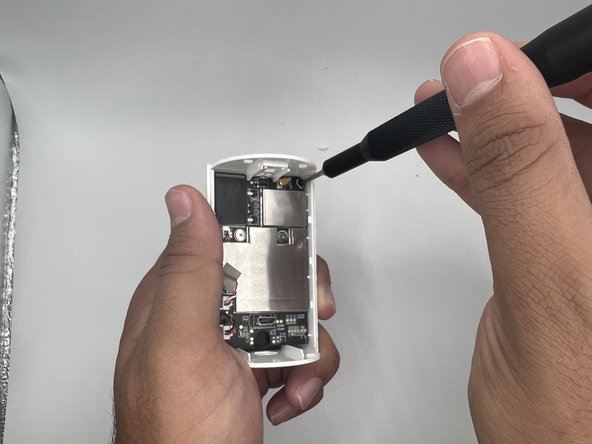
Gently remove the three white leads from their sockets on the top of the motherboard.
-
-
-
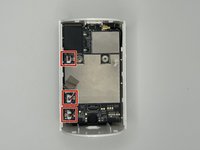
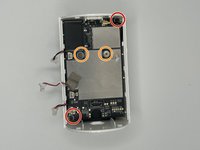
Using a Phillips #00 screwdriver, remove the two 4.7 mm black screws located in the corners of the motherboard.
-
Using a Phillips #00 screwdriver, remove the two silver 5 mm screws in the center of the motherboard.
-
-
-
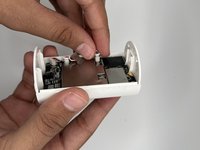
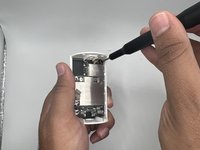
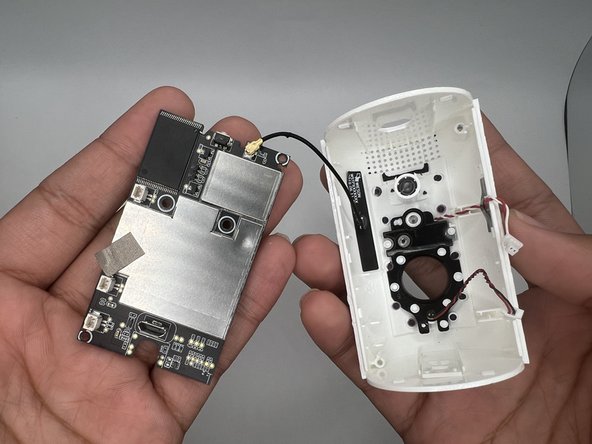
Use the iFixit opening pick to pry the motherboard from the body of the camera.
-
-
-
-
-
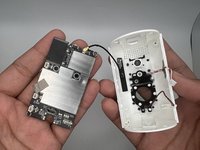
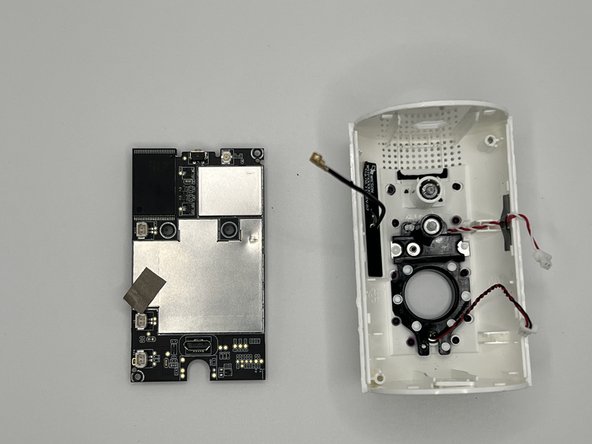
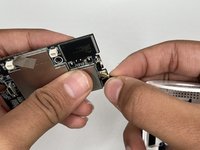
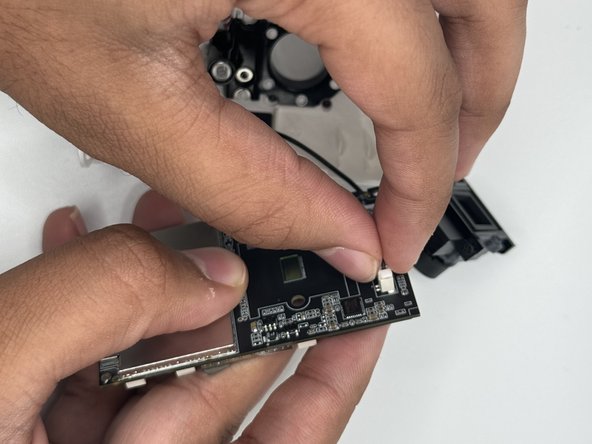
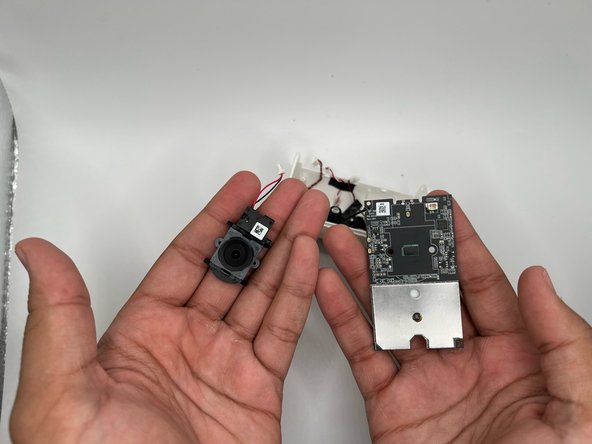
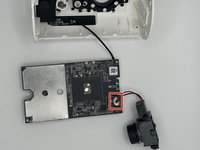
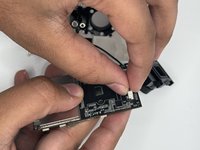
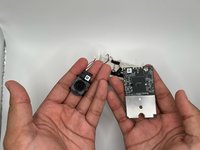
Gently turn to the motherboard's backside and remove the white leads connecting the camera to the socket in the motherboard.
-
Cautiously remove the camera.
-
-



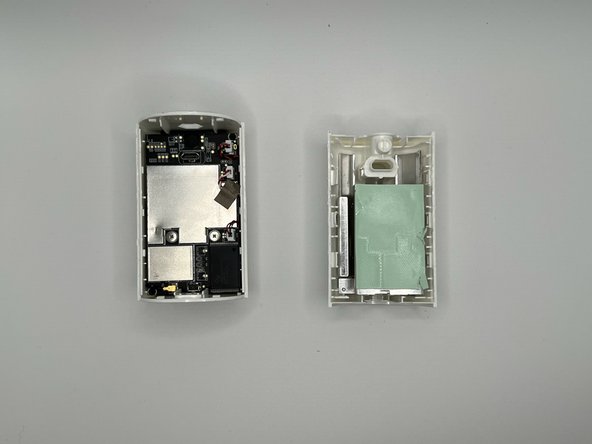





To reassemble your device, follow these instructions in reverse order.

Team

University of North Texas, Team 4-13, Harold Fall 2023 Member of University of North Texas, Team 4-13, Harold Fall 2023
UNT-HAROLD-F23S4G13
4 Members
48 Guides authored
