Free Shipping on Domestic Orders $75+

jp.ik Leap T304 Keyboard Replacement

What you need

  1. jp.ik Leap T304 Keyboard Replacement, Rear Cover: step 1, image 1 of 1
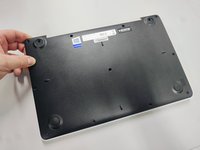
    • First ensure your laptop is turned off and check if you have the necessary tools

    Ask FixBot

    Add Comment

  2. jp.ik Leap T304 Keyboard Replacement: step 2, image 1 of 2 jp.ik Leap T304 Keyboard Replacement: step 2, image 2 of 2
    • All screws are identified by circles. Pay special attention to the yellow circles, as the rubber feet hide screws.

    Ask FixBot

    Add Comment

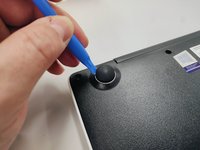
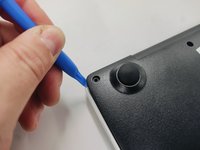
  3. jp.ik Leap T304 Keyboard Replacement: step 3, image 1 of 3 jp.ik Leap T304 Keyboard Replacement: step 3, image 2 of 3 jp.ik Leap T304 Keyboard Replacement: step 3, image 3 of 3
    • With the opening tool, remove a rubber foot.

    • For this action you will have to exert some force, because the foot is glued with a resistant glue.

    Ask FixBot

    Add Comment

  4. jp.ik Leap T304 Keyboard Replacement: step 4, image 1 of 1
    • Remove all screws with a Philips screwdriver PH1

    • All screws are the same so don't worry about identifying them.

    Ask FixBot

    Add Comment

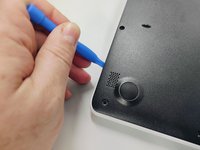
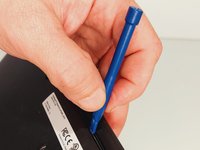
  5. jp.ik Leap T304 Keyboard Replacement: step 5, image 1 of 3 jp.ik Leap T304 Keyboard Replacement: step 5, image 2 of 3 jp.ik Leap T304 Keyboard Replacement: step 5, image 3 of 3
    • With the plastic tool, insert between the plastics and gently pry open.

    • With your fingers continue to force open the bottom cover on the side indicated in the figure.

    • You will feel and hear several clicks, perfectly normal, nothing is breaking. Remove the cover completely.

    Ask FixBot

    Add Comment

  6. jp.ik Leap T304 Keyboard Replacement: step 6, image 1 of 1
    • Finally, we have the laptop open and ready to replace most of its components. Look elsewhere on how to replace a component.

    • To close the laptop just follow this guide in reverse.

    Ask FixBot

    Add Comment

  7. jp.ik Leap T304 Keyboard Replacement, Battery Replacement or Removal: step 7, image 1 of 1
    • Be careful. Don't touch, if not necessary, any electrical part of the product and ensure you're properly grounded.

    Ask FixBot

    Add Comment

  8. jp.ik Leap T304 Keyboard Replacement: step 8, image 1 of 1
    • Remove mylers shown in the picture.

    • Save them for the battery assembly steps.

    Ask FixBot

    Add Comment

  9. jp.ik Leap T304 Keyboard Replacement: step 9, image 1 of 2 jp.ik Leap T304 Keyboard Replacement: step 9, image 2 of 2
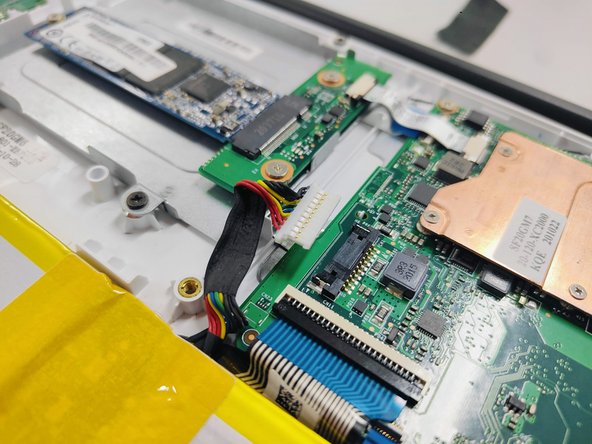
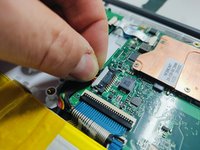
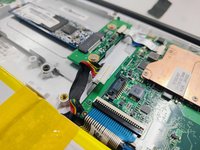
    • Disconnect the cable marked in the figure gently, pulling it out of the connector.

    Ask FixBot

    Add Comment

  10. jp.ik Leap T304 Keyboard Replacement: step 10, image 1 of 2 jp.ik Leap T304 Keyboard Replacement: step 10, image 2 of 2
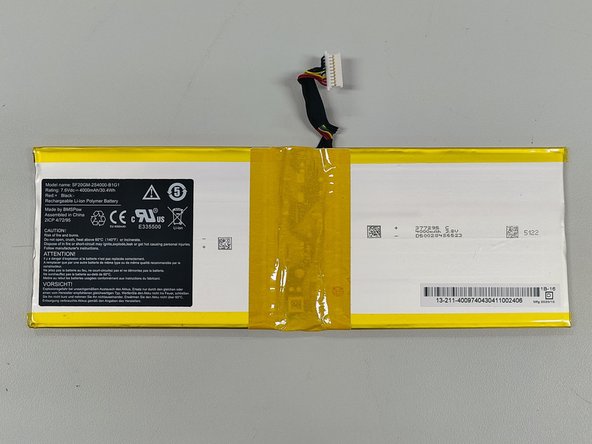
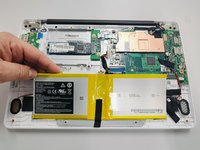
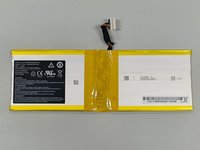
    • Gently remove the battery.

    • CAUTION!!

    • Some products may have this battery fixed with double-sided adhesive tape. In these cases, use a wide spatula to remove the battery without bending it.

    • SAFETY WARNING!

    • Never bend or puncture the battery. Danger of explosion. If you detect a swollen or damaged battery, handle it with extreme care and place it in a protective container.

    Ask FixBot

    Add Comment

  11. jp.ik Leap T304 Keyboard Replacement, Keyboard: step 11, image 1 of 1
    • After remove the battery, you need to remove the black mylar that covers keyboard connector.

    Ask FixBot

    Add Comment

  12. jp.ik Leap T304 Keyboard Replacement: step 12, image 1 of 2 jp.ik Leap T304 Keyboard Replacement: step 12, image 2 of 2
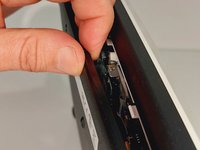
    • After removing the adhesive tape covering the connector, use the plastic tool to carefully lift the black component that locks the keyboard tape.

    • Then gently pull the keyboard cable and release it.

    Ask FixBot

    Add Comment

  13. jp.ik Leap T304 Keyboard Replacement: step 13, image 1 of 1
    • After you need to remove the I/O board. It is fixed with two screws.

    Ask FixBot

    Add Comment

  14. jp.ik Leap T304 Keyboard Replacement: step 14, image 1 of 1
    • Follow the same procedure as to disconnect the keyboard flat cable for the cabe attached to the I/O board.

    Ask FixBot

    Add Comment

  15. jp.ik Leap T304 Keyboard Replacement: step 15, image 1 of 1
    • Under the I/O board there's a hole that you need to insert a tool and push the keyboard at the same time you pull the plastic as show in the picture. This plastic holds the keyboard.

    • There are more holders, but you just need to open one, the others will sag when you pull the keyboard smoothly

    Ask FixBot

    Add Comment

  16. jp.ik Leap T304 Keyboard Replacement: step 16, image 1 of 2 jp.ik Leap T304 Keyboard Replacement: step 16, image 2 of 2
    • Smoothly lift the ktboard from its position.

    Ask FixBot

    Add Comment

  17. jp.ik Leap T304 Keyboard Replacement: step 17, image 1 of 1
    • Finally the keyboard is detached. When assemble the new keyboard do all this procedure in reverse order, taking extra care to don't touch the cable contacts, or bend them.

    Ask FixBot

    Add Comment

Conclusion

To reassemble your device, follow these instructions in reverse order.

Cancel: I did not complete this guide.

One other person completed this guide.

Nelson Oliveira

Member since: 02/03/23

741 Reputation

4 Guides authored

2 Guide Comments

Are US and portueguese/latin keyboards interchangeable for this model?

Atahan Muhtarbekov - Reply Share

Yes, 100% interchangeable.

Nelson Oliveira - Reply Share

Add Comment

View Statistics:

Past 24 Hours: 1

Past 7 Days: 8

Past 30 Days: 51

All Time: 1,223