
ionvac SmartClean V2 Filter Replacement

Dylan and 2 other contributors
Last updated on Dec 27, 2023
Views: 1.6K
View statistics:
- Past 24 Hours:
- 2
- Past 7 Days:
- 15
- Past 30 Days:
- 98
- All Time:
- 1,560
Comments: 0
No one has left comments on this guide. Will you be first?
Go to guide commentsCompleted: 0 1
No one has marked this guide "completed." Will you be the first?
1 person has marked this guide "completed." It's you — great job!
Favorites: 0 1
No one has favorited (and subscribed to) this guide. Will you be the first?
1 person has favorited (and subscribed to) this guide — and that's you!
Featured Student Guide
This guide has been the hard work of our awesome students and is found to be exceptionally cool by the iFixit staff.
Introduction
Go to step 1 ↓This guide is meant to help you disassemble and empty the contents inside of the ionvac. While the dustbin should be emptied after each use, it’s necessary to clean the suction filter once a week using the brush cleaner in order to continuously promote a strong suction (twice a week if your household has pets). Additionally, the filter should be replaced every 2 months.
This is a quick and easy replacement, and you will not need any tools to complete it. Remember to remove and reinstall all parts gently.
-
-
-
Feel along the top of the ionvac to find a curved dent or groove.
-
Lift the groove in order to reveal both the sharp cleaning tool and the dustbin.
 Ask FixBot
-
-
-
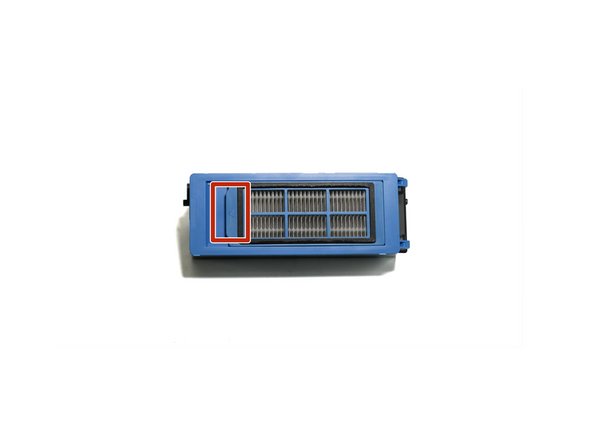
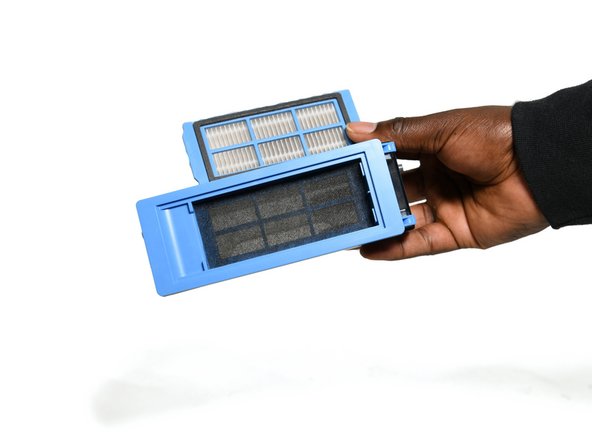
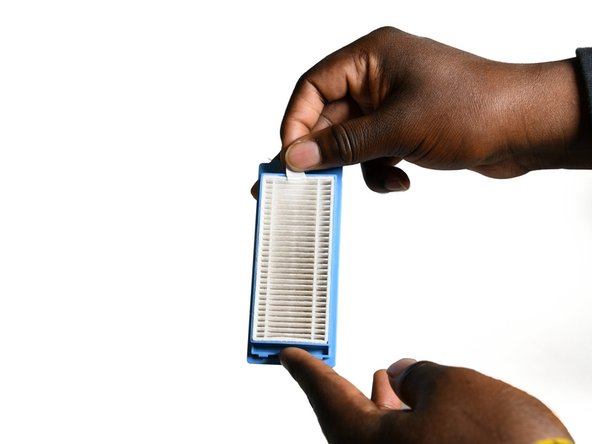
Open the small tab on the front of the blue filter unit and pull the white filter out.
-
-
-
-
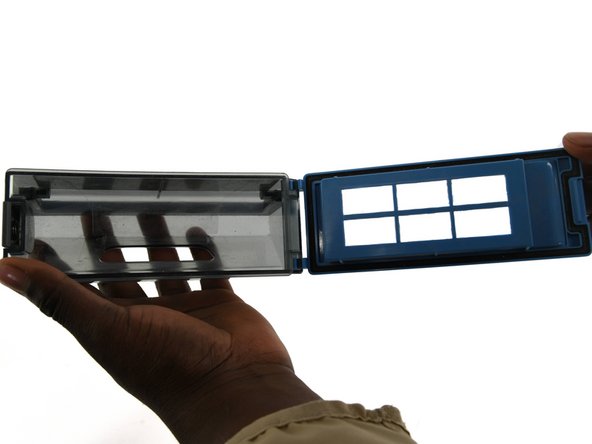
To open the dustbin, face the filter towards you and press the gray button on the left side of the blue trapdoor.
-
Empty all contents inside the dustbin.
-
-


To reassemble your device, follow these instructions in reverse order.

Team

University of Colorado Denver, Team 1-1, Campeau Fall 2023 Member of University of Colorado Denver, Team 1-1, Campeau Fall 2023
UCDENVER-CAMPEAU-F23S1G1
7 Members
132 Guides authored
