
iVIEW-754TPC Digitizer Replacement

Robert Clark and one other contributor
Last updated on Jun 17, 2015
Views: 1.5K
View statistics:
- Past 24 Hours:
- 3
- Past 7 Days:
- 26
- Past 30 Days:
- 106
- All Time:
- 1,539
Comments: 0
No one has left comments on this guide. Will you be first?
Go to guide commentsCompleted: 1 2
1 person has marked this guide "completed." Will you be next?
2 people have marked this guide "completed." Including you — great job!
Favorites: 1 2
1 person has favorited (and subscribed to) this guide. Will you be next?
2 people have favorited (and subscribed to) this guide — including you!
Introduction
Go to step 1 ↓The digitizer is the piece of your tablet you touch every time you use it. If your digitizer is cracked or no longer responding to touches then it will render your tablet useless. Use this guide to replace the digitizer on your device.
What you need
Tools
-
-
Spudger4.9
-
-


-
-
-
Use plastic opening tool to release the clips holding the device together. The clips will take a small amount of pressure to release. Once you have the plastic opening tool inserted, use a twisting action to release the clips. Start from bottom of device and work all the way around.
 Ask FixBot
-
-
-
-
-
Use flat side of the spudger to get under battery and use pressure to release from glue. Do this all the way around battery until it comes off.
-
-
-
-
Tool used on this step:Tweezers$4.99
-
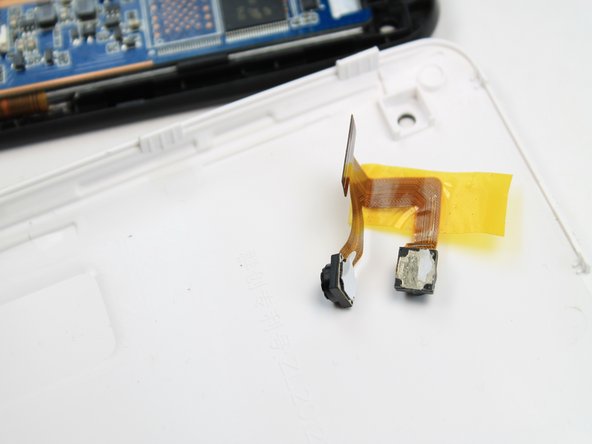
The camera module is located directly under the top right corner of the back cover.
-
Peel back the tape holding down the camera ribbon connector using a pair of tweezers.
-
If the front facing camera does not come out, gently lift it out with a pair of tweezers
-
-
-
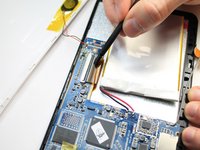
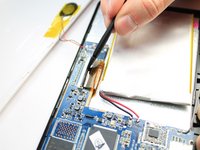
Use a spudger to lift flap on top of the camera ZIF adapter.
-
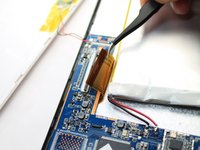
At this point the camera module can be easily removed with a pair of tweezers.
-
-
-
-
-
Remove the four 2.2mm Phillips screws holding the logic board in place. Place the screws on the iFixit magnetic project mat.
-
-
Tool used on this step:Tweezers$4.99
-
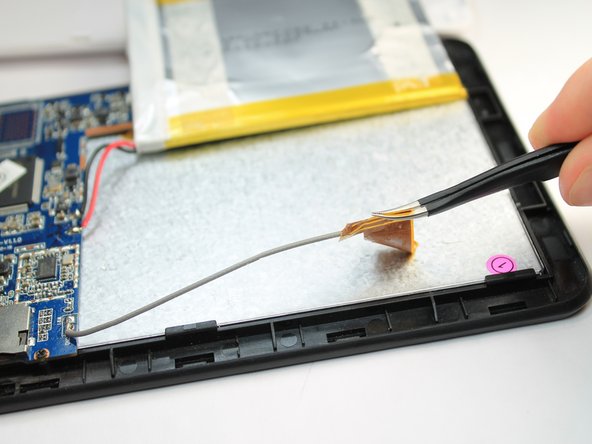
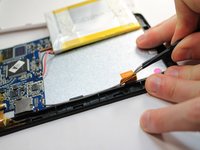
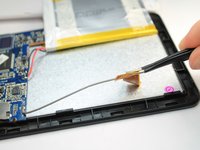
Gently peel the WIFI Antenna up using a pair of tweezers.
-
-
-
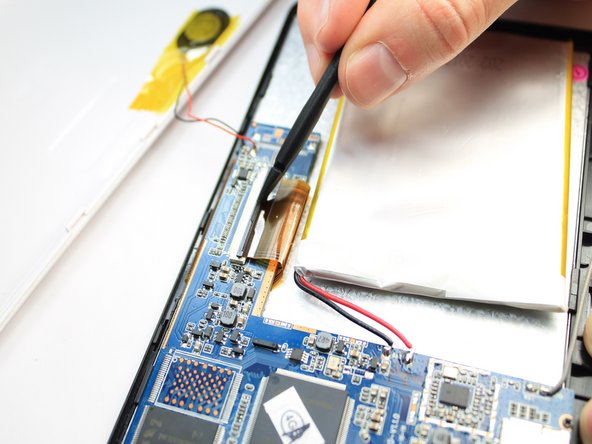
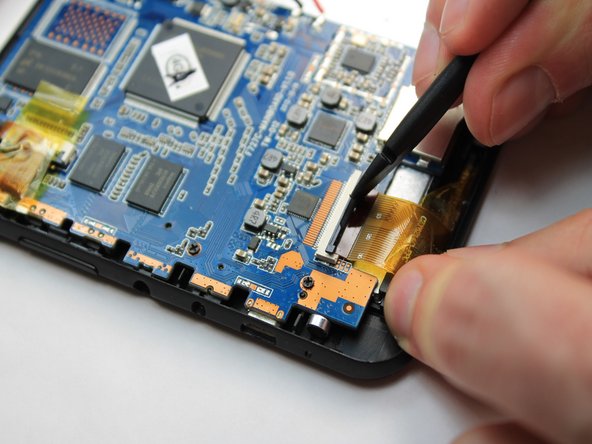
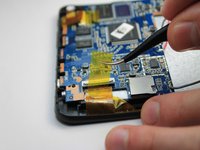
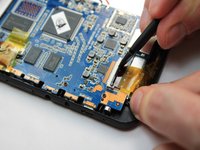
Use a spudger to lift the flap on top of the LCD ZIF socket.
-
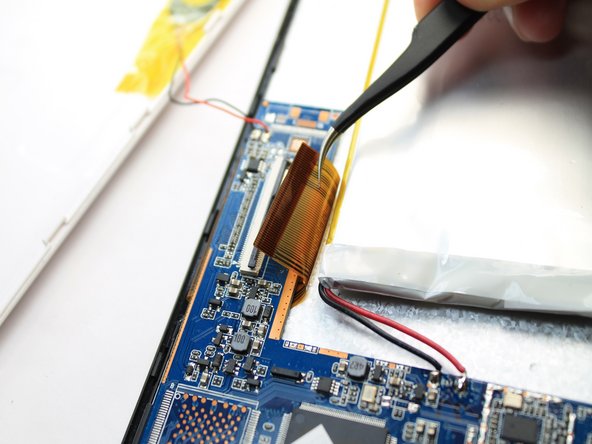
Gently remove the ribbon cable from the socket using a tweezers.
-
-
-
-
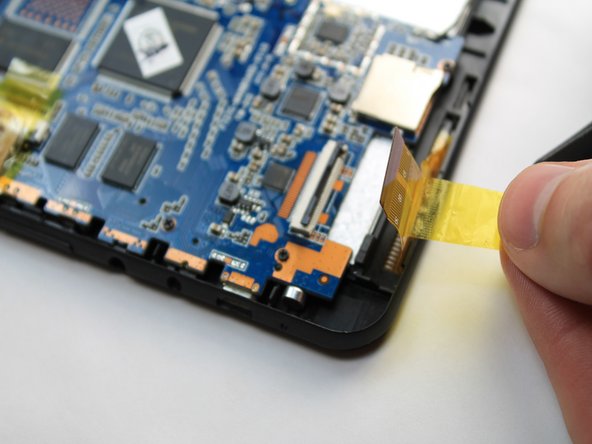
Use a spudger to lift the flap on top of the digitizer ZIF socket.
-
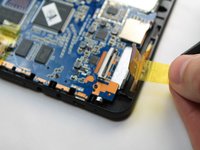
Gently pull the tape attached to the ribbon cable to remove the cable from its socket.
-
-
-
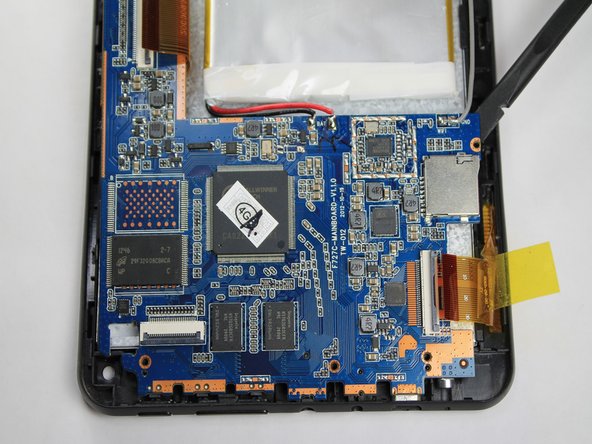
Gently slide the spudger below the logic board at the left side nearest the battery. Lift upward and away from the power button and bottom connectors.
-
-
-
-
-
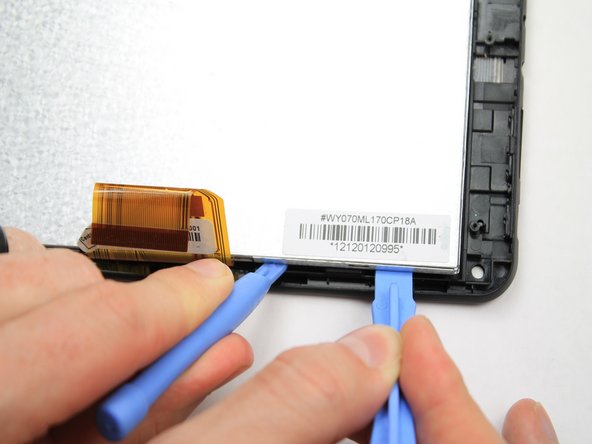
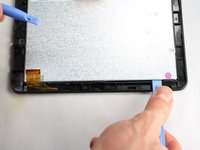
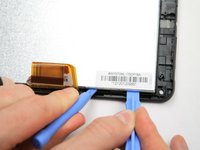
Insert a plastic opening tool between the LCD and digitizer on the side of the LCD with the ribbon cable. Use a second plastic opening tool to lift the LCD from the digitizer. Repeat this process on both sides of the LCD ribbon cable.
-
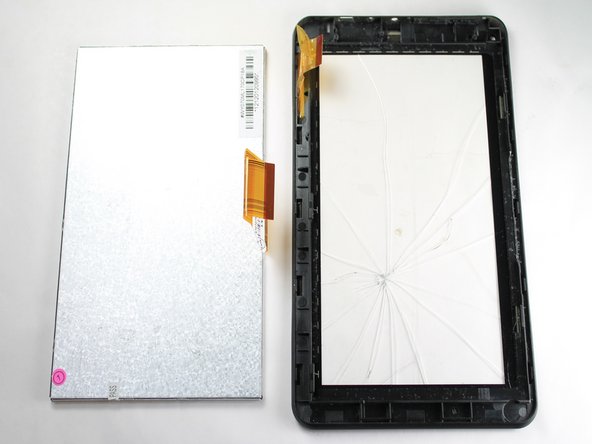
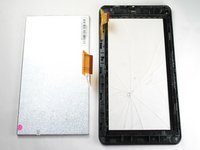
Fully remove the LCD from the digitizer.
-
-







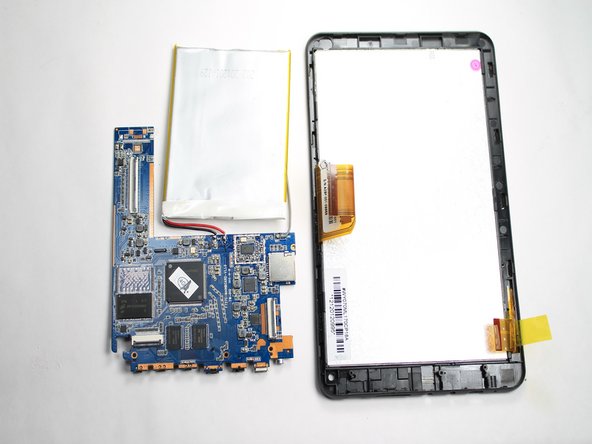
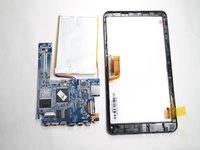

To reassemble your device, follow these instructions in reverse order.
Cancel: I did not complete this guide.
One other person completed this guide.

Team

USF Tampa, Team 5-4, Brown Winter 2015 Member of USF Tampa, Team 5-4, Brown Winter 2015
USFT-BROWN-W15S5G4
4 Members
96 Guides authored
