
iVIEW-754TPC Battery Replacement

calvin and 3 other contributors
Last updated on Jun 17, 2015
Views: 3K
View statistics:
- Past 24 Hours:
- 2
- Past 7 Days:
- 18
- Past 30 Days:
- 100
- All Time:
- 2,976
Comments: 0
No one has left comments on this guide. Will you be first?
Go to guide commentsCompleted: 3 4
3 people have marked this guide "completed." Will you be next?
4 people have marked this guide "completed." Including you — great job!
Favorites: 0 1
No one has favorited (and subscribed to) this guide. Will you be the first?
1 person has favorited (and subscribed to) this guide — and that's you!
Introduction
Go to step 1 ↓Is your device no longer holding a charge? Use this guide to replace a faulty or worn out battery.
What you need
Tools
-
Spudger4.9
-
-


-
-
-
Use plastic opening tool to release the clips holding the device together. The clips will take a small amount of pressure to release. Once you have the plastic opening tool inserted, use a twisting action to release the clips. Start from bottom of device and work all the way around.
 Ask FixBot
-
-
-
-
-
Use flat side of the spudger to get under battery and use pressure to release from glue. Do this all the way around battery until it comes off.
-
-
-
-
-
-
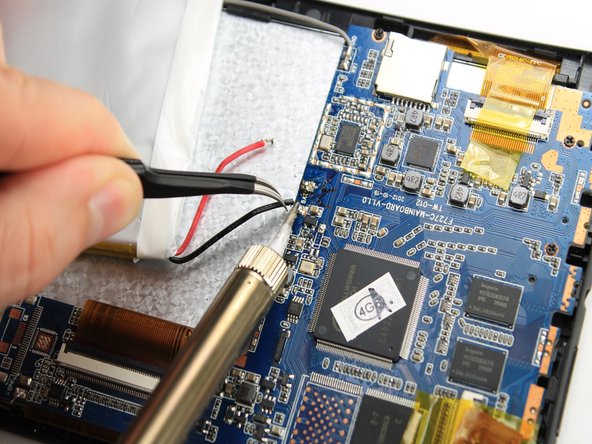
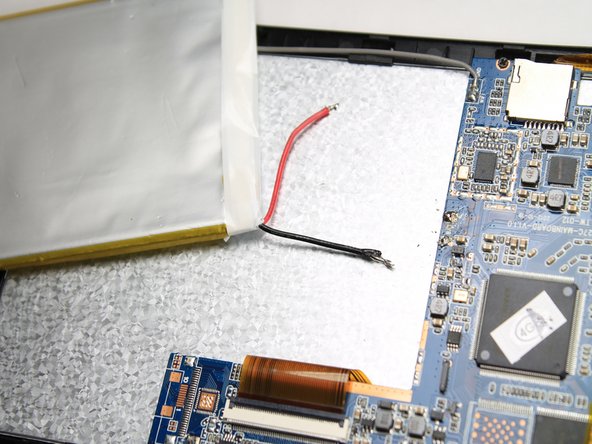
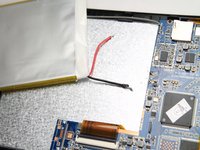
Once battery is off, the wires will still be connected to motherboard. You will need to desolder the wires.
-
Using the soldering tool, use the heat to melt the connection. As you do this, pull on the wires with a tweezer until wires comes off.
-
-


To reassemble your device, follow these instructions in reverse order.
Cancel: I did not complete this guide.
3 other people completed this guide.

Team

USF Tampa, Team 5-4, Brown Winter 2015 Member of USF Tampa, Team 5-4, Brown Winter 2015
USFT-BROWN-W15S5G4
4 Members
96 Guides authored
