Introduction
We will deal with a fairly common problem; error 26 on an iRobot from the i series.
I found several tutorials on YouTube concerning this problem, the solution I am offering you definitively resolved my problem.
You can also, if you wish, simply replace the suction unit by purchasing it from iRobot, the repair will be shorter, but count around 100€.
Using the solution at the end of this guide, will cost nothing, or almost nothing! So.... Give it a try!
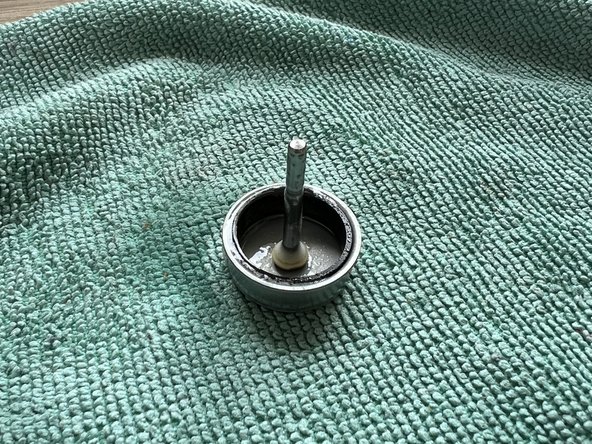
What you need
-
-
Let's start by removing the side brush using a Phillips screwdriver. (red arrow)
-
Next we remove the five screws that hold the lower bracket using a Phillips screwdriver. (red arrows)
-
You can now remove the lower base
-
-
-
Now unscrew the 4 screws holding the suction unit. (red arrows)
-
You can remove the complete suction unit 'upward'.
-
If you want to just replace the suction unit, you can replace it and follow the tutorial in reverse to reassemble it. If you are a little more handy, you can continue the tutorial to solve your problem at low cost!
-
-
-
You can unscrew the four screws (red arrows) from the motor support.
-
I suggest you to free the harness a bit so you have more room to work.
-
-
-
-
We now need to remove the impeller on the motor shaft.
-
Work slowly, take your time!
-
You can use a spatula to help you remove the impeller while turning it.
-
-
-
You can now remove the two screws that hold the engine to the impeller housing. (bilateral red arrows)
-
Be careful, make sure that the 'washers' do not get lost in your home. (central arrow)
-
-
-
You can now remove the rotor (axle) from the stator (copper part)
-
-
-
You now need to grease the rotor (axle) so that there is less friction with the stator.
-
You must use silicone spray or semi-solid silicone grease.
-
You can now reassemble your axle to the stator: the problem should be solved.
-


To reassemble your device, follow the instructions in reverse order.
Cancel: I did not complete this guide.
5 other people completed this guide.
Special thanks to these translators:
100%

Juan Garcia is helping us fix the world! Want to contribute?
Start translating ›

9 Guide Comments
Super tutoriel, avec les photos trés claires.
Super détaillé ce tuto, merci beaucoup ça a marché en ce qui me concerne.
Je rajouterai juste un détail qui a été efficace dans mon cas.
Tant que le stator est à "nu", vérifier l'état des électro-aimants si ils ne sont pas encrassés. C'était mon cas. Plusieurs étaient noirci (ce qui réduit l'efficacité du magnétisme et donc de la puissance de rotation du rotor.
J'ai simplement nettoyé les électro-aimants à l'aide d'un coton tige imbibé d'alcool à brûler.
(Attention de ne pas abîmer le bobinage de cuivre des électro-aimants en accrochant le fil il pourrait se casser )
J'ai des photos, mais je ne peux pas les mettre dans mon commentaire, dommage.
En tout cas merci beaucoup pour ce tuto
Bonjour @willydarphel Félicitations pour votre réparation et merci pour cette piste ! iFixit étant un wiki, sachez que vous pouvez compléter ce tuto avec vos photos et votre expérience, ou bien en créer un nouveau pour expliquer la démarche que vous avez suivie. Vous trouvez plus d'info sur la rédaction des tutos iFixit ici : Creating a Repair Guide La communauté vous en sera reconnaissante !
merci pour ce tuto, avec un temps de réalisation d'à peine plus de 30 min pour tout faire nettoyage global compris, piooouuuu c'est pas étanche IP67 cette bête là ....de la poussière partout dedans !!!!