Introduction
Is your iRobot Roomba 890 struggling to charge? This guide will walk you through replacing the charging contacts to restore your robotic vacuum's functionality. The charging contacts enable the vacuum to connect with the charging dock for efficient charging. If the contacts are dirty or damaged, replacement may be necessary.
Important: Before starting, turn off the Roomba and unplug it to avoid electrical damage or injury. This repair ensures your Roomba charges efficiently and extends its life. For troubleshooting or additional repair tips, visit our troubleshooting page for more help.
What you need
-
-
-
Use a Phillips #2 screwdriver to remove the 7.7 mm screw.
-
Remove the yellow brush head.
 Ask FixBot
-
-
-
Place the Roomba facedown, with its bottom facing you.
-
Use a Phillips #2 screwdriver to remove the two 11 mm screws.
-
-
-
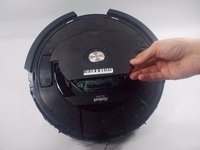
Remove the battery plate.
-
Remove the battery by pulling directly up on the grey pull tabs.
-
-
-
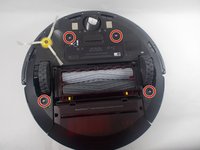
Use a Phillips #2 screwdriver to remove the four 11 mm screws.
-
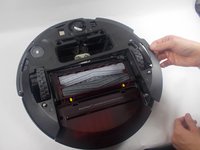
Remove the bottom plate of the Roomba.
-
-
-
-
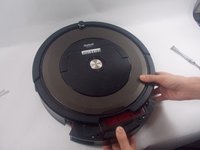
Turn Roomba face up.
-
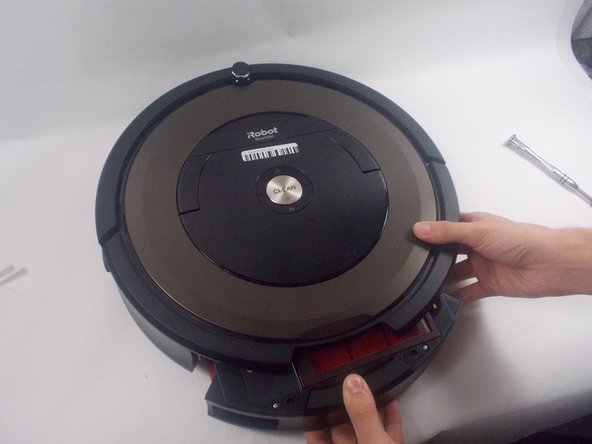
Remove the dustbin by pressing the release button on the top side of the Roomba and pulling it straight out.
-
-
-
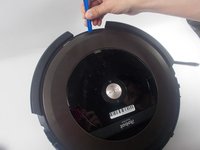
Using the opening tool, remove retaining band.
-
Use the removal tool to remove the face plate as well.
-
-
-
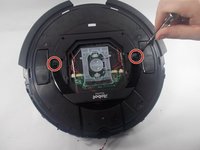
Use a Phillips #1 screwdriver to remove the two 9.5 mm handle screws.
-
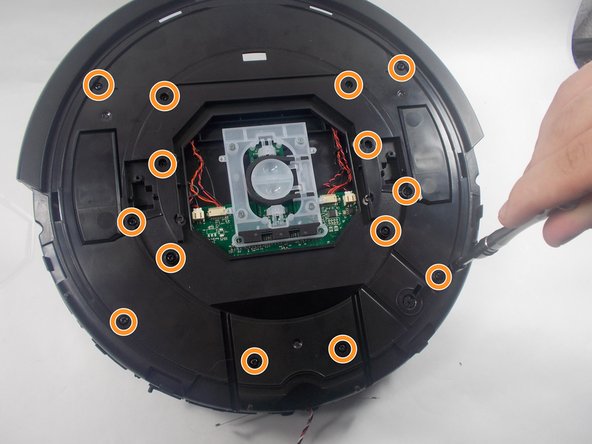
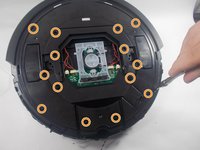
Use a Phillips #1 screwdriver to remove the fourteen 9.5 mm top plate screws.
-
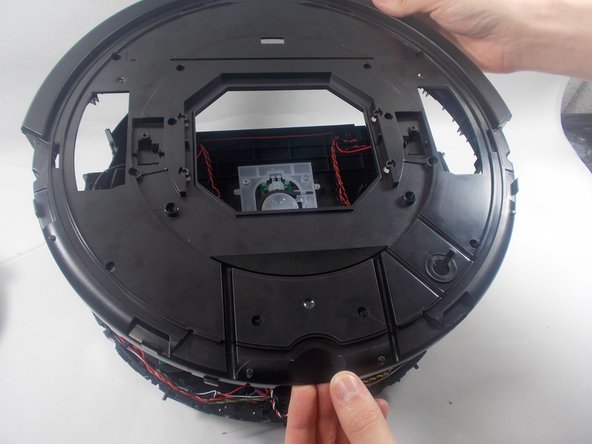
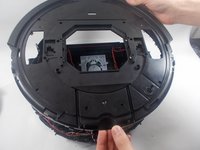
Lift the top plate off.
-
-
-
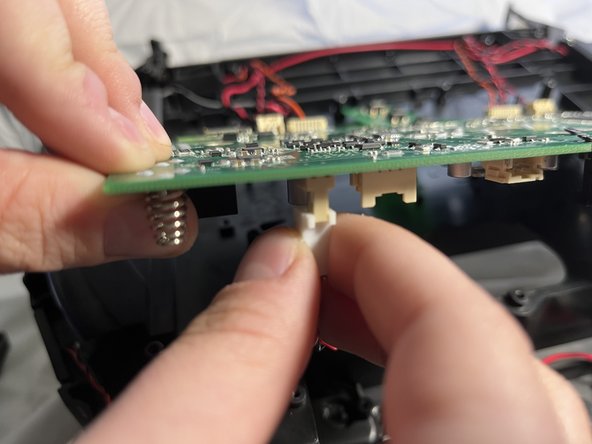
Locate the charging contact wire connection to the motherboard.
-
Release the connector.
-
-
-
Use a Phillips #1 screwdriver to remove the four 9.3 mm bumper sensor screws.
-
-
-
Use a Phillips #1 screwdriver to remove the two 9.3 mm screws holding the charging contact backings in place.
-
Remove the charging contact backings.
-
-
-
Use the iFixit opening tool to gently pry down on the charging contact, on the side closest to the cliff sensor.
-
With the charging contact dislodged, pull it through the Roomba housing.
-
-









To reassemble your device, follow these instructions in reverse order. Take your e-waste to an R2 or e-Stewards certified recycler.
Cancel: I did not complete this guide.
3 other people completed this guide.

Team

UMass Dartmouth, Team 1-3, Petersen Spring 2022 Member of UMass Dartmouth, Team 1-3, Petersen Spring 2022
UMASSD-PETERSEN-S22S1G3
3 Members
72 Guides authored
