
iRobot Roomba 655 Pet Series Display Replacement

Rhett and 3 other contributors
Last updated on Jun 17, 2015
Views: 1.5K
View statistics:
- Past 24 Hours:
- 2
- Past 7 Days:
- 17
- Past 30 Days:
- 91
- All Time:
- 1,457
Comments: 1
1 comment on steps.
Completed: 1 2
1 person has marked this guide "completed." Will you be next?
2 people have marked this guide "completed." Including you — great job!
Favorites: 0 1
No one has favorited (and subscribed to) this guide. Will you be the first?
1 person has favorited (and subscribed to) this guide — and that's you!
Introduction
Go to step 1 ↓This is when things start to get a little more tricky. Start to be more careful because everything you are dealing with is attached to your motherboard from here on out.
What you need


-
-
-
Remove the dust bin by pushing on the button for the dust bin removal
-
Pull the dust bin out
 Ask FixBot
-
-
-
Pull up on the silver handle to release the top protectant plastic
-
Remove the top plastic carefully
-
-
-
-
-
Remove the ten 11mm screws that hold the front bumper to the plastic bumper protector with your Phillips #1 screwdriver.
-
Pull the plastic bumper protector up and off of the bumper.
-
-
-
Flip the Roomba back over, so you are viewing the top.
-
Pull up on the front bumper to remove it.
-
Remove the two 7mm screws with your Phillips #1 screwdriver, holding the wire sensors in place to the front bumper.
-
-
-
-
-
The outside six - 10mm screws and the inside set of four - 10mm screws are the same here, use your Phillips head #2 to remove them
-
Use your Phillips head #0 to remove the one - 7mm bottom center screw
-
Use your Phillips head #2 to remove the two - 8mm screws by the handle
-
Push down the two release points to pull the plastic piece up
-
Pull the plastic piece up
-
-
-
-
-
-
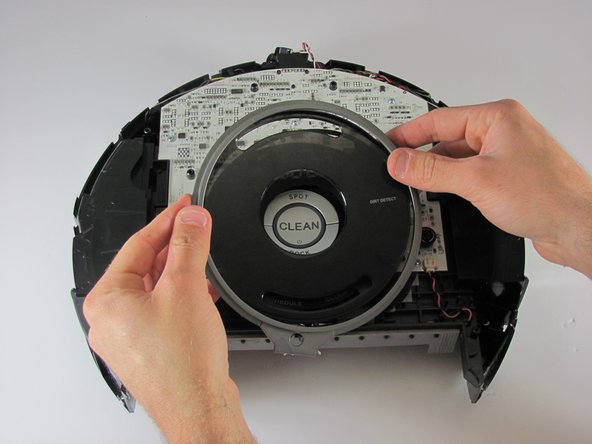
Pull the silver tab, and clear tinted display off
-
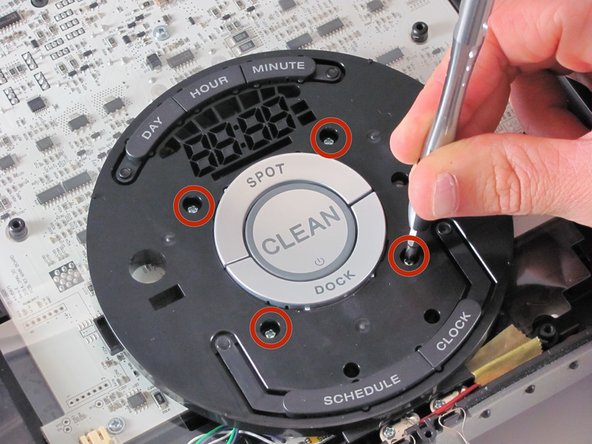
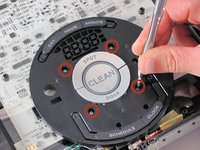
Remove the 4 - 9mm screws holding the display with your Phillips head #0
-
-


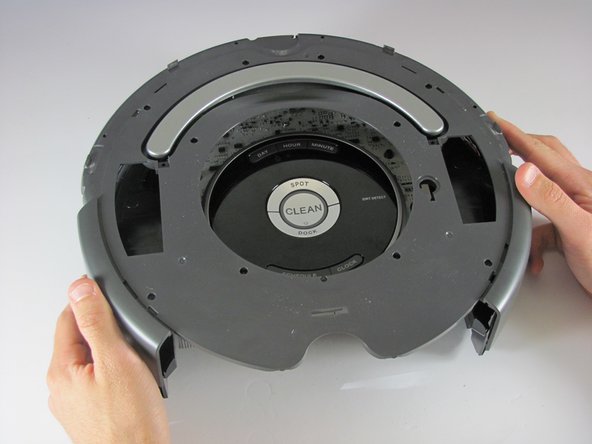
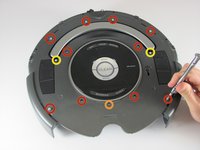
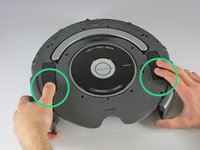
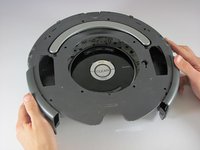


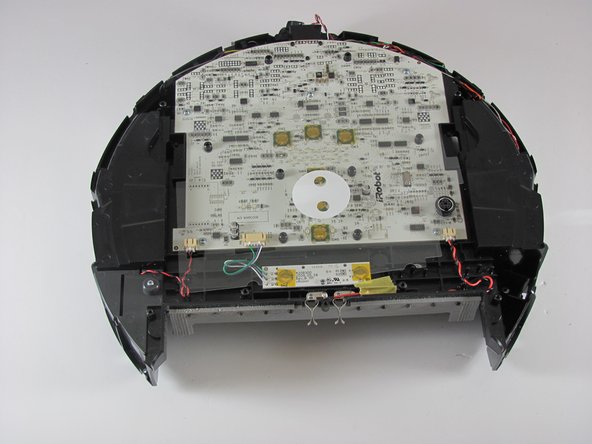

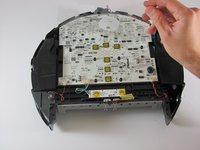
To reassemble your device, follow these instructions in reverse order.
Cancel: I did not complete this guide.
One other person completed this guide.

Team

Cal Poly, Team 21-20, Maness Winter 2015 Member of Cal Poly, Team 21-20, Maness Winter 2015
CPSU-MANESS-W15S21G20
4 Members
168 Guides authored
