Introduction
If the nozzle of your Braava Jet 240 is faulty, use this guide to replace it. You will only need a Phillips #1 screwdriver.
The nozzle is used to spray water onto the ground for the robot to mop up. Sometimes debris can get into the nozzle and cause it to spray in an abnormal pattern, or not at all. If this happens, it will need to be replaced.
What you need
-
-
-
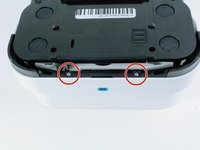
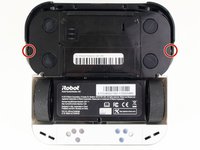
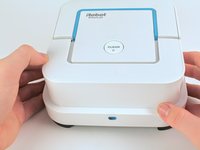
Remove the two 22.0 mm screws on the bottom-front of the robot using a Phillips #1 screwdriver.
-
-
-
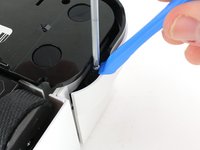
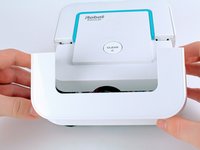
Use a Phillips #1 screwdriver and an iFixit opening tool to remove the two 15.0 mm screws on the front sides of the robot.
-
-
-
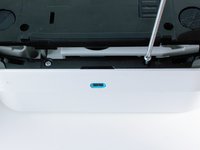
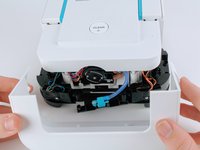
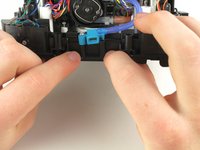
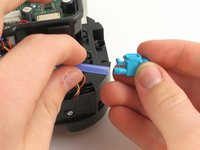
Using a Phillips #1 screwdriver, remove the 16 mm screw that holds the nozzle in place.
-

 Ask FixBot








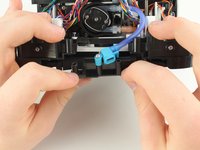


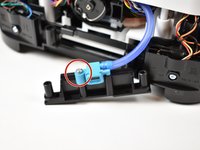
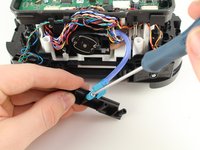
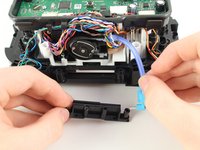


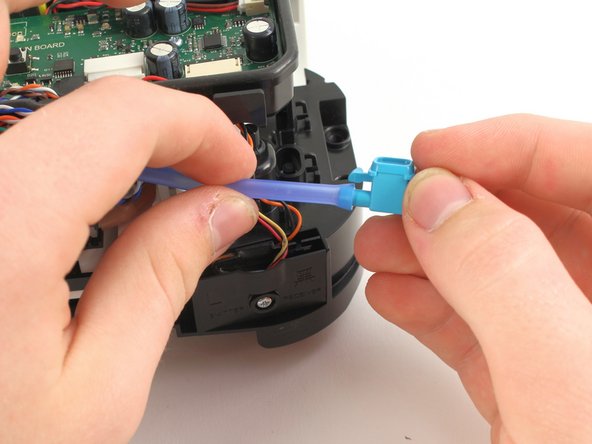
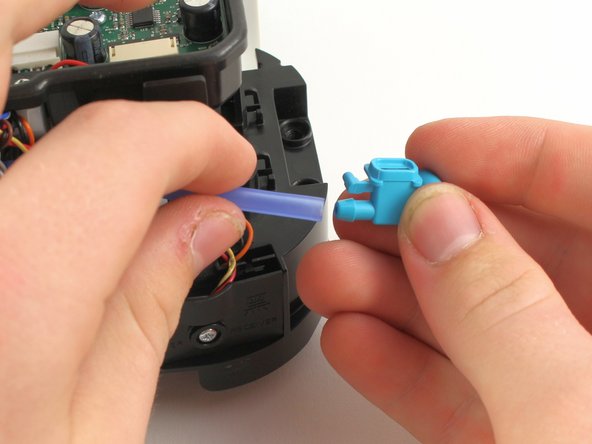
To reassemble your device, follow these instructions in reverse order.
Cancel: I did not complete this guide.
14 other people completed this guide.

Team

Cal Poly, Team S22-G2, Regan Winter 2020 Member of Cal Poly, Team S22-G2, Regan Winter 2020
CPSU-REGAN-W20S22G2
5 Members
12 Guides authored
14 Guide Comments
Hi Claire! I have a guide for unclogging the pump after a prolonged storage duration, and I wish to use your photos and guide for the first half of the guide. Shall we collaborate on writing that guide?
Thanks!
Hi Matt! That’s a great idea. It sounds like you’re wanting to use this Nozzle Replacement guide as a prerequisite guide for your guide on the pump, is that correct?
If you’re like me and you have issues with the pump after a long duration in deep storage, there could be an issue with the tube within the pump where the pump would clog itself.
Follow all the steps to this guide, then look for the clear tube connected to the nozzle tube. You will see a circular black disk, with two metal pins and 2 metal wires on it. In the middle, there should be a Philips head screw. Use your #1 Screwdriver to unscrew the screw,
Next, carefully pull up on that black disk assembly. You will slowly pull up the tube. Be careful not to pull it too hard and puncture the tube.
Look at the clear tube. If you have stored it for too long, it is highly likely that the two white rollers on the black disk assembly have caused indents on the tube, causing a clog. Remedying that clog should be easy, gently press down on the tube on where the clog is, perpendicular to the clog. You should hear a little pop once the clog is unblocked. Repeat for the second clog, if required.
Following that, reassemble the machine going in reverse.
This problem should be a known issue for most Braava Jet 240s. There is no safe parking location for the pump for long storage, and the prolonged pressure on the clear tube will cause it to clog eventually.
Hope this helped and saved you from buying another Braava Jet.
IRobot doesn’t sell nozzle replacement.
