
iRobot Braava 320 Body Shell Replacement

Adam Lewis and one other contributor
Last updated on Jun 8, 2017
Views: 1.2K
View statistics:
- Past 24 Hours:
- 1
- Past 7 Days:
- 9
- Past 30 Days:
- 80
- All Time:
- 1,151
Comments: 1
1 comment on steps.
Completed: 1 2
1 person has marked this guide "completed." Will you be next?
2 people have marked this guide "completed." Including you — great job!
Favorites: 0 1
No one has favorited (and subscribed to) this guide. Will you be the first?
1 person has favorited (and subscribed to) this guide — and that's you!
Introduction
Go to step 1 ↓Although a cracked or broken body shell may not hinder the performance of your Braava, replacing it will help restore the cosmetic beauty of your device. It is a simple and straight forward replacement, requiring only four exposed screws to be removed.
What you need
Tools

-
-
-
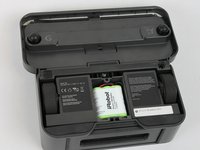
Using a Flathead #4 screwdriver, gently turn the 12mm screw that holds the battery cover in.
-
-
-
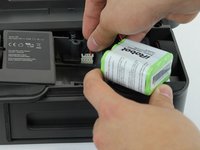
Gently remove the battery from the tray and disconnect the battery cable.
-
To remove the battery, pull it straight up. To disconnect the cable, gently pull it straight out of the connector.
-
-
-
-
With the battery removed, rotate your device so the front of it is facing you.
-
Remove the four 10mm Phillips #2 screws that attach the shell.
-
-
-
-
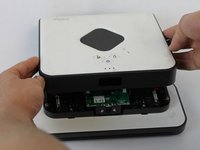
Using both hands, hold the device together while you flip it over.
-
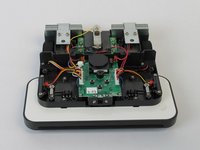
Starting from the front, gently lift up the shell and slowly tilt back until it is fully removed.
-
-

 Ask FixBot




To reassemble your device, follow these instructions in reverse order.
Cancel: I did not complete this guide.
One other person completed this guide.

Team

USF Tampa, Team S1-G3, Nance Spring 2017 Member of USF Tampa, Team S1-G3, Nance Spring 2017
USFT-NANCE-S17S1G3
4 Members
60 Guides authored
